Alex
How To Dump, Fakesign, & Run PS5 Game Backups
By Alex Free
This tutorial will cover how to dump, fake sign (allowing any console including your own to run the backup), and test (without deleting anything before you know the game can even be ran as a dumped folder!) PS5 games and apps up to the latest jailbreakble FW 12.70. It works for any apps or games downloaded from PSN back when you were on the latest firmware that you’ve been hoarding all this time, as well as physical game discs. Doing this for a game installed from a physical game disc allows you to not have to put in the physical disc to play it!
Table Of Contents
Preparations
-
You need to jailbreak your PS5 console. If your on FW 12.70, you can follow my tutorial.
-
You need to download PS5 Make FSELF Recursive to fakesign the decrypted dump to be played on a jailbroken PS5.
-
You need to download the latest version of PS5 App Dumper.
-
You need a USB device formatted as ExFat, with enough free storage to dump the game. I seriously recommend using a USB HDD (really, you’ll see why in the testing phase) or USB SSD for faster speeds. Ideally these have read access lights that blink too. A USB flash drive is a horrible idea because these won’t have access lights and the dump speed will be horrible and take forever.
-
You need a PC connected to the same network as the PS5.
-
Download and install any updates to the game if you want those included in the dump. A Jailbroken PS5 can still install download updates from Sony servers if you haven’t blocked them.
-
If your dumping a disc game, wait until its completely installed to the PS5 storage.
Dumping
Fist of all, if you are OK with connecting your PS5 to Sony servers and want to bundle in the updates of the game, make sure all game updates that are available for your current FW are installed. These are going to be included in your dump.
Next, make sure the USB device is plugged into the console, and then fire up that game. Once it’s running, you need to send the PS5 App Dumper payload via netcat. The command is:
nc < <IP address> 9021 < <path to ps5-app-dumper.elf>
So in my case it was:
nc 10.0.0.174 9021 < /home/alex/Downloads/ps5-app-dumper.elf
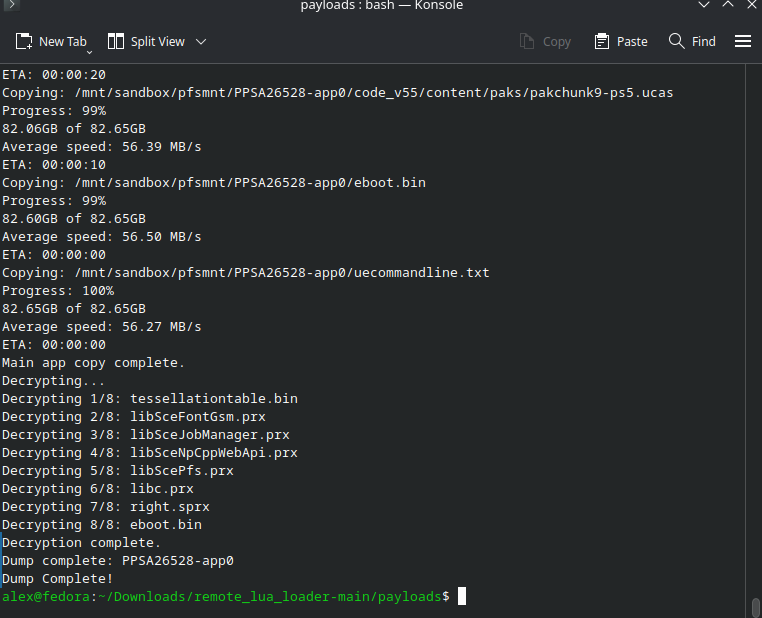
A notification will appear saying the dumping is starting. You’ll get progress in the form of constant PS5 notifications as well as on your PC terminal.
Fake Signing
You have 2 different options here, you can fake sign on console with Dump Runner, or you can fake sign on computer with PS5 Make FSELF Recursive.
Fake Sign On Console With Dump Runner
By running the game once with dump runner it will automatically fake sign everything in the dump, and move anything the original decrypted binaries/libraries to a folder called `decrypted’ inside the game dump folder.
Fake Sign On Computer With Make Fself Recursive
Remove the USB device from your PS5. Connect the USB device to your computer, and you’ll see in the root of it there will now be a folder named homebrew. Inside will be another folder, named after the title ID of the PS5 game/app just dumped, appended with -app0. Copy this to somewhere safe.
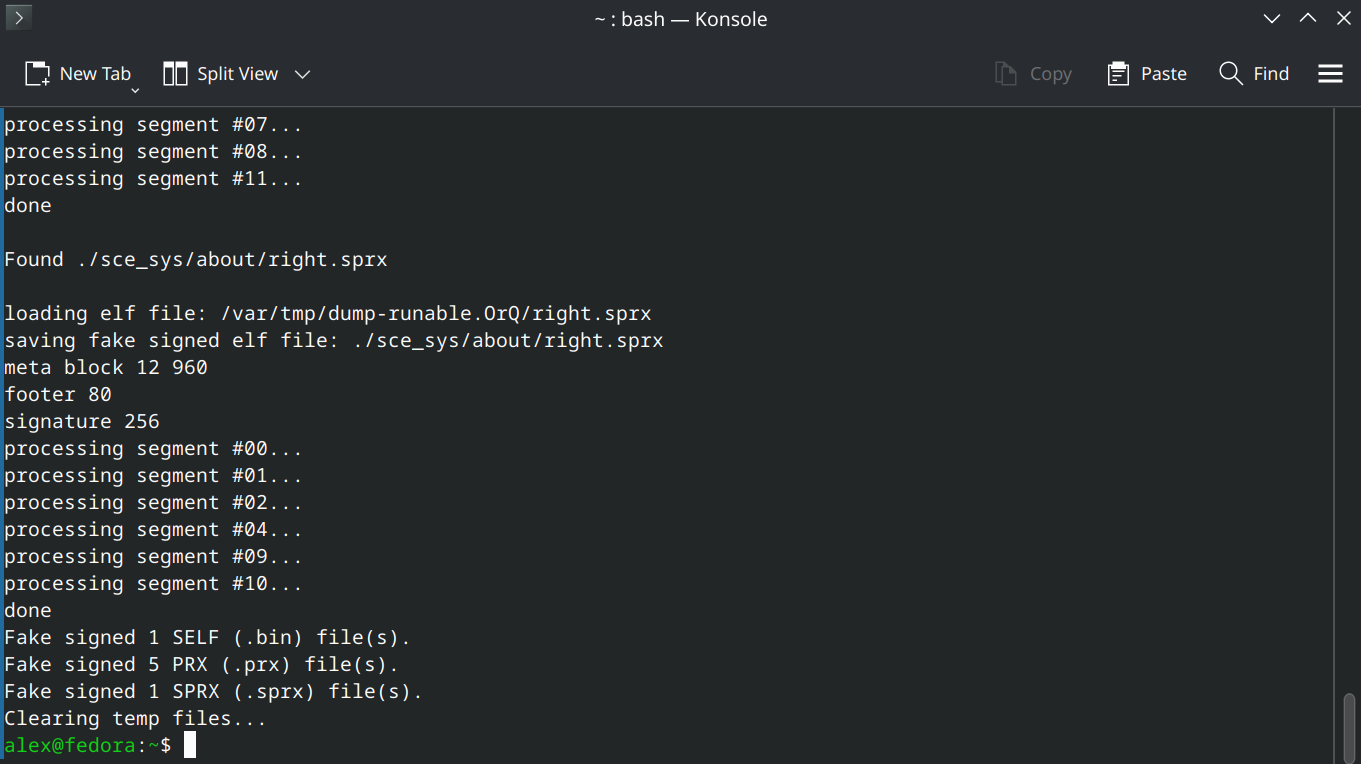
If you want to copy a virigin copy of the ‘decrypted’ backup for pedantic reasons, make a copy of the decrypted folder somewhere because the next part is going to fake sign the game dump folder. Give PS5 Make FSELF Recursive the decrypted game dump folder as argument, for example ps5mfr PPSA02530-app0. This will look through the game dump (which is already decrytped, PS5 App Dumper automatically decrypts as it dumps since v1.01 Beta), and fake sign the eboot.bin as well as any *.psx shared libraries that it finds.
Go back to your USB and delete the original decrypted game dump folder. Copy over your fake signed game dump folder to the root of the usb in the homebrew folder (or wherever you want to that ShadowMountPlus looks at).
Testing
Preperation
So the dump is ready to be used on any Jailbroken PS5 that meets the minimum firmware requirement. You can find out what that minimum firmware requirment is by going into the root of the game dump folder and opening the sce_sys/param.json that is generated by PS5 App Dumper. Look for the string requiredSystemSoftwareVersion.
You probably also want to know what version you just dumped. That is also in sce_sys/param.json, look for the string contentVersion. You should see something like 0x1270000000000000.
Now we need to test this out. We don’t want to go deleting the legit game (espically if it was downloaded from PSN and isn’t available as a physical copy) because that will not allow you to dump it in the future with new game updates. We don’t have to though.
Because App Dumper helpfully appends -app0 to the dump folder name, it will override the legit game installation already. If your fake signed game dump folder was named the ligit naming without -app0 (i.e. PPSA02530) then the legit game installation would actually override the dump. As long as the fake signed game dump folder is named anything besides the legit naming it will override.
Moving To Target Storage If Applicable
Lastly, if you want to put the game anywhere special, now is the time to do it. It’s fine in the homebrew folder if you want to leave it there though.
Default scan locations:

/data/homebrew
/data/etaHEN/games
/mnt/ext0/homebrew
/mnt/ext0/etaHEN/games
/mnt/ext1/homebrew
/mnt/ext1/etaHEN/games
/mnt/usb0/homebrew .. /mnt/usb7/homebrew
/mnt/usb0/etaHEN/games .. /mnt/usb7/etaHEN/games
/mnt/usb0 .. /mnt/usb7
/mnt/ext0
/mnt/ext1
Note for any game you put into internal, you have to make sure the /data folder has recursive RWX permissions (777). The best way to set this currently seems to be FileZilla FTP client, which is available for Windows, Mac, and Linux.
1) Right click the /data folder:

2) Enter 777 into the numerical value: box. Check Recurse into subdirectories, and leave the default sub-option Apply to all files and directories selected. Click OK:

Mounting The Dump Folder
Send ShadowMountPlus over to the console. If it’s already running, send it again just to make sure everything looks right, and that 777 permissions are applied if running from internal PS5 storage. The command will be:
nc <IP address> 9021 < <path to shadow mount plus elf file>
So in my case it was:
nc 10.0.0.174 9021 < /home/alex/Downloads/ShadowMountPlus_1.6test11/shadowmountplus.elf
Wait for it to find your game dump. This will override the legit game installation in the PS5 home menu, so when you launch the game it will use the ShadowMountPlus mounted decrypted and fakesigned game dump folder instead of the internal installation. This is exactly what we want, because I don’t know about you but I currently don’t have multiple PS5s (let alone jailbreakable ones).
This is what I alluded to about in the begining about using a USB HDD. One way you can tell the dump is actually overriding the internal game is it will load up much slower. Better however is if you have access lights on your USB HDD or USB SSD. A final, nuclear option to prove this is working is you can copy your decrypted dump that isn’t fakesigned over, and when you try to lauch the game you will get an error as it is not fakesigned, further proving this works. Also, just look at the output of ShadowMountPlus if your netcatting it over already to make sure it’s mounting…
Dump Folder To FFPKG (UFS2) Image Conversion
This is the recommended ‘native’ format ShadowMountPlus uses.
UFS is a *BSD filesystem, so we need BSD tools to make them. If your on *BSD, you already have them and can use mkufs2.sh from the ShadowMountPlus github. The usage is:
mkufs2.sh <game dump folder named as title id> ./<title id>.ffpkg
So in my example with Pragmata:
mkufs2.sh PPSA02530 PPSA02530 .ffpkg
For Mac, Windows, and Linux, the best thing to use is UFS2Tool. For Linux, I used the linux-x64-selfcontained.zip . Then, the command will be:
UFS2Tool newfs -O 2 -b 65536 -f 65536 -m 0 -S 4096 -i 262144 -D ./<game dump folder named as title id> <title id>.ffpkg
So in my example with Pragmata:
/home/alex/Downloads/linux-x64-selfcontained/UFS2Tool newfs -O 2 -b 65536 -f 65536 -m 0 -S 4096 -i 262144 -D ./PPSA02530 PPSA02530.ffpkg
To use it with ShadowMountPlus, same thing, put the .ffpkg anywhere you’d normally put a game dump folder at and enjoy.
Notes
-
Some games may run better either as a folder or as a .ffpkg.
-
Some games may not run from internal.
-
Some games may run better from USB.
-
Some games may require a fast storage to work properly (i.e. CyberPunk 2077, HDD is not enough).
-
Backports are a thing that PS5 App Dumper is capable of. This can allow the dump to run on much earlier PS5 FW versions if everything works out. Because I don’t have any other PS5 but the latest jailbreakable FW 12.70, I have no way to test this or give advice on it currently.
-
I imagine DLC is also included in the dumps, but I’ll need to look into it as I dump more games.
Completely Reset ShadowMountPlus
I have found that if you try to put a FFPKG into the internal PS5 storage /data/homebrew it may KP the console, even though a folder format dump there of the same game/dump works. Once jailbreaking again, you may find your PS5 in a bad state where any shadowmountplus mounted games or even PS5 homebrew will cause an immediete kernal panic. If this happens:
1) Restart the PS5.
2) Jailbreak, send all the normal payloads EXCEPT SHADOWMOUNTPLUS.
3) Over FTP or via PS5 Explorer, delete /data/shadowmount.
4) Delete any games mounted previously with ShadowMountPlus from the home screen. You do not need to delete the actual image dumps or folder dumps (but definitely delete the game that originally caused the issue).
5) NOW send ShadowMountPlus payload over. Everything is clean and reset, wait for your games to ‘install’ once again.
From here on out you won’t have any problems and it will all work correctly. Homebrew will launch, backups mounted with ShadowMountPlus will launch. If it happens again you know what to do!