Alex
Tonyhax International -> GameID
Tonyhax International as of v1.5.3 has support for GameID. GameID is sent by Tonyhax International to tell special memory card hardware to use a memory card image specific to the game being started. Since each game gets access to 15 memory card slots, this allows for some pretty great memory card save management features. In addition, these devices allow for easy transfer of save files and memory card images over USB, in a way much cheaper and faster then the now rare Sony PS3MCA.
The following GameID compatible devices have been tested with Tonyhax international (must be in slot 1 of the console):
- MemcardPro.
- MemcardPro 2.
- SD2PSX.
- Bitfunx PSXMemCard (requires additional setup, see below).
Bitfunx PSXMemCard Setup
This thing is phenomenal. Essentially, it is a picomemcard+ that is already assembled for you. It’s about $14 on Aliexpress, and comes with a 512MB micro SD card in the box. It supports firmware updates, which is very important since it ships with a version of the original picomemcard+ firmware, which as of 10/6/2024 has not added GameID support.
So there are two options:
-
If your using the FreePSXBoot exploit with your PSXMemCard, I recommend my own special custom firmware because it defaults back to the FreePSXBoot memory card image on reset/power cycle of your console. This is great because you can boot the PSX, go to memory card manager, boot Tonyhax International, then boot the game which will switch the memory card image via GameID. When the console is power cycled/reset you will be able to do the same procceess. The downside is if you unplug/replug the BitFunX PSXMemCard mid-game, then plug it back in, then it will ALSO be defaulting to the FreePSXBoot image, which is not what you want. As of 3/4/2026, the latest version is at https://github.com/alex-free/PicoMemcard/releases/download/v1.0/pico-memcard-plus-freepsxboot-v1.0.zip.
-
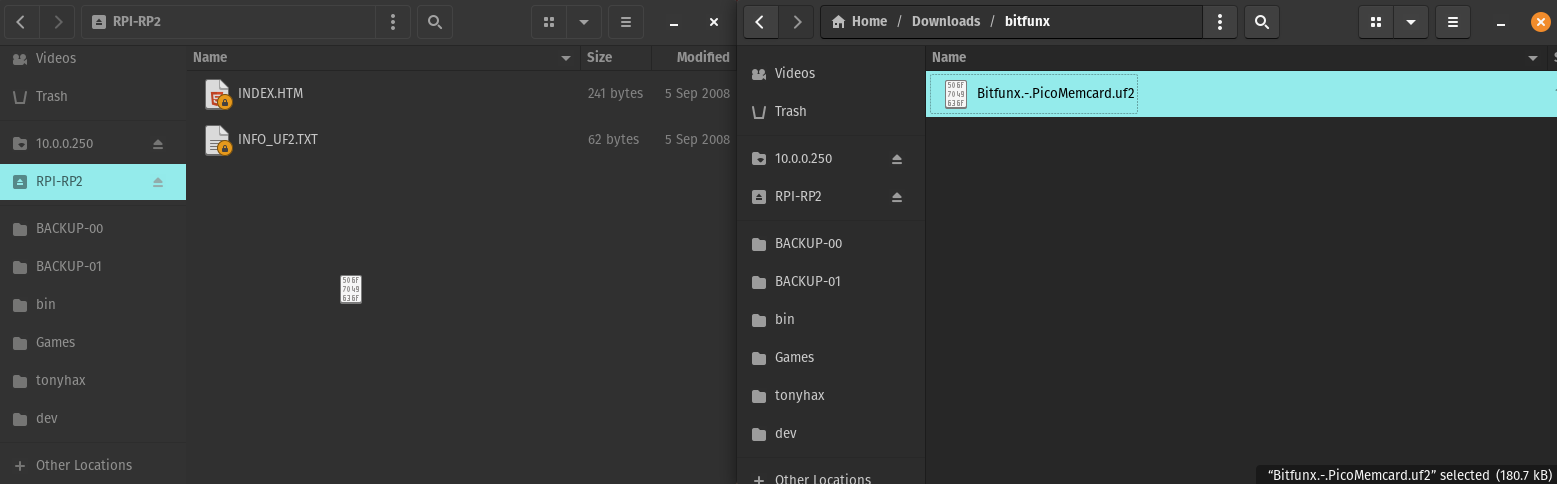
Use the official MrPalloncini forked of PicoMemcard that just adds GameID support. MrPalloncini has opened a pull request to get GameID support into the official PicoMemcard. Until then, we don’t have to wait. We can use MrPalloncini’s version. As of 3/3/2026, the latest release is at https://github.com/MrPalloncini/PicoMemcard/releases/download/1.0.5/Bitfunx.-.PicoMemcard.uf2
How to add GameID support to your Bitfunx PSXMemCard:
1) Find something that will allow you to access the BOOT button (it’s at the bottom of a small access hole next to the USB-C charging port). You can use an unbent paper clip, phone SIM removal tool, or sacrifice a clicky pen for a pen spring that can be unbent.
2) Using a USB-C cable, connect the Bitfunx PSXMemCard to the computer while the BOOT button is being pressed.
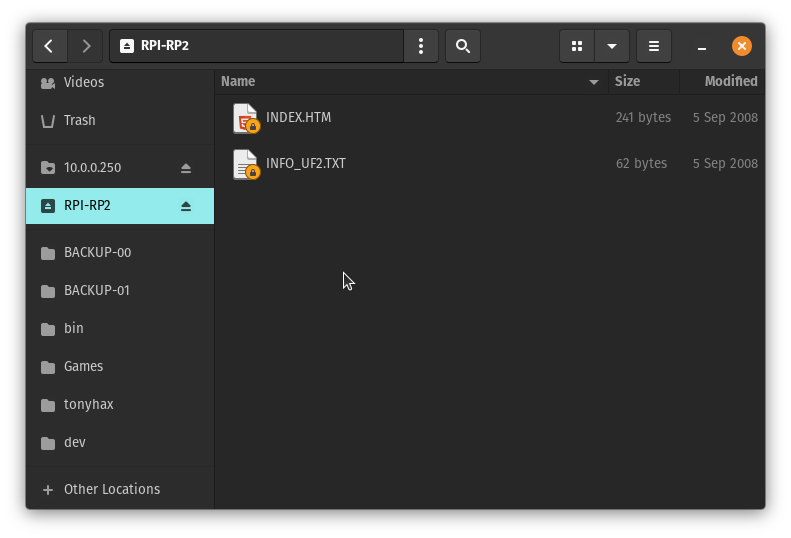
3) Once the Bitfunx PSXMemCard is mounted as RPI-RP2, drag and drop the *.uf2 onto the RPI-RP2 volume.
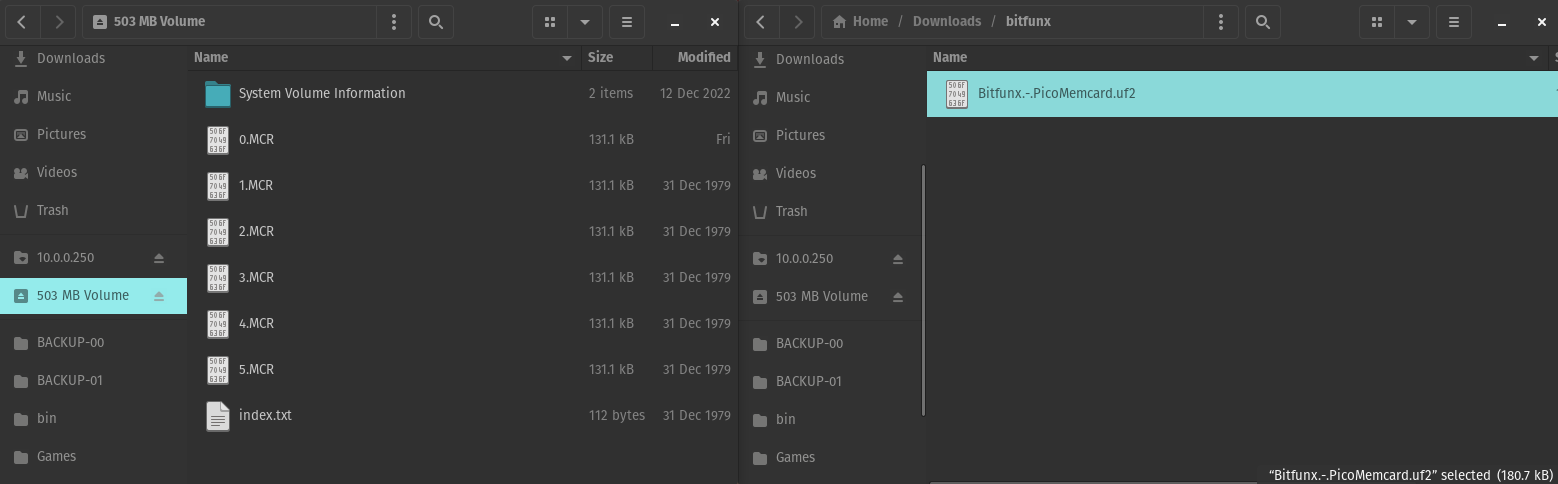
4) Wait for the Bitfunx PSXMemCard to unmount, and mount again as a standard volume (i.e. mine appears as 503MB Volume with the included micro SD card).
About PSX.EXE Games
All other projects that have implemented GameID support (ODEs, soft-mods, etc.) have ignored the early Japanese launch games in regards to proper GameID implementation. This is due to said games sharing the same boot file name (‘PSX.EXE’). When I implemented GameID support into Tonyhax International, I devised a first of it’s kind PSX.EXE identification system which has made it possible to send the serial number listed on the CD case of these games as the GameID. Each PSX.EXE officially licensed title with saving functionality should be identified by Tonyhax International. Due to this support being added on a game by game basis, if you get Unknown PSX.EXE ID, unique GameID unavailable. please open an issue so support may be added.