Alex
Unofficial PSX CD-ROM Drive Service Manual
By Alex Free - Manual: v1.0.1 (2/8/2023)
The PlayStation was released in Japan in 1994, and elsewhere in 1995. The last models where manufactured in 2006. In 2022 it is very common to run into PS1 CD drive related issues, in fact it can sometimes feel like a miracle if you can find a console without any problems still working in current year. Information about how to fix poorly performing CD drives for PlayStation consoles is scattered all over the internet at this point, with various truths and fictions about certain fixes and the issues that they address.
A certain fix almost never talked about is to clean and then re-lubricate all the moving parts of the CD drive itself. The ideas behind this fix are as follows:
- The CD drives worked great and could read CD-Rs and pressed CD-ROMs when new (even the launch units!).
- CD drive technology was still evolving throughout the PlayStation’s console life cycle. Early CD drive technology especially is prone to disc read errors when the expected level of friction encountered by the moving parts is out of spec.
- The level of friction can increase and can cause disc read errors as the original grease used to lubricate the moving parts degrades with time due to age, loosing it’s original effectiveness.
- Most CD drive’s have perfectly functioning laser diodes. A dying laser diode is most likely quite rare to actually encounter if the laser resistance screw has never been modified before (which can decrease laser resistance, increasing power out of spec for the diode, and possibly cause it to burn out faster).
Simply following this service manual can:
- Fix FMV stutters/glitches/playback failure.
- Decrease previously abnormally high load times.
- Make a console that normally only read discs if you turn the entire console vertical or upside down (try this if you haven’t yet!) work in the correct, standard orientation.
- Fix stuttering and or lag in games that steam a lot of data off of the disc during play.
- Fix sudden cut-outs/silence during CD audio playback.
- Stop the CD drive from constantly gets ‘lost’ trying to track the CD, sometimes causing runoff where the laser sled seeks all the way to the end of the disc before possibly completely ‘giving up’ reading the disc entirely.
-
Fix loud harsh noises coming from the CD Drive, such as clicking and rattling.
- Tools Used
- Cleaning All Moving Parts
- Lubricating All Moving Parts
- Testing
- Properly Obtaining A New PS1 CD Drive Unit
Tools Used
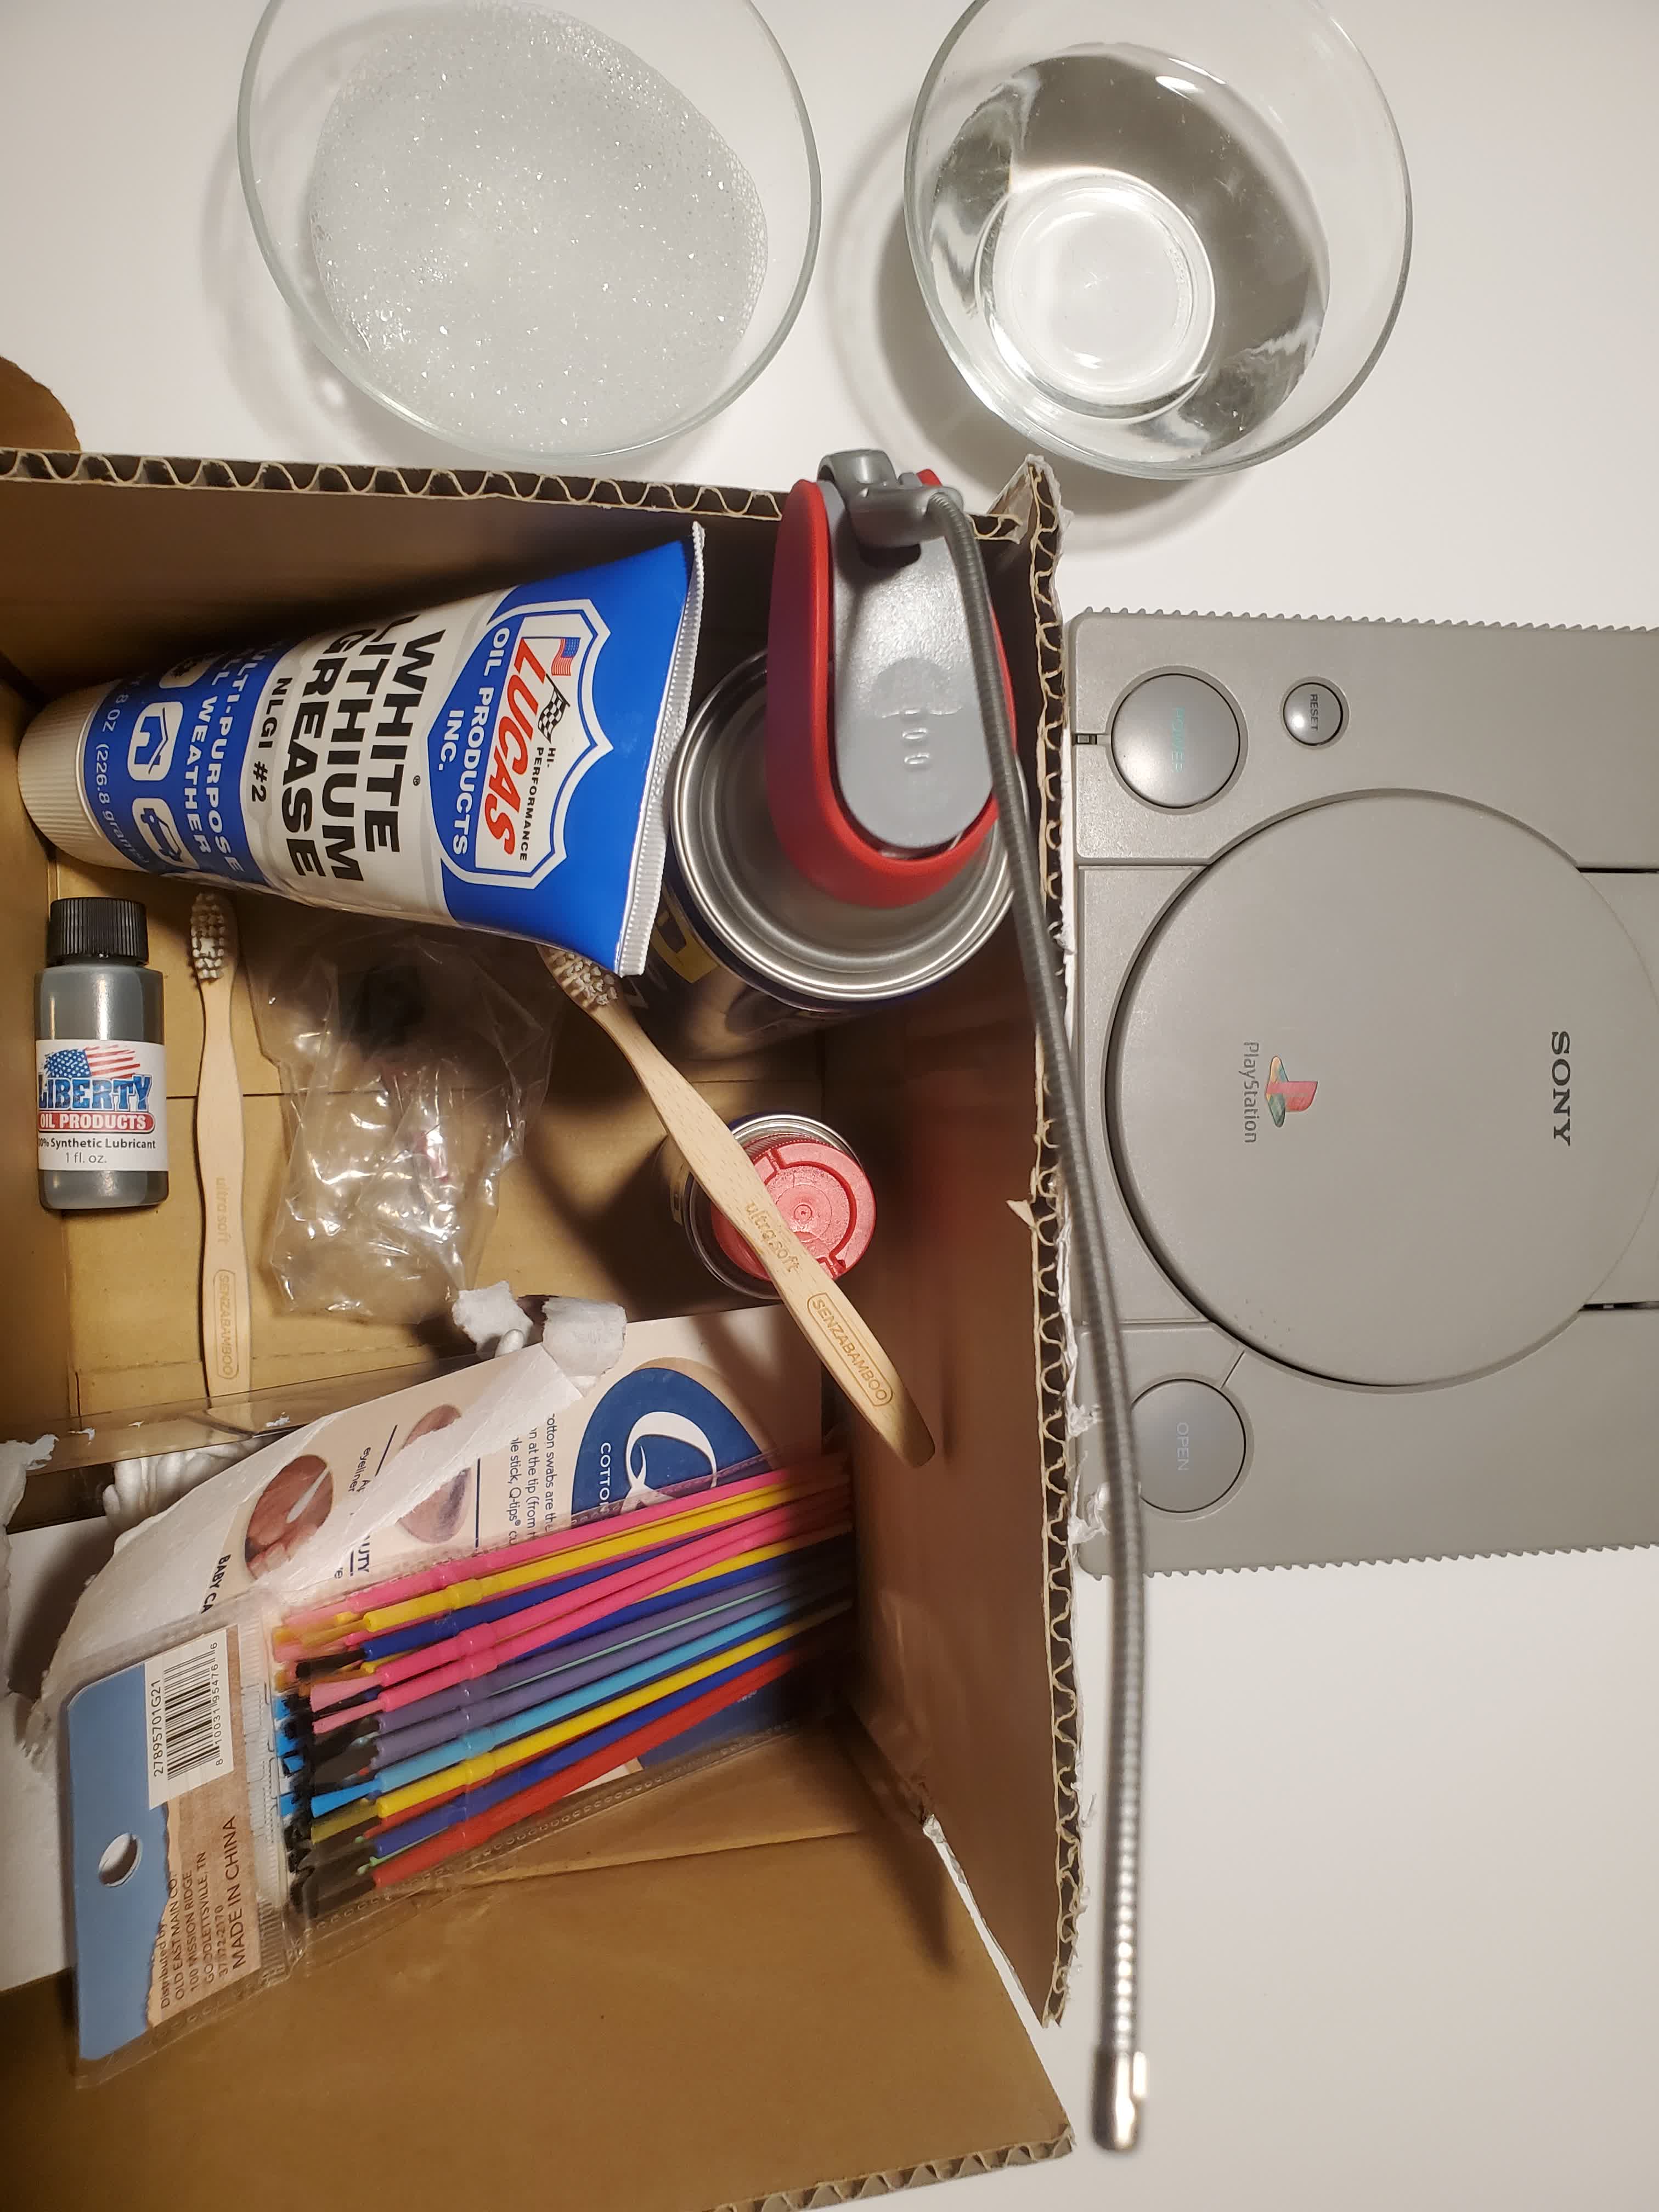
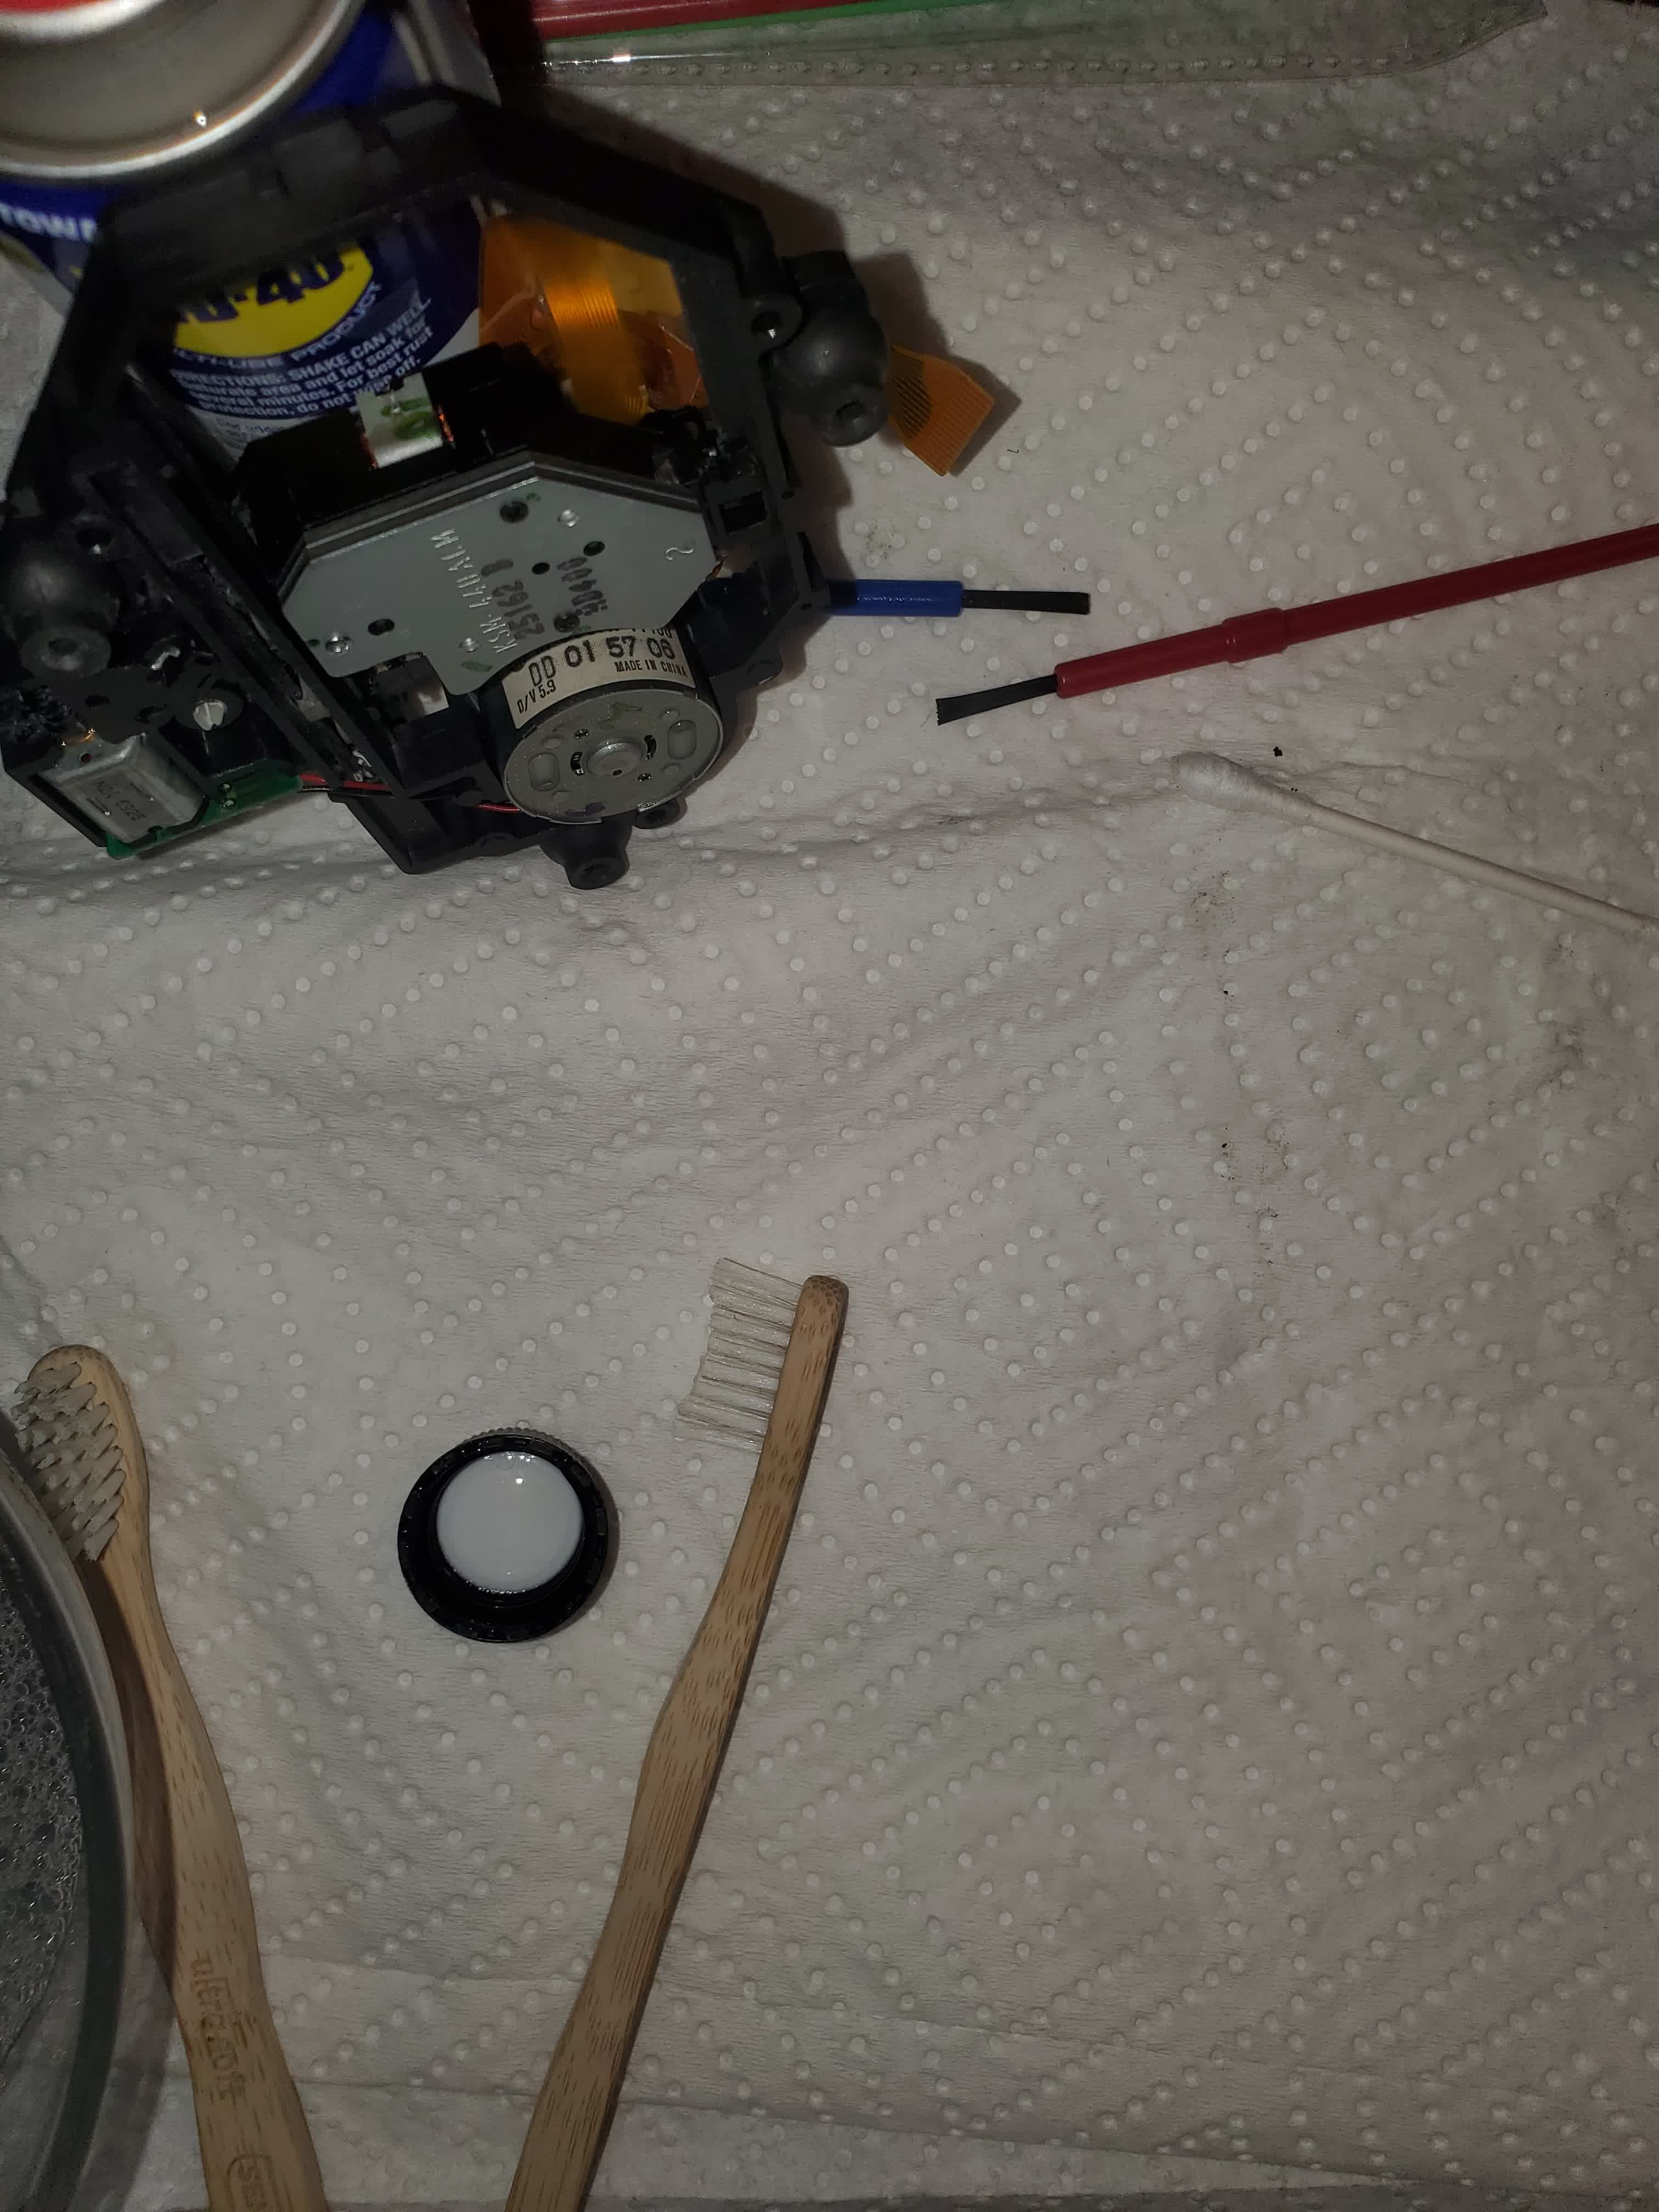
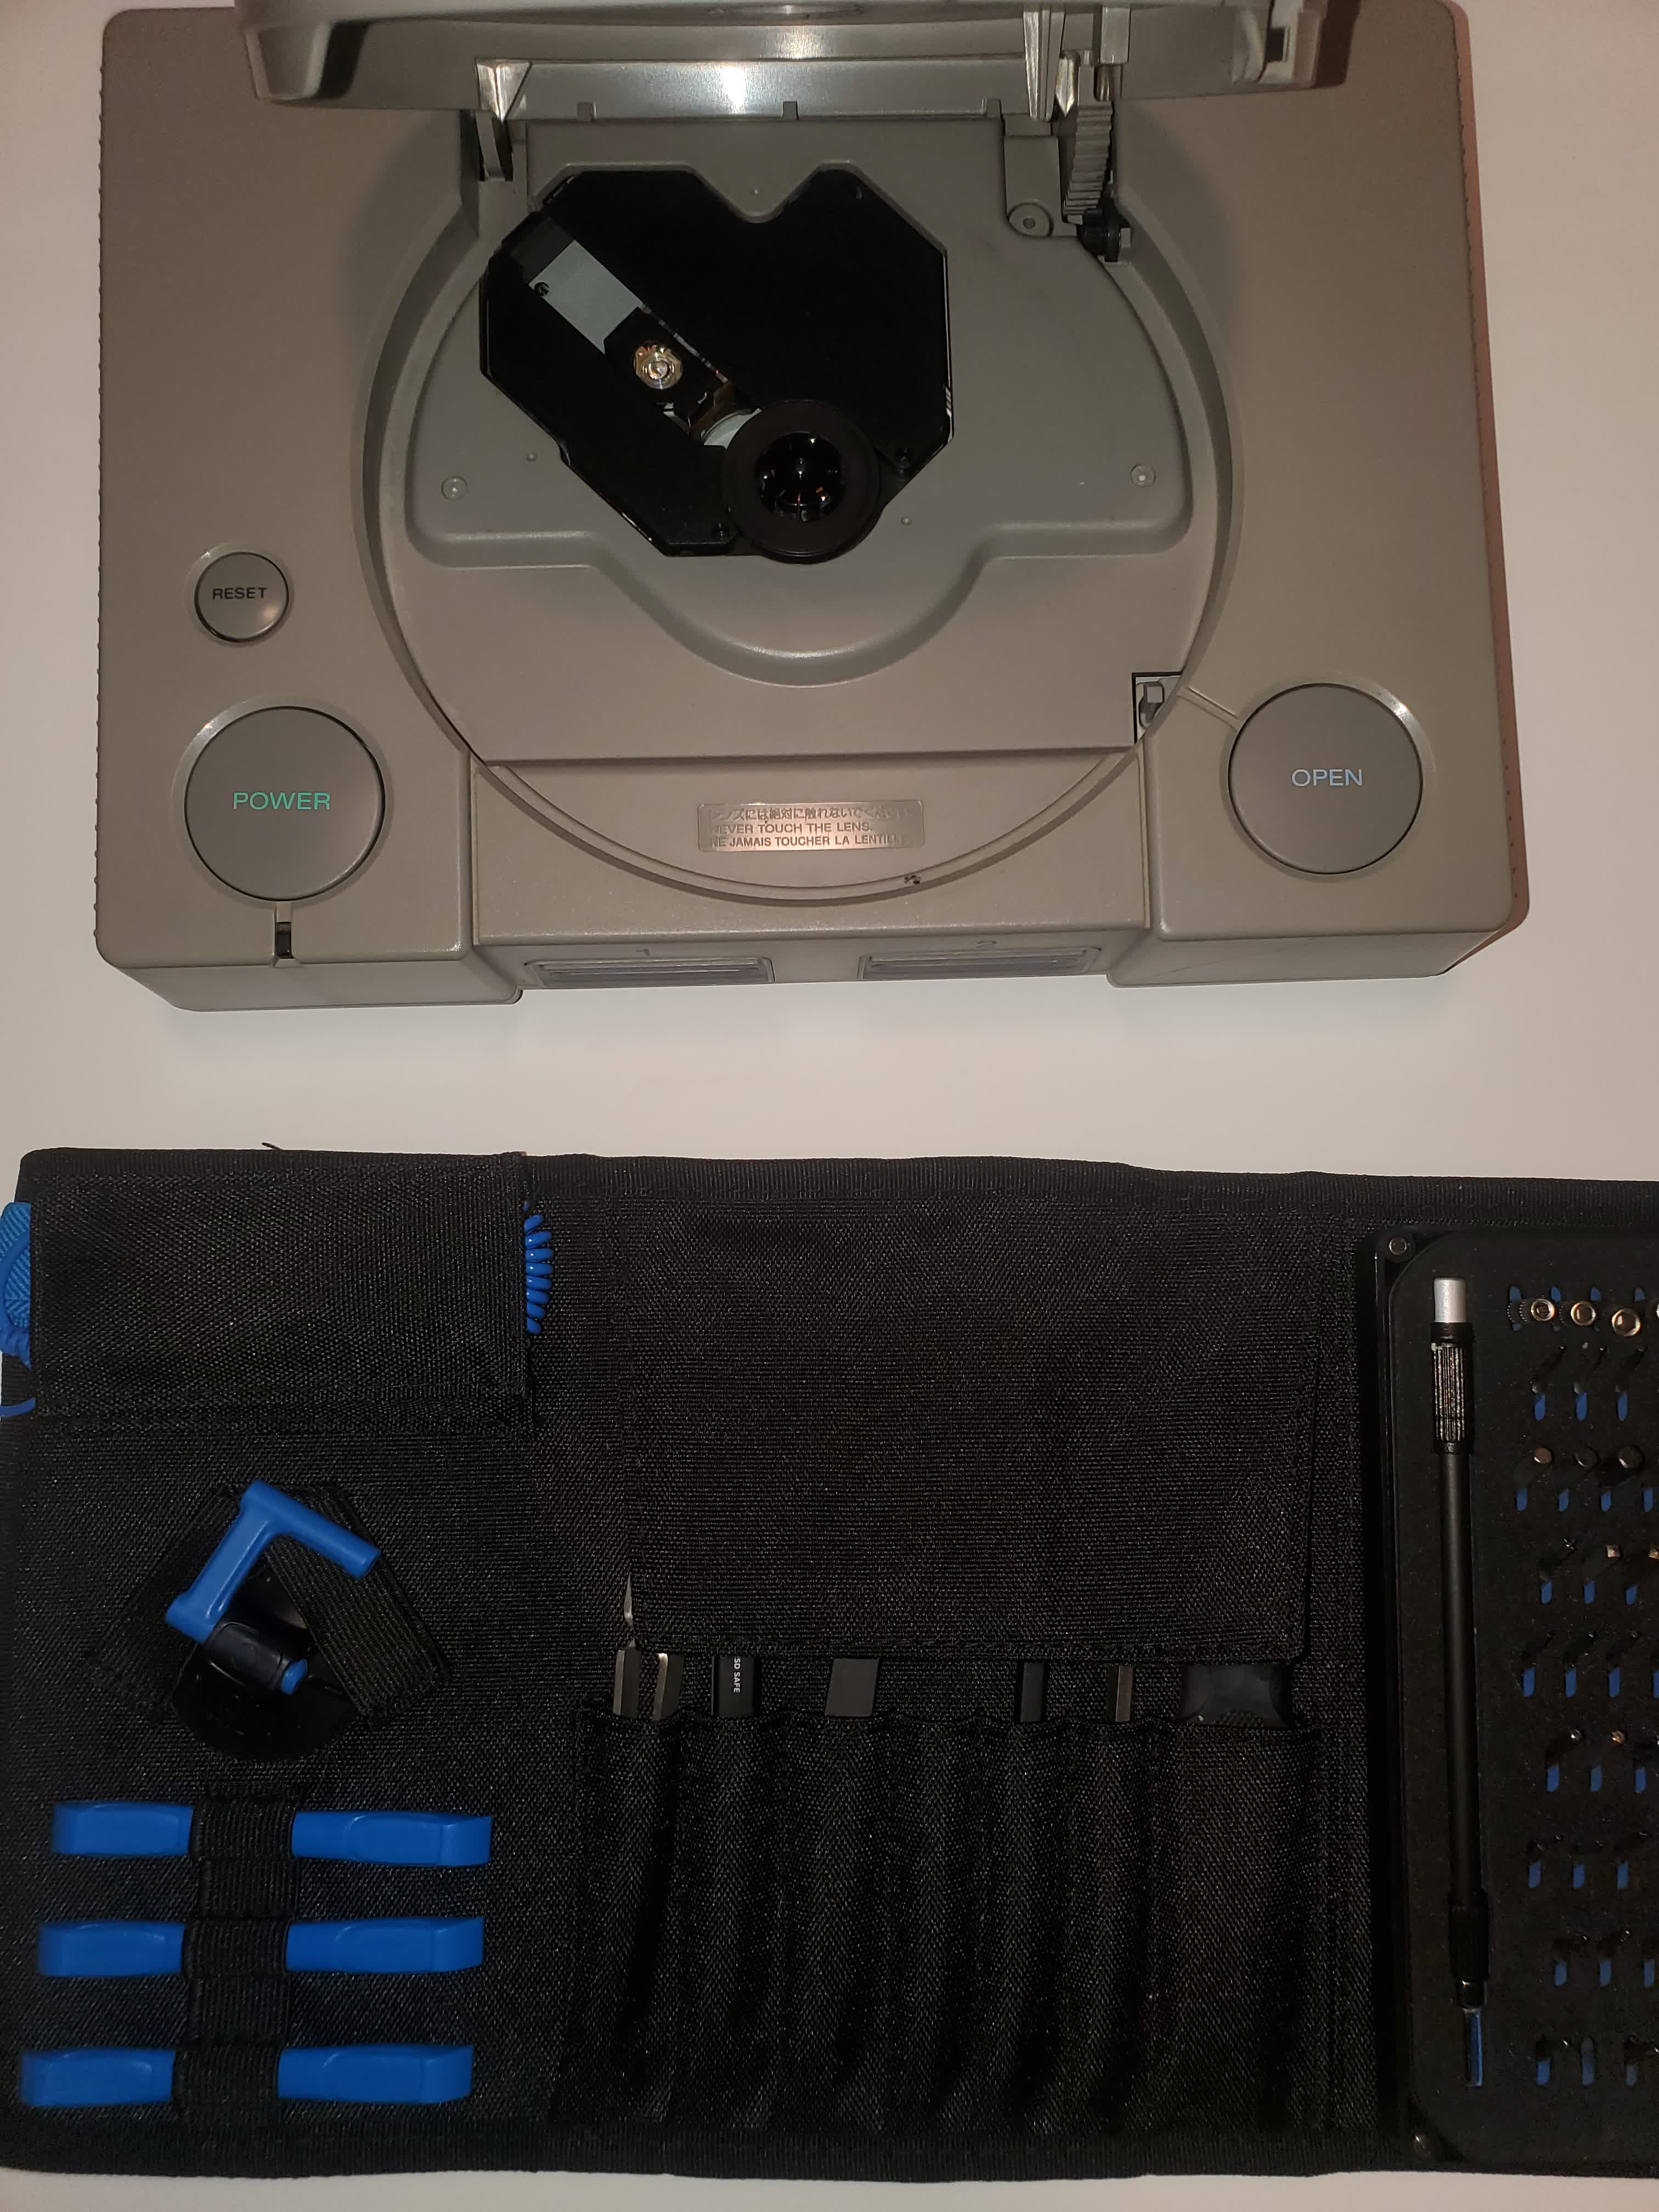
This guide requires quite a few things to complete it. Before continuing you should have:
- A Pack of clean, fine-tipped, thin, and very small paintbrushes..
- At least 2 clean toothbrushes.
- A tube of white lithium grease.
- A bottle of synthetic light clock oil containing no preservatives, with a funnel top.
- A can of WD-40.
- A bowl of clean water.
- A bowl of soapy water.
- A
flathead #2 screwdriver. - A
Phillips #00 screwdriver. - A
Phillips #1 screwdriver. - Paper towels.
- A clean high thread count microfiber cloth.
Cleaning All Moving Parts
The first thing to do is to remove and strip all the original lubrication from the CD drive. Any original lubrication in a PS1 CD drive has long since lost it’s ability to provide enough frictionless movement for the laser sled and spindle motor to operate optimally at this point in time due to the sheer age of the hardware itself. In order to do this, we need to completely remove the CD drive itself from the console. Once the CD drive is removed, the CD drive top case can then be removed as well giving access to every lubrication point in the CD drive.
To remove the CD drive from the console, you must first do one specific task while the PlayStation is all assembled:
- Connect the console up, put in an Audio CD, and power it on.
- Using the PlayStation CD Player play the audio track that is in the middle of the audio CD. I.e., if your audio CD has 18 tracks, play track 9. If you have an odd amount of tracks, divide by 2 and round up (i.e. for 19 tracks play track 10). While the audio is playing, power off the PlayStation console. This will ‘lock’ the laser sled around the halfway point of the laser sled rails, allowing you to remove the CD drive top case later.
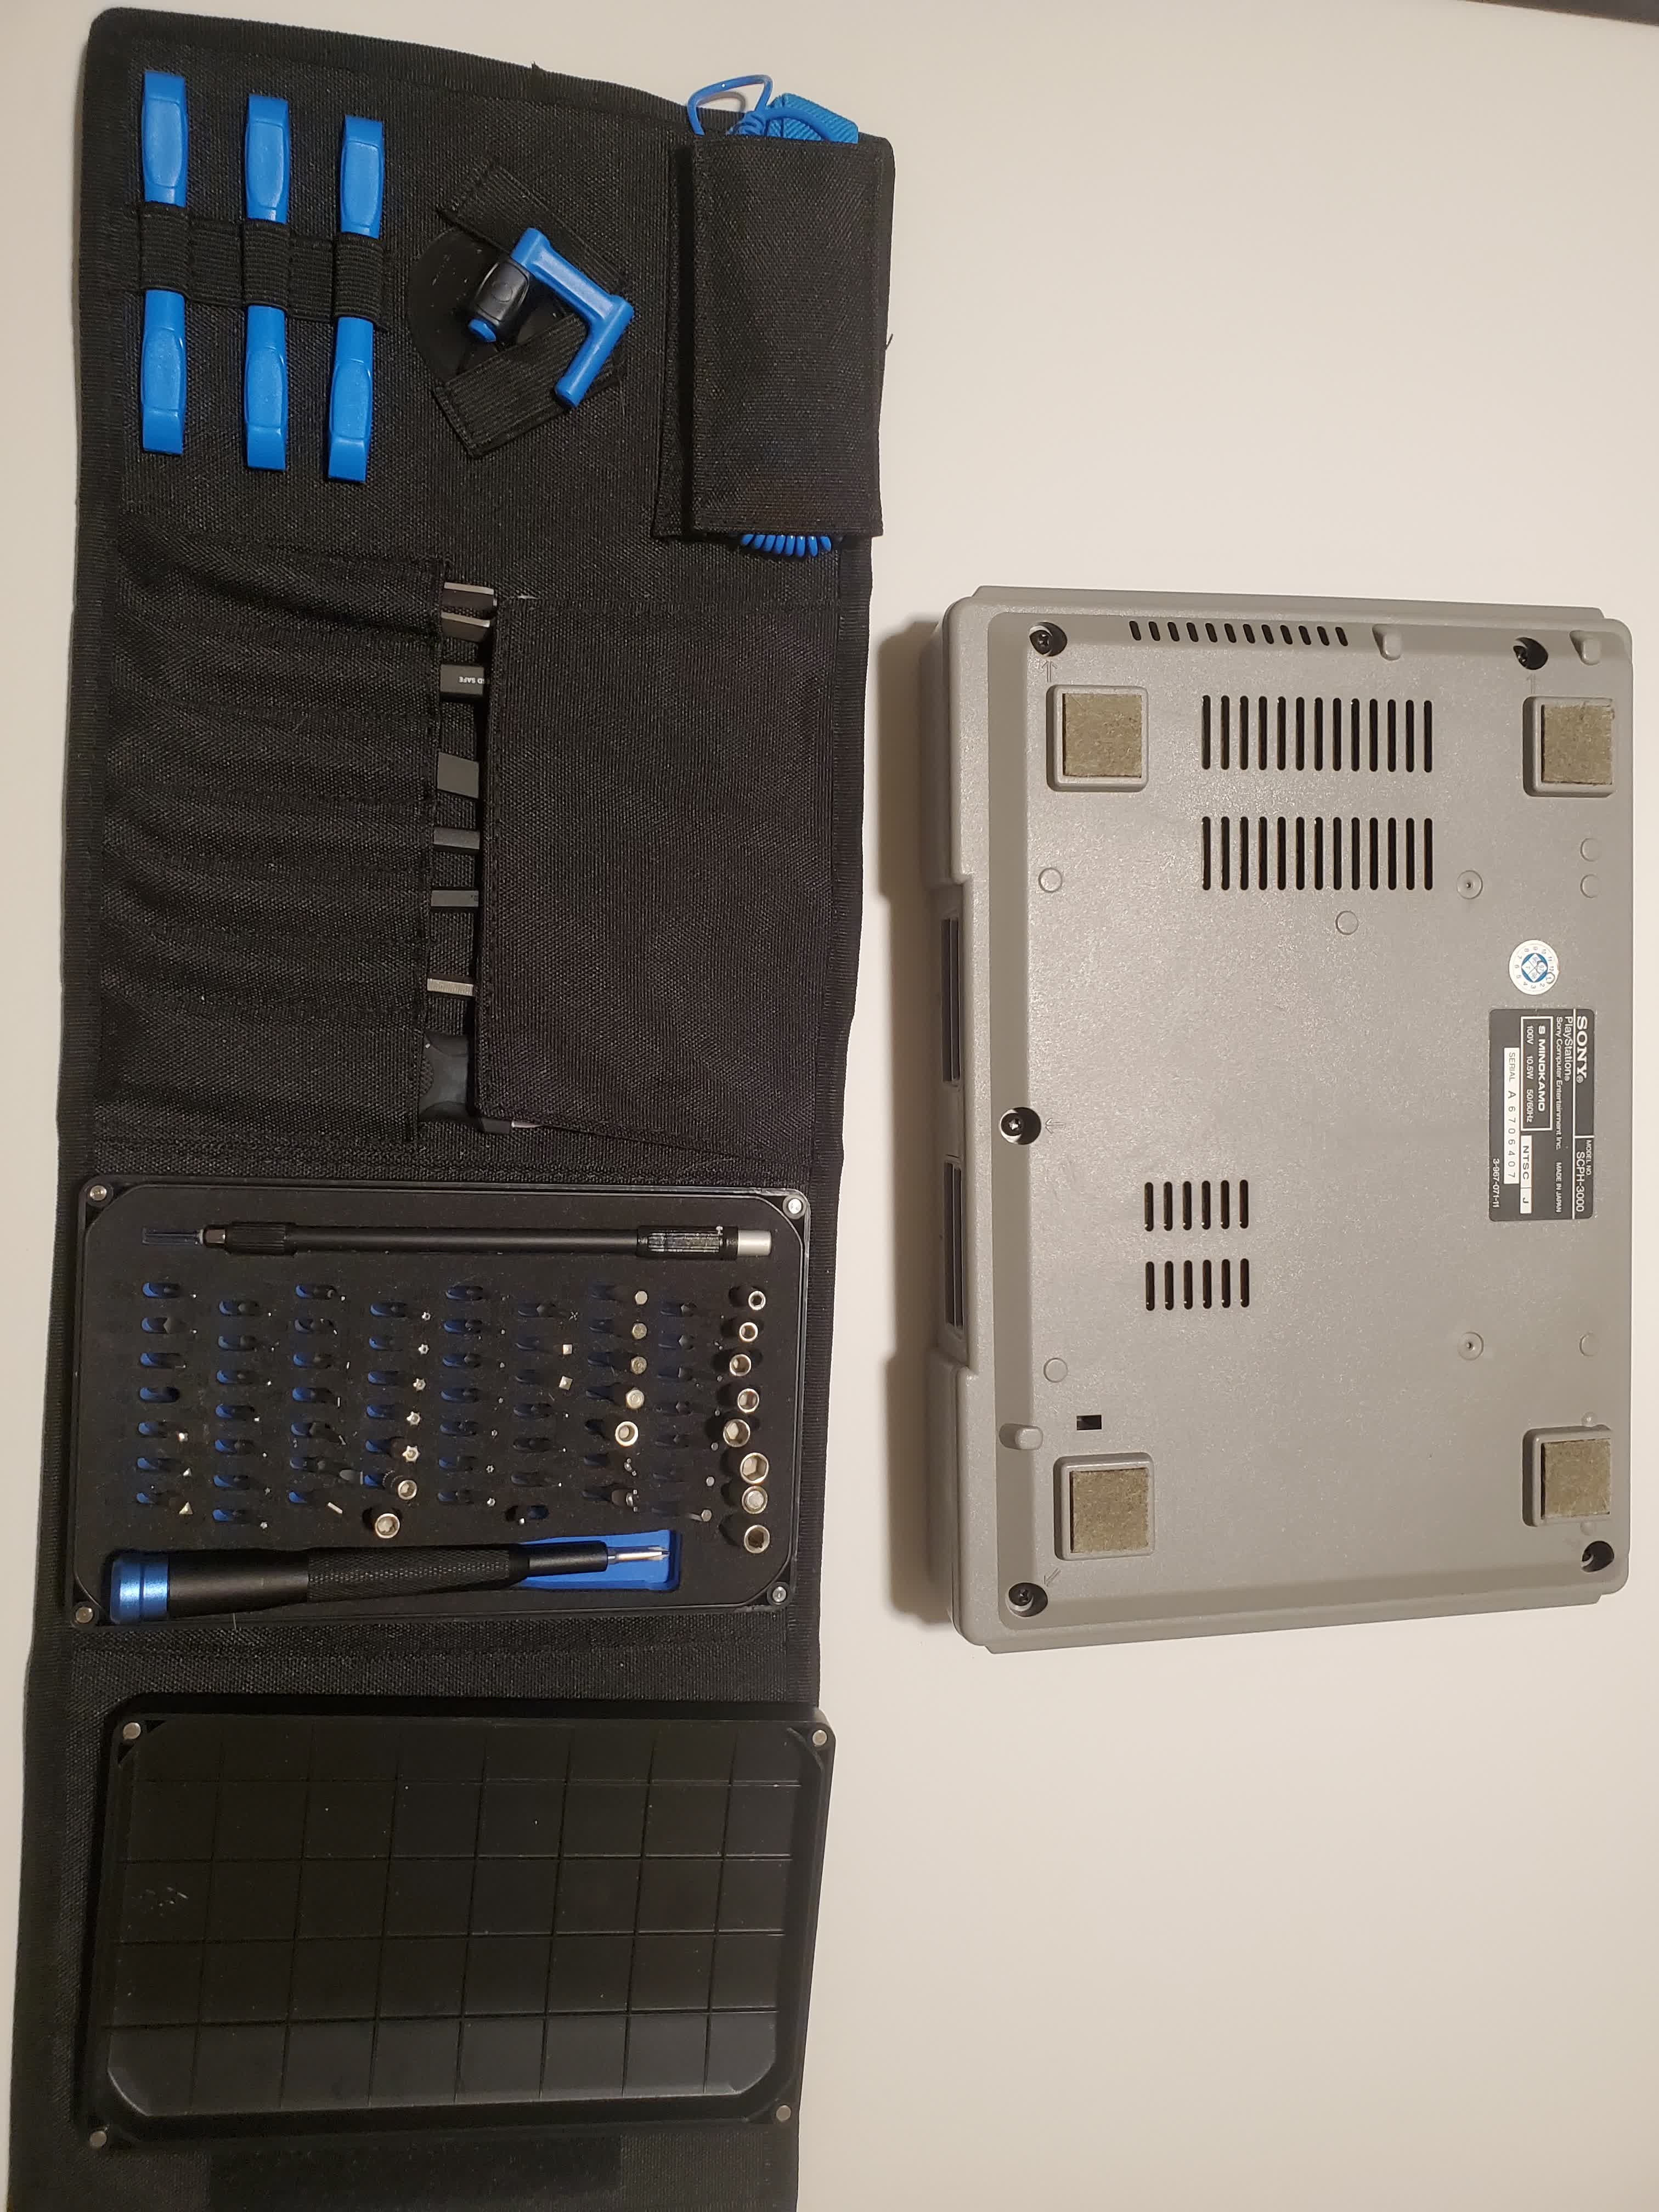
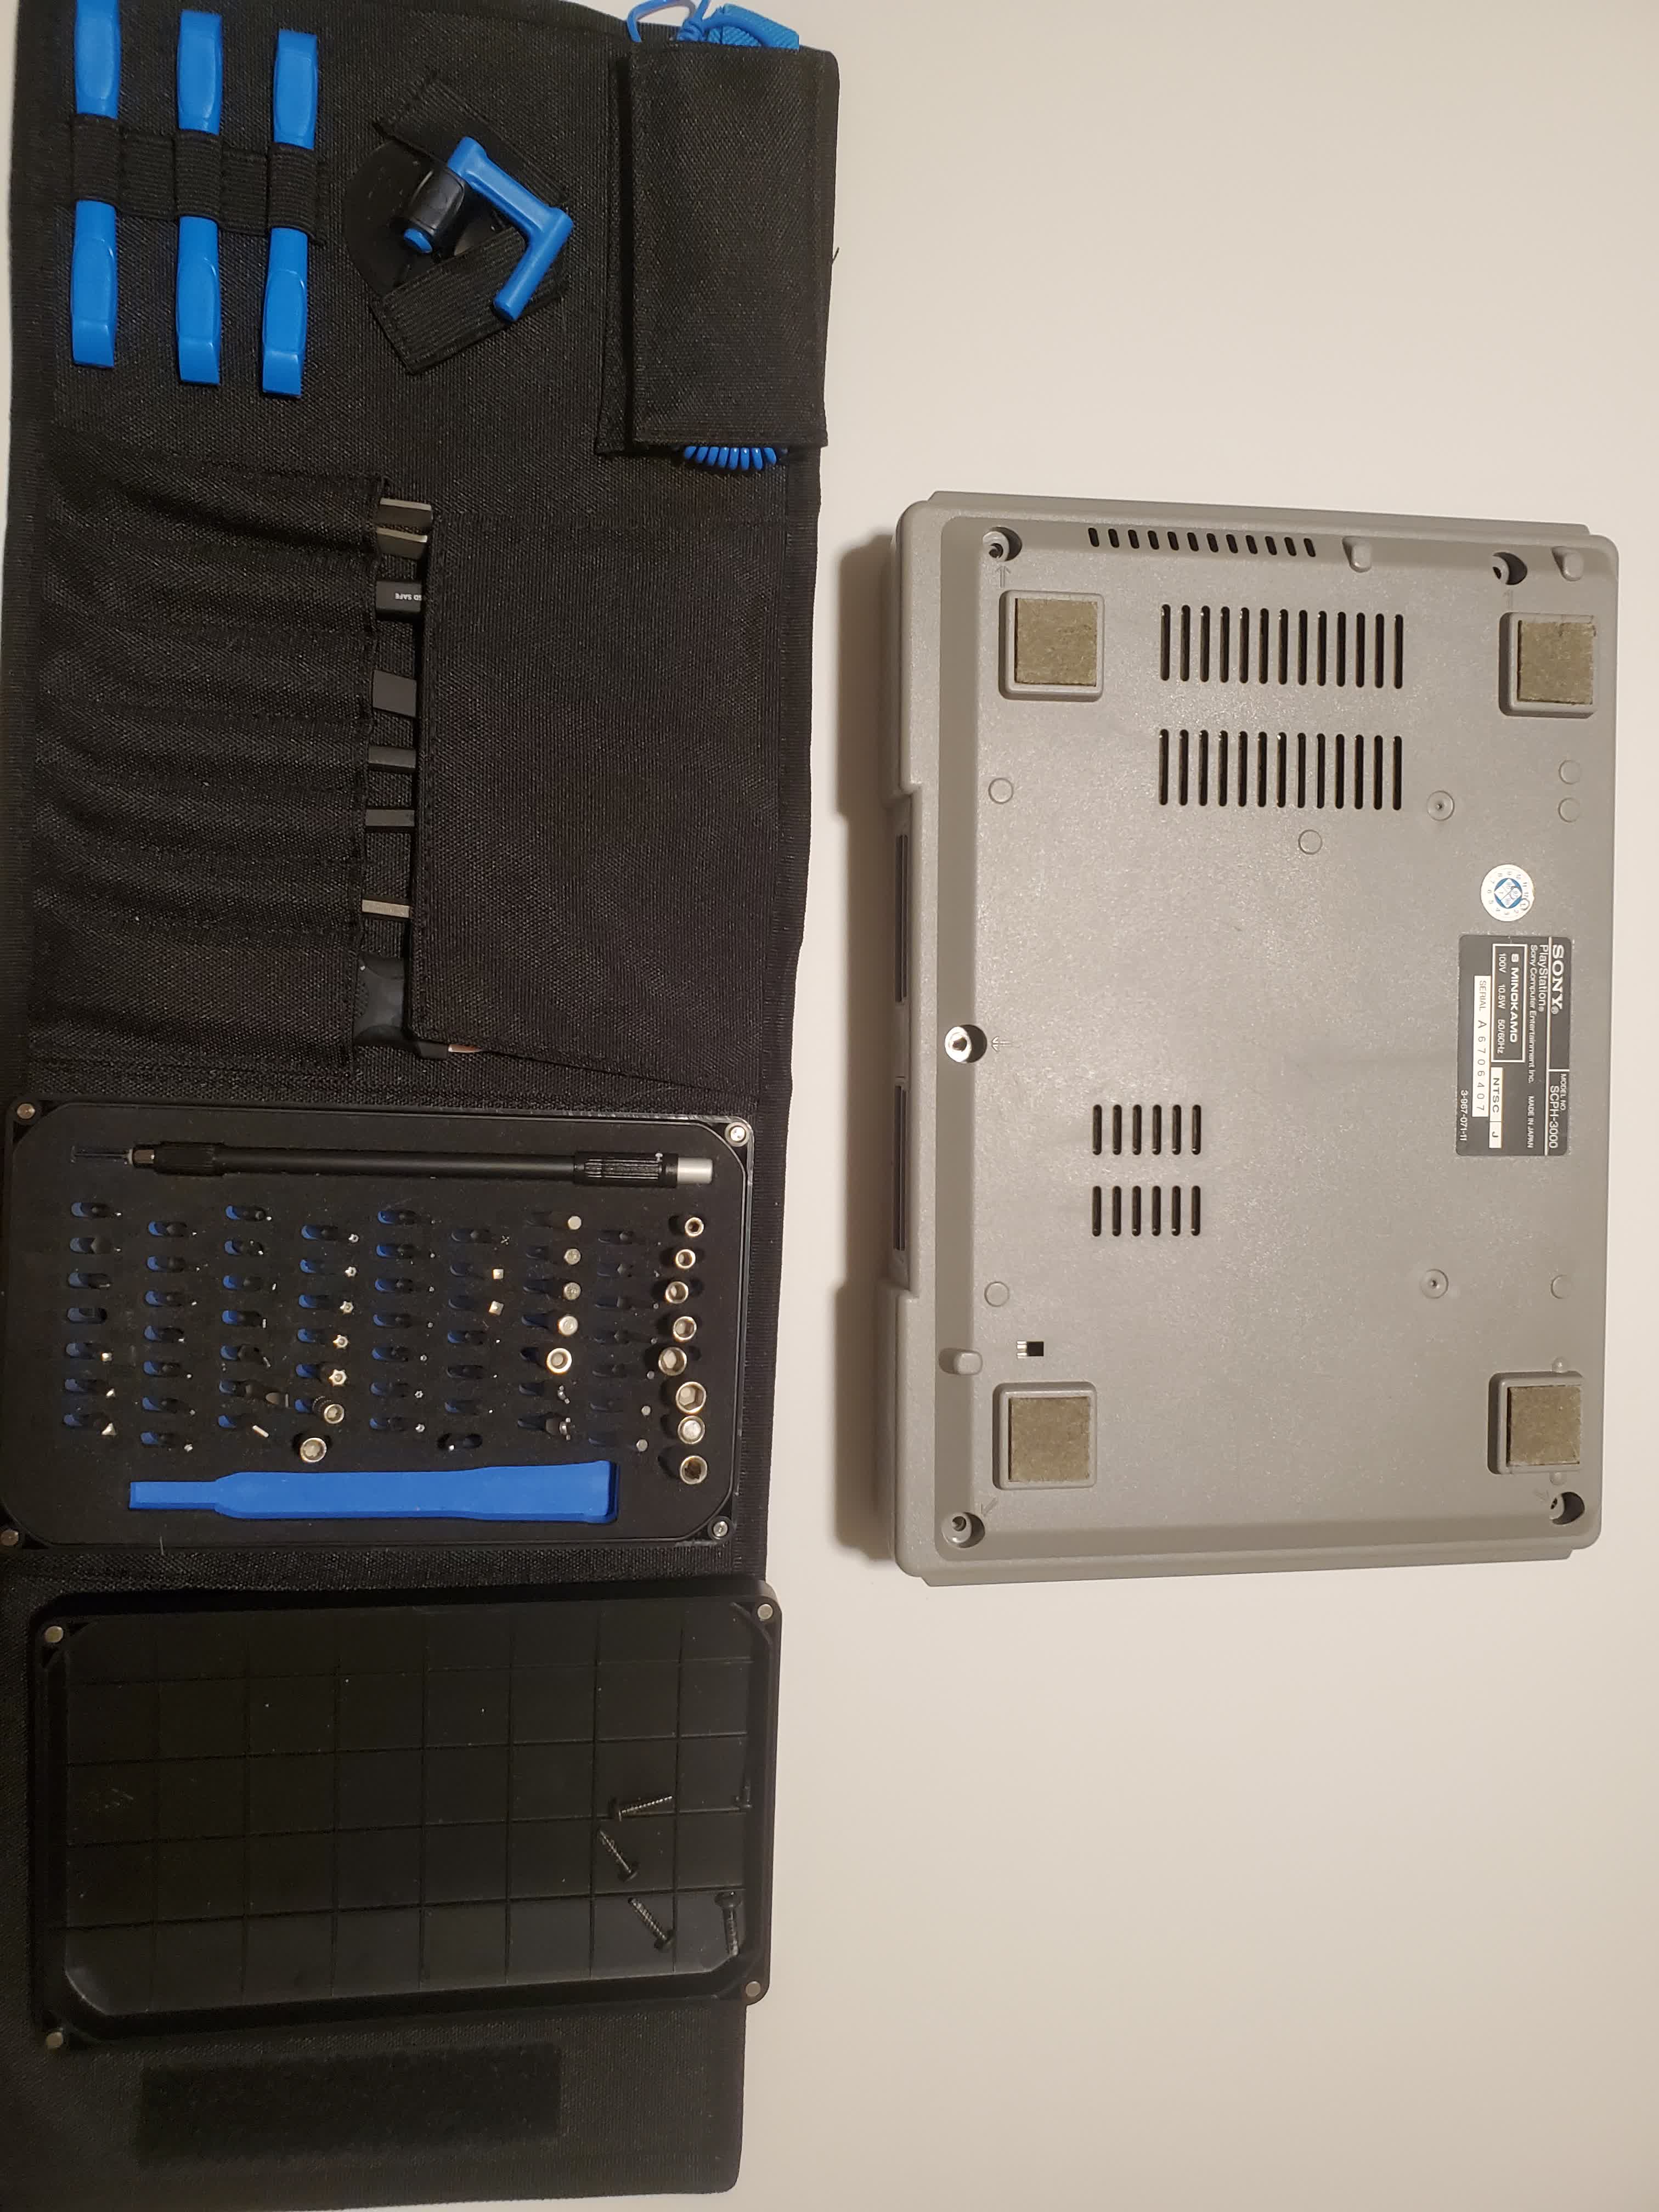
Now that the laser sled is in the right position, unplug any memory cards, remove the audio CD in the CD drive, and remove the power and video cables from the Playstation console. Flip the entire console upside down so that the model sticker is visible. Unscrew the 5 Phillips #1 screws on the bottom of the PlayStation console. After all screws are removed flip the PlayStation back over right side up. Take off the top case of the console by simply raising it off of the lower base, exposing the CD drive/motherboard.
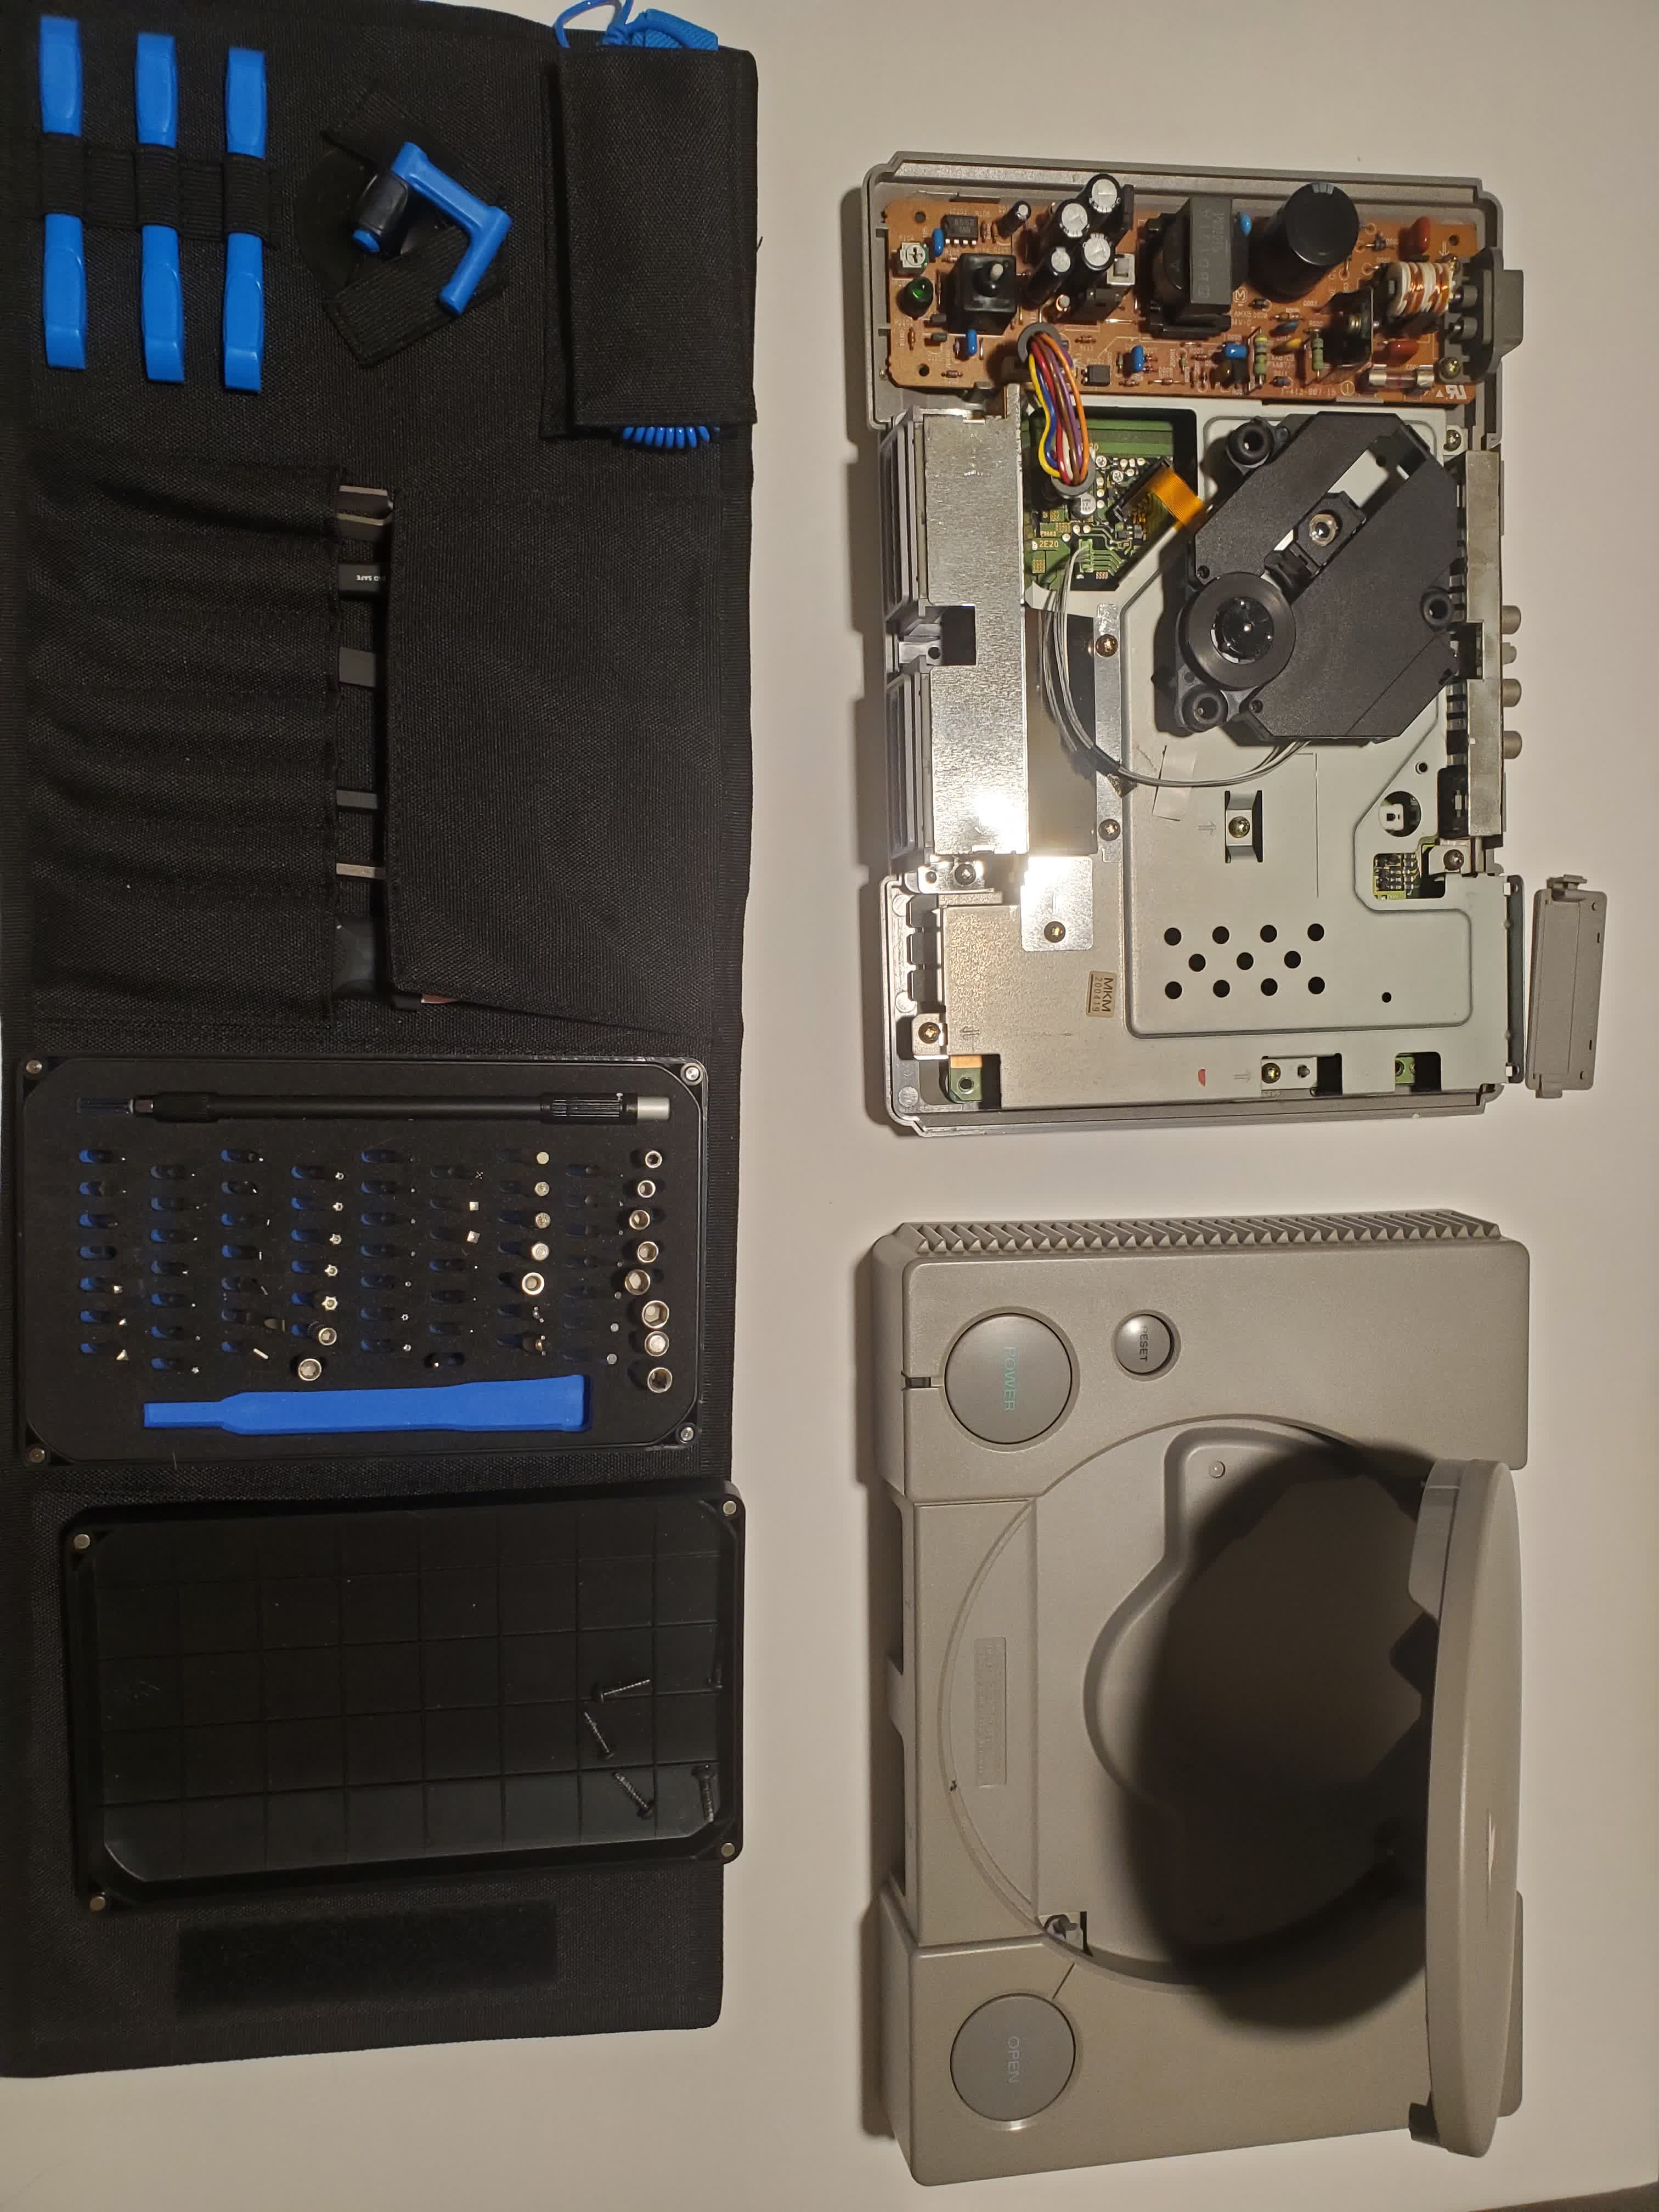
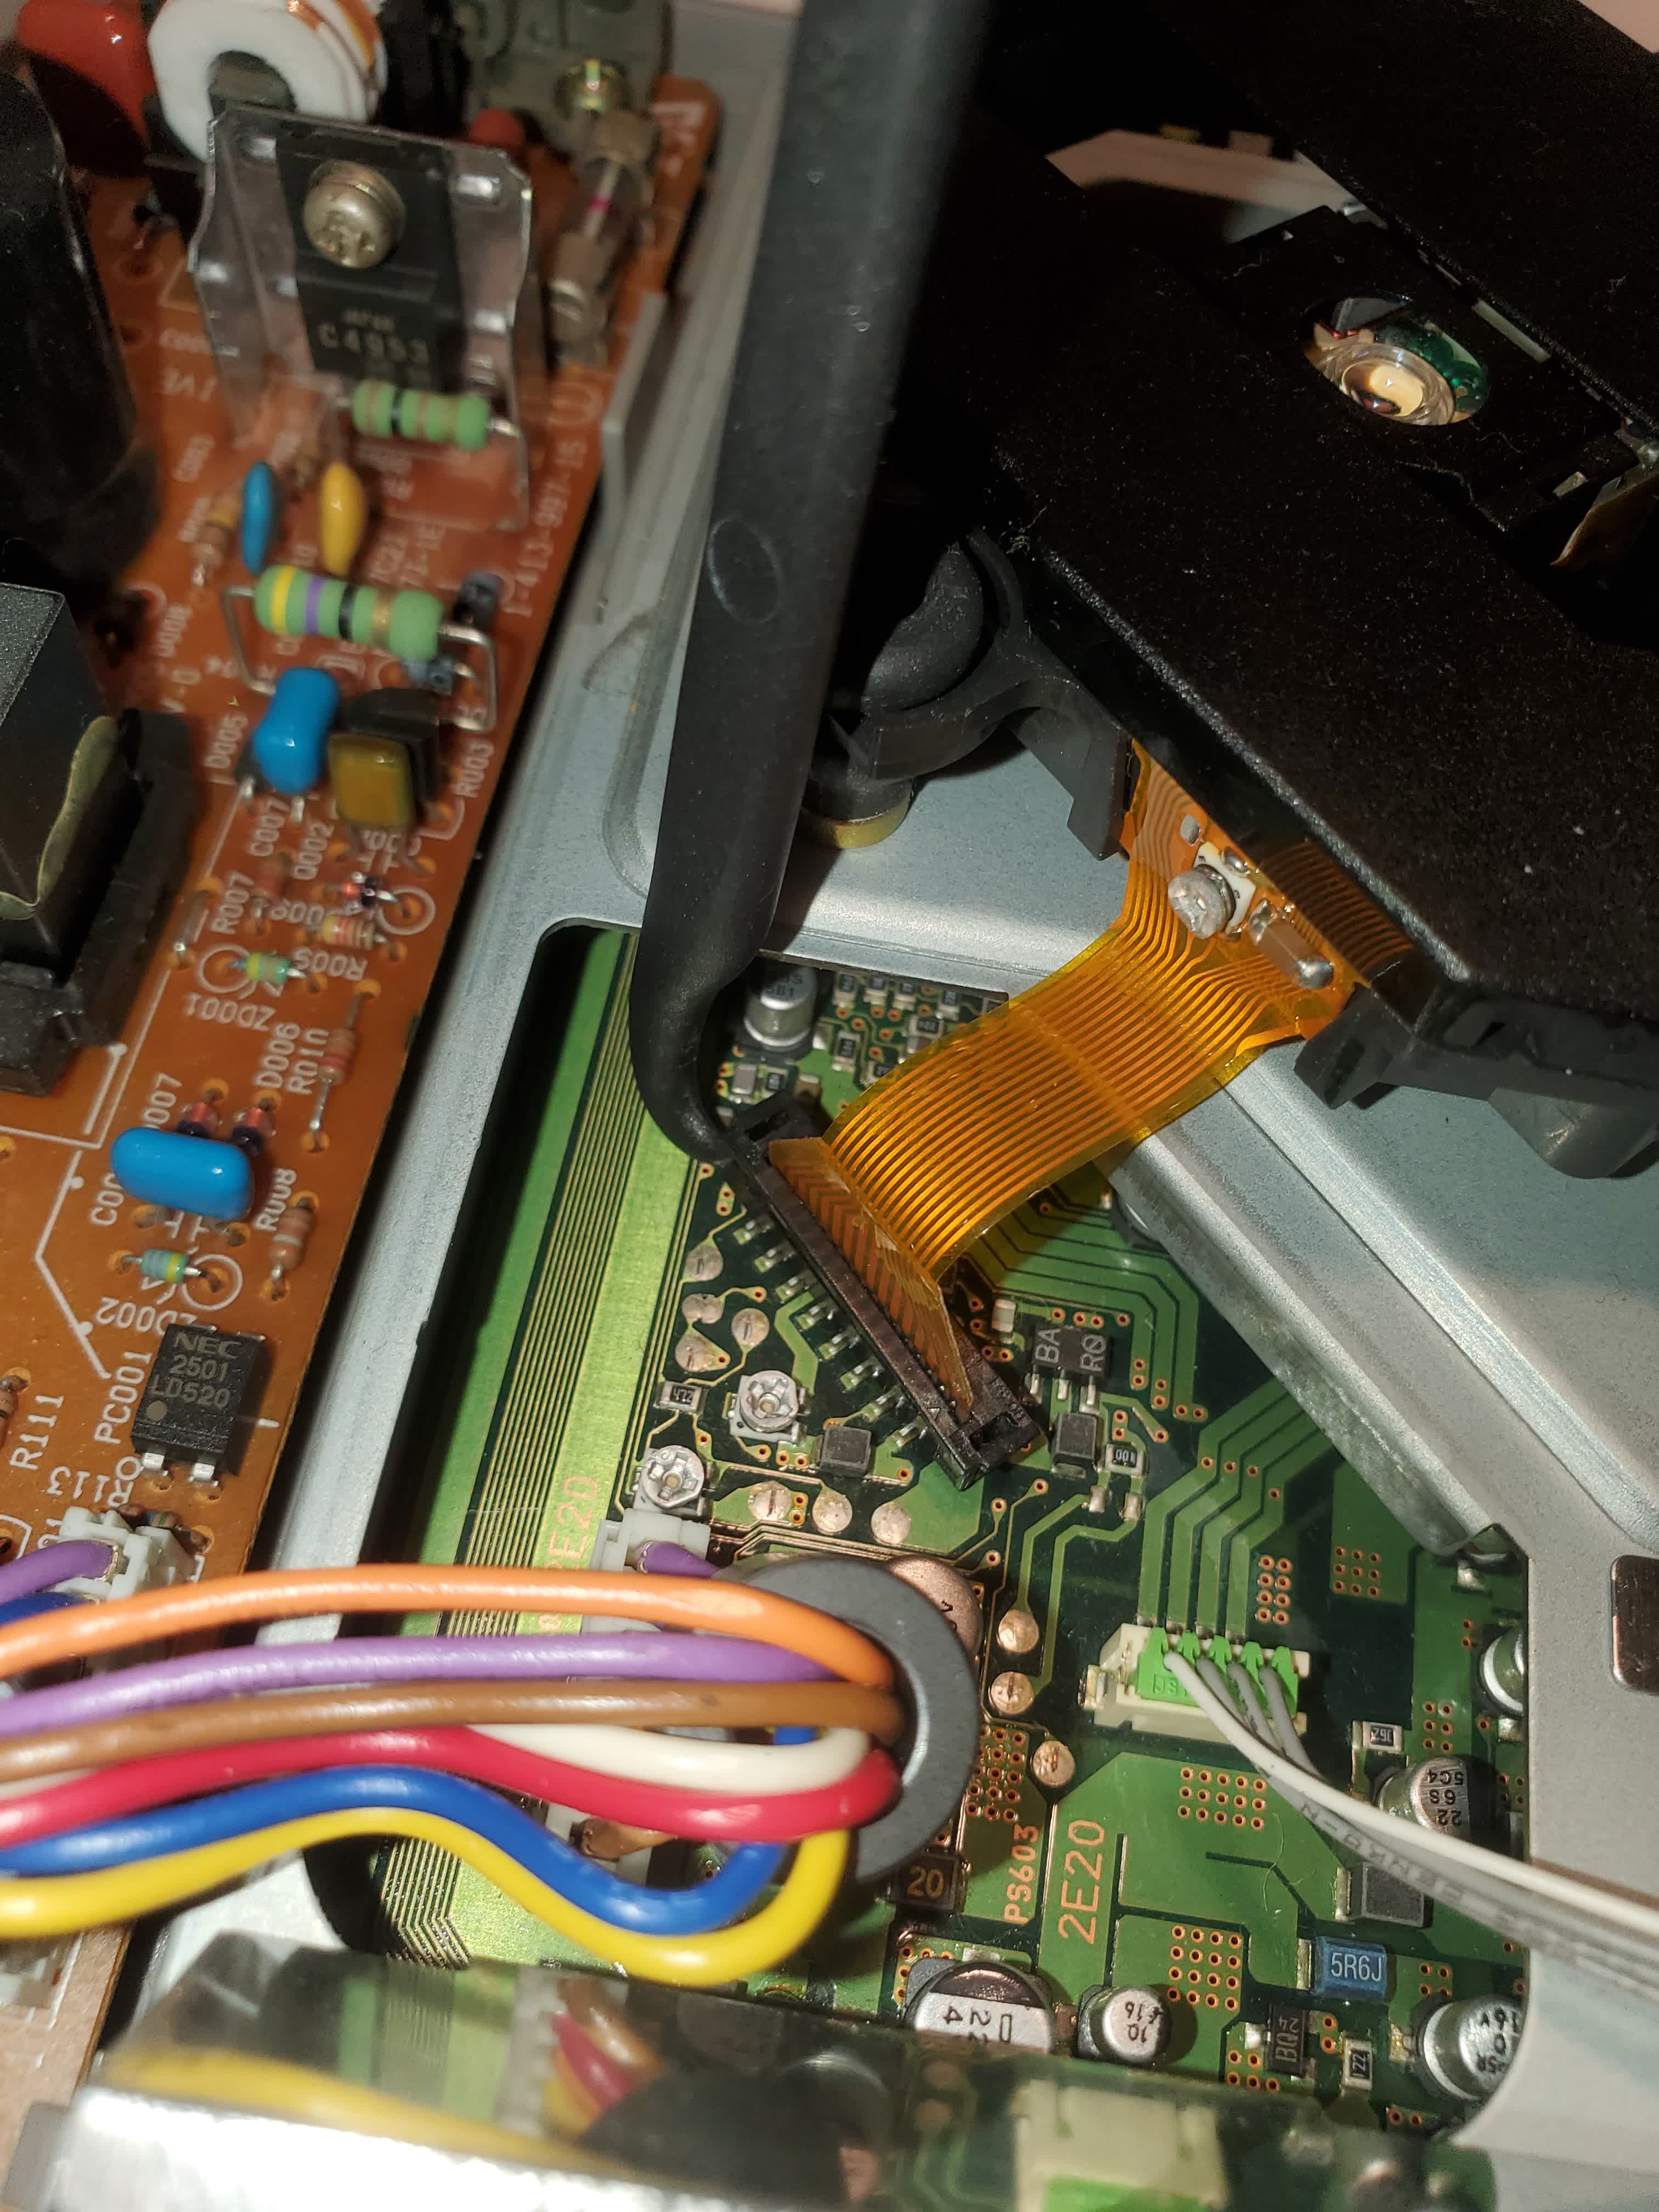
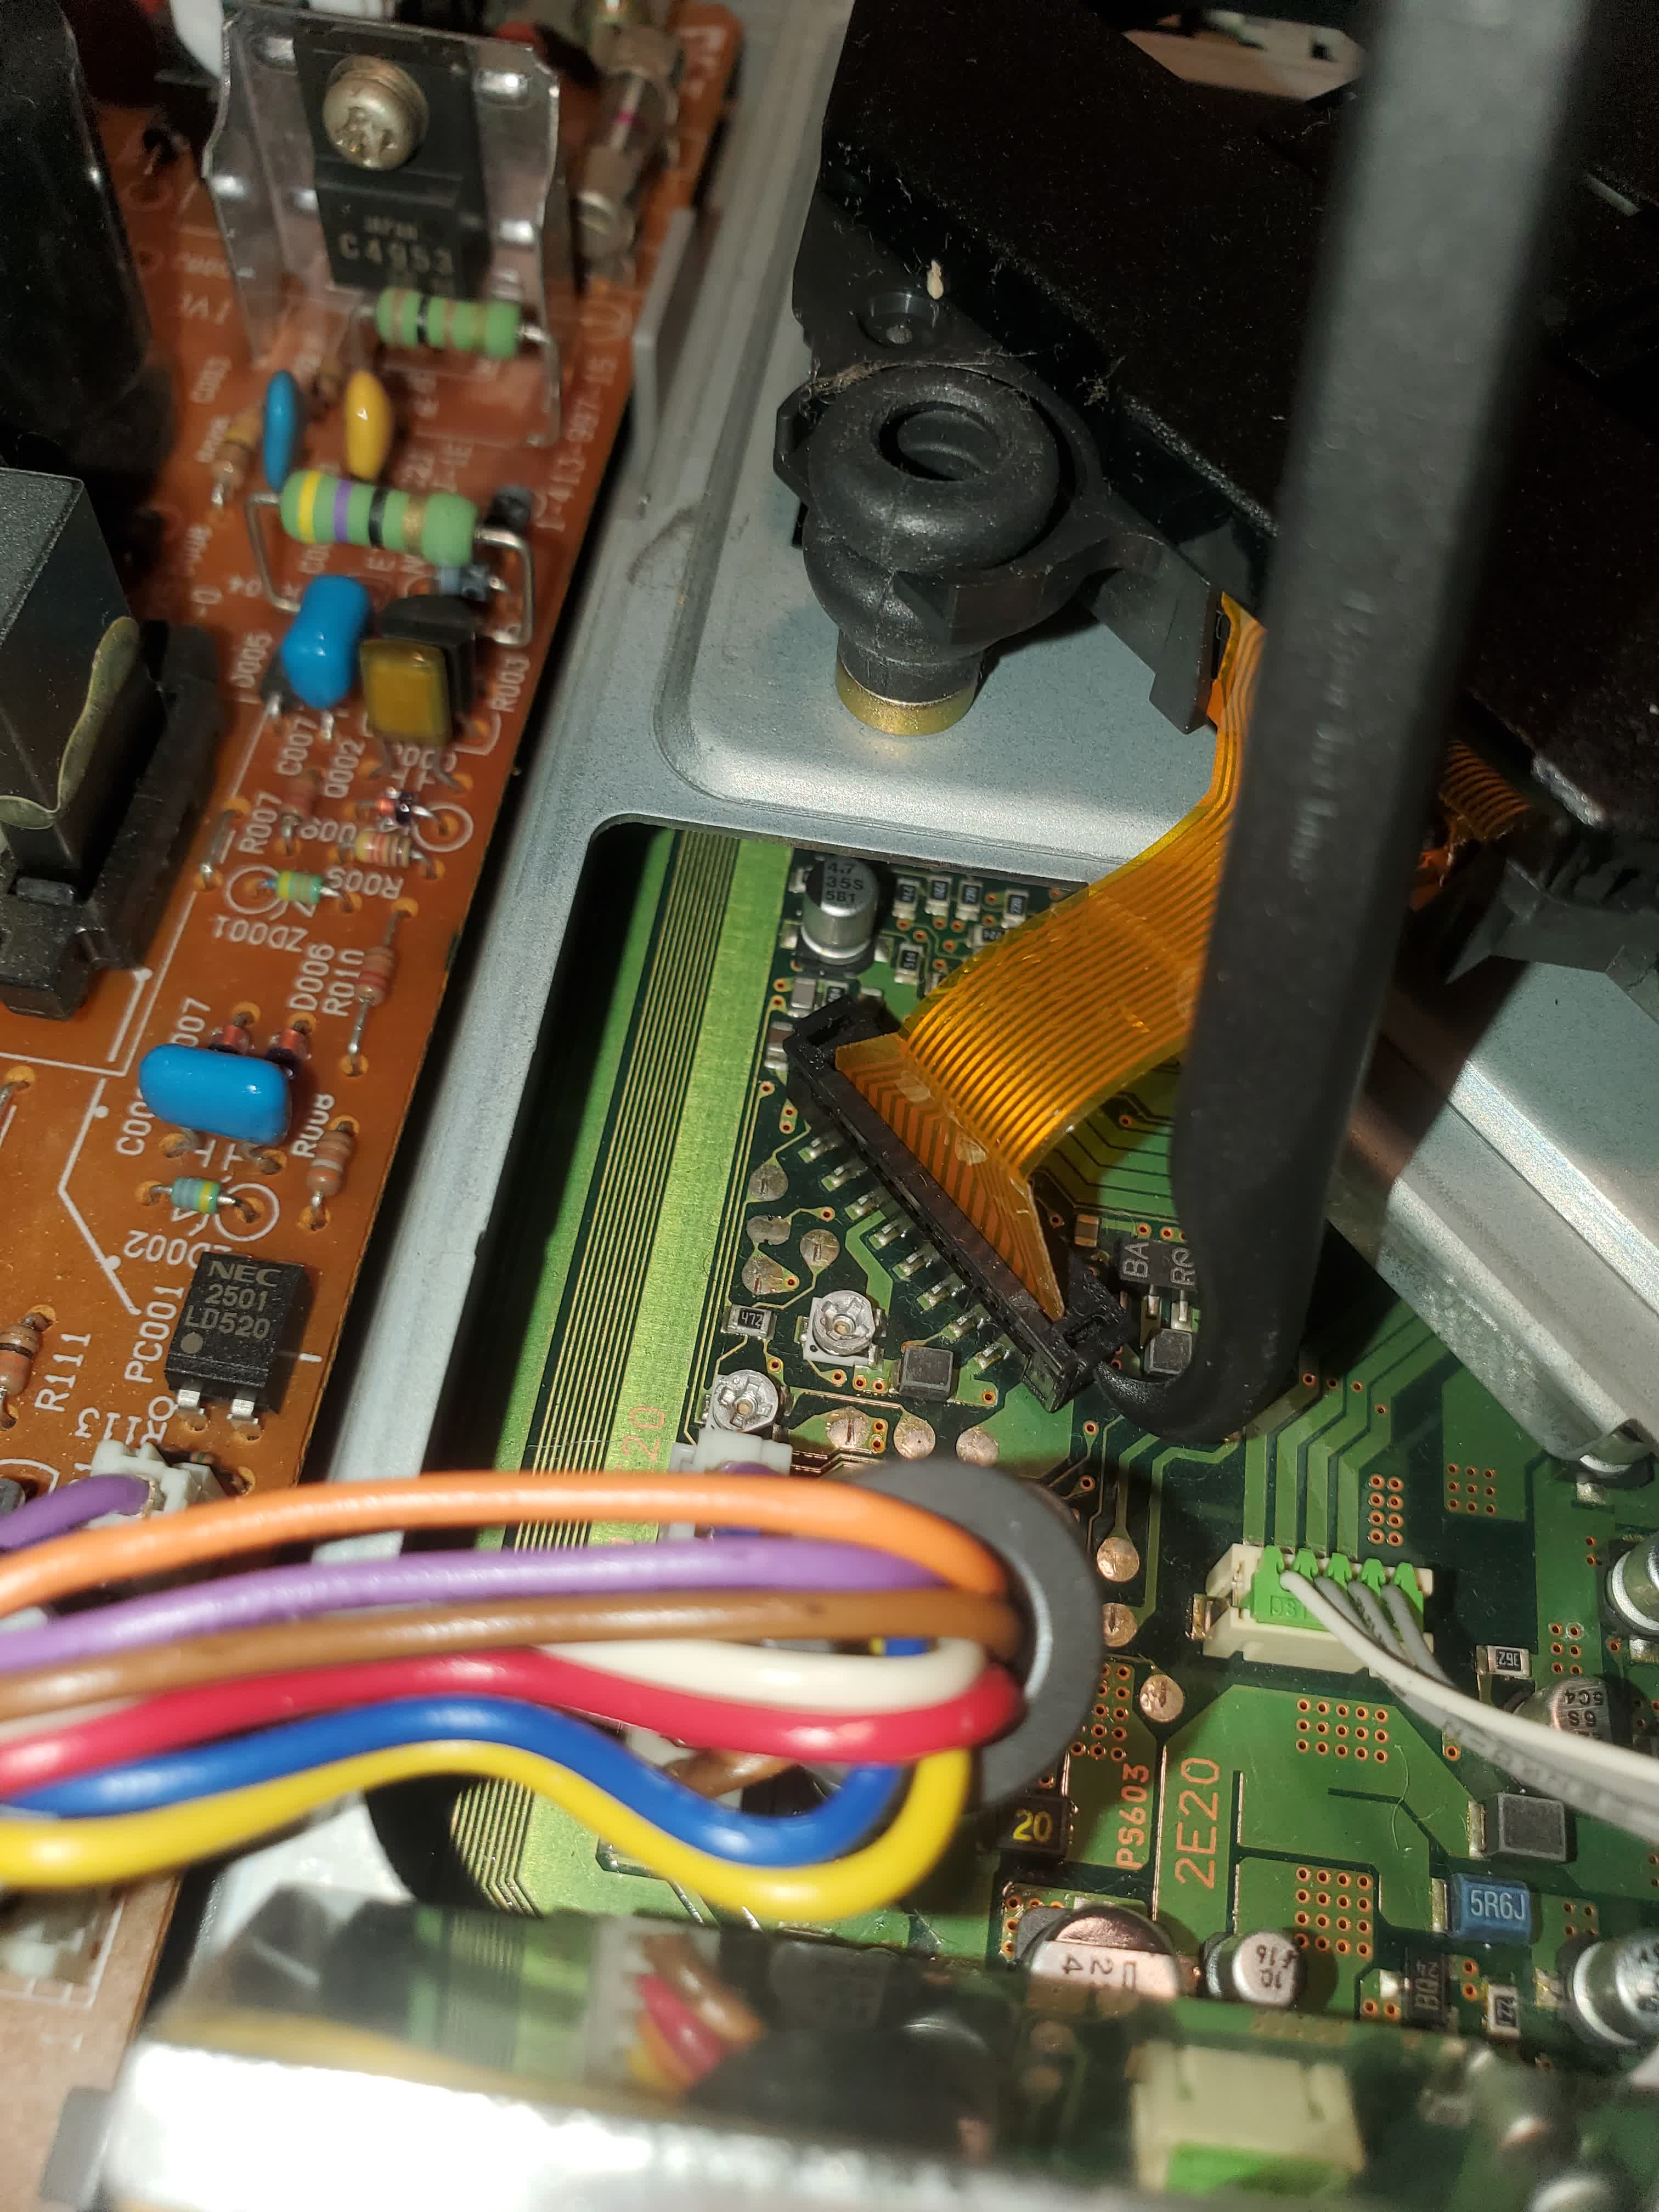
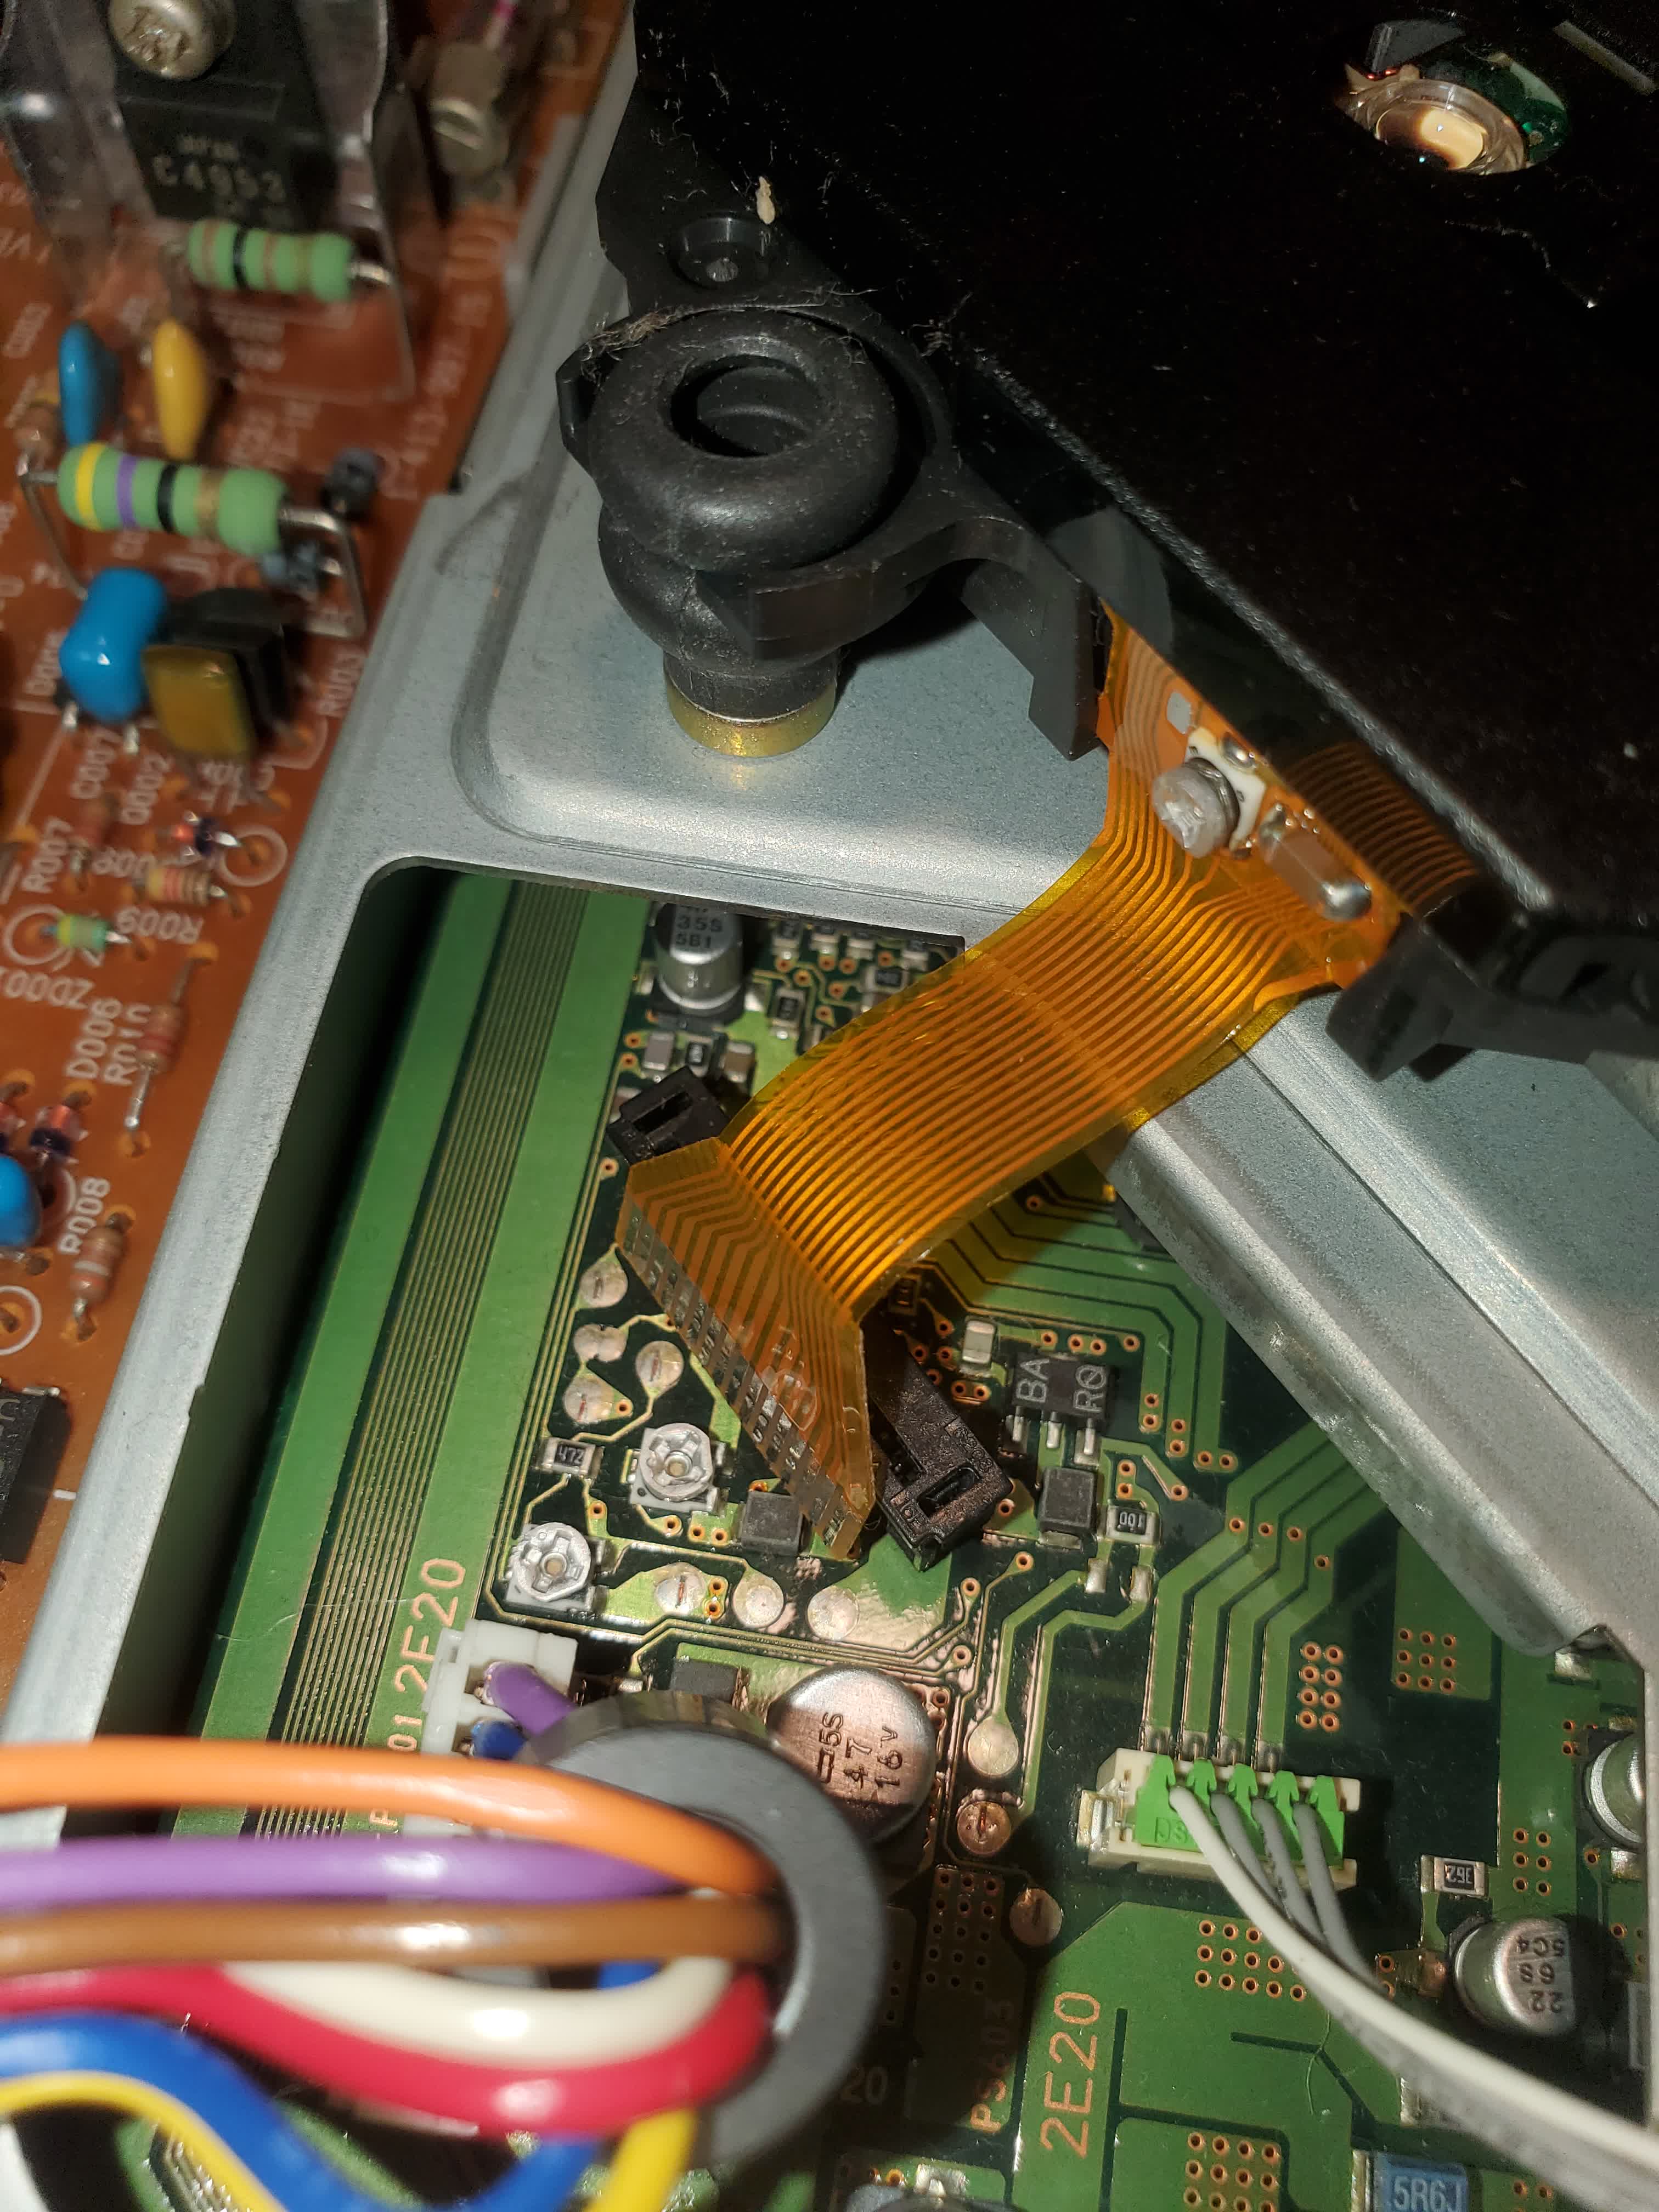
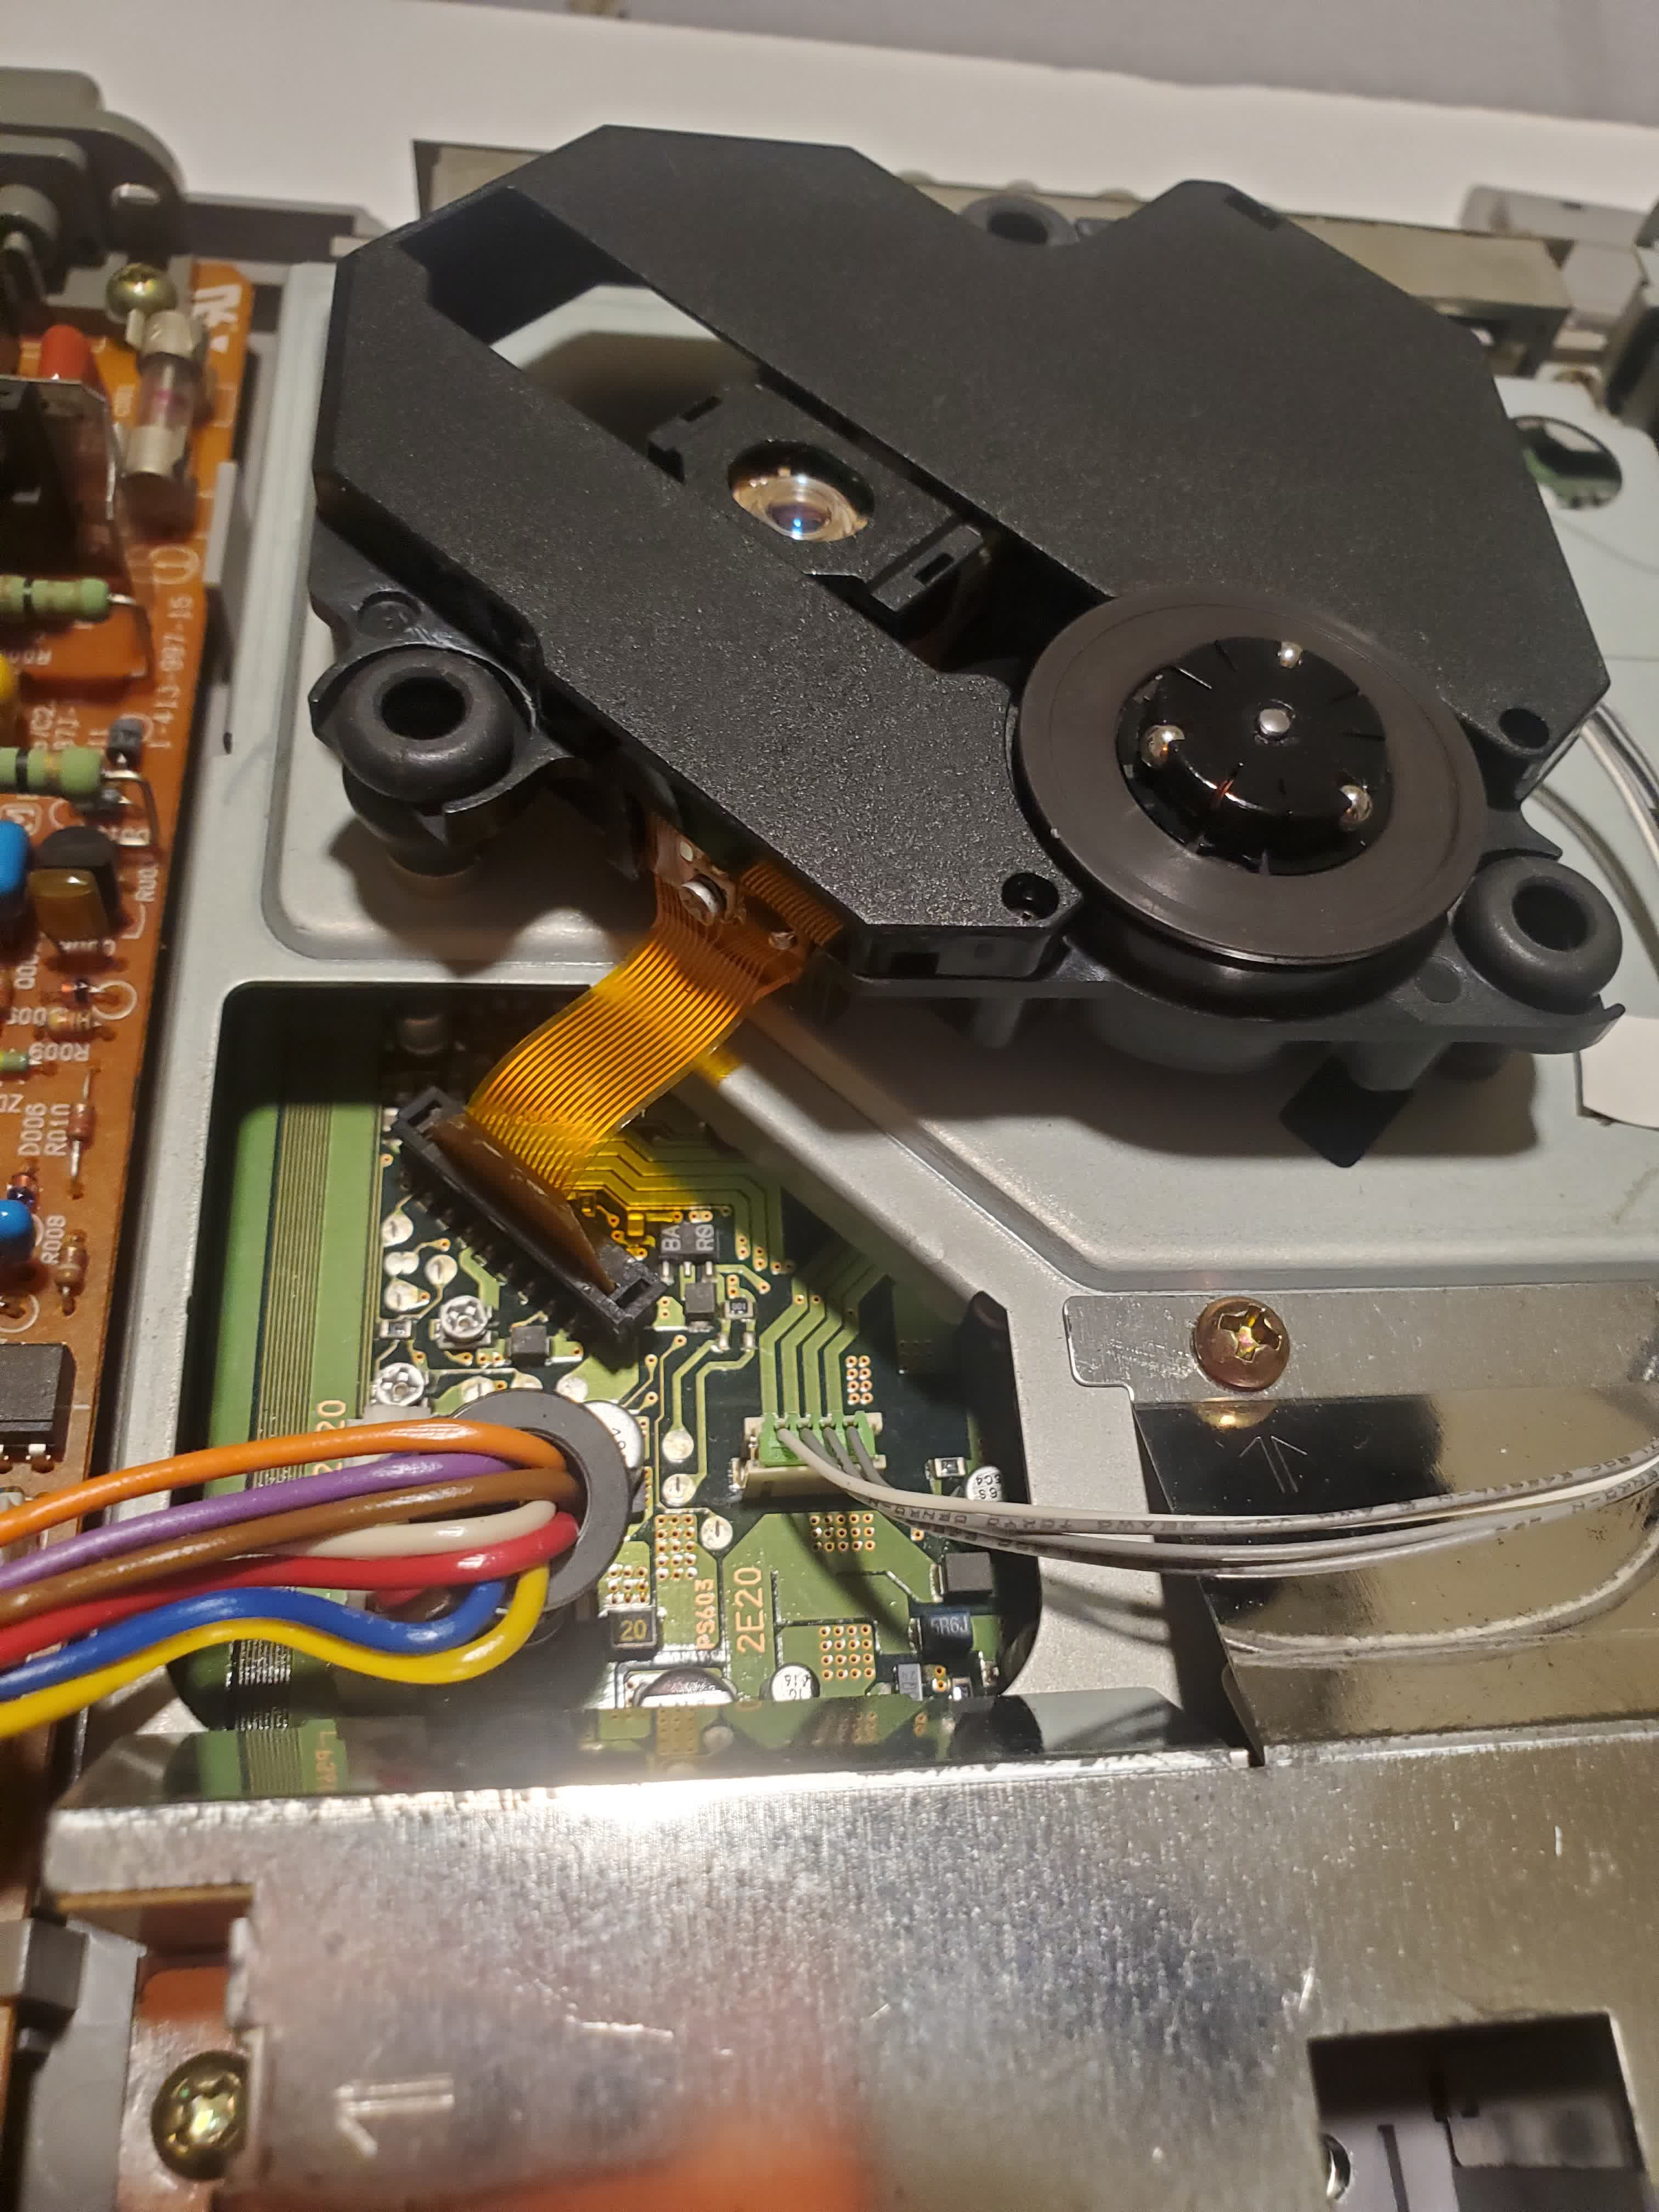
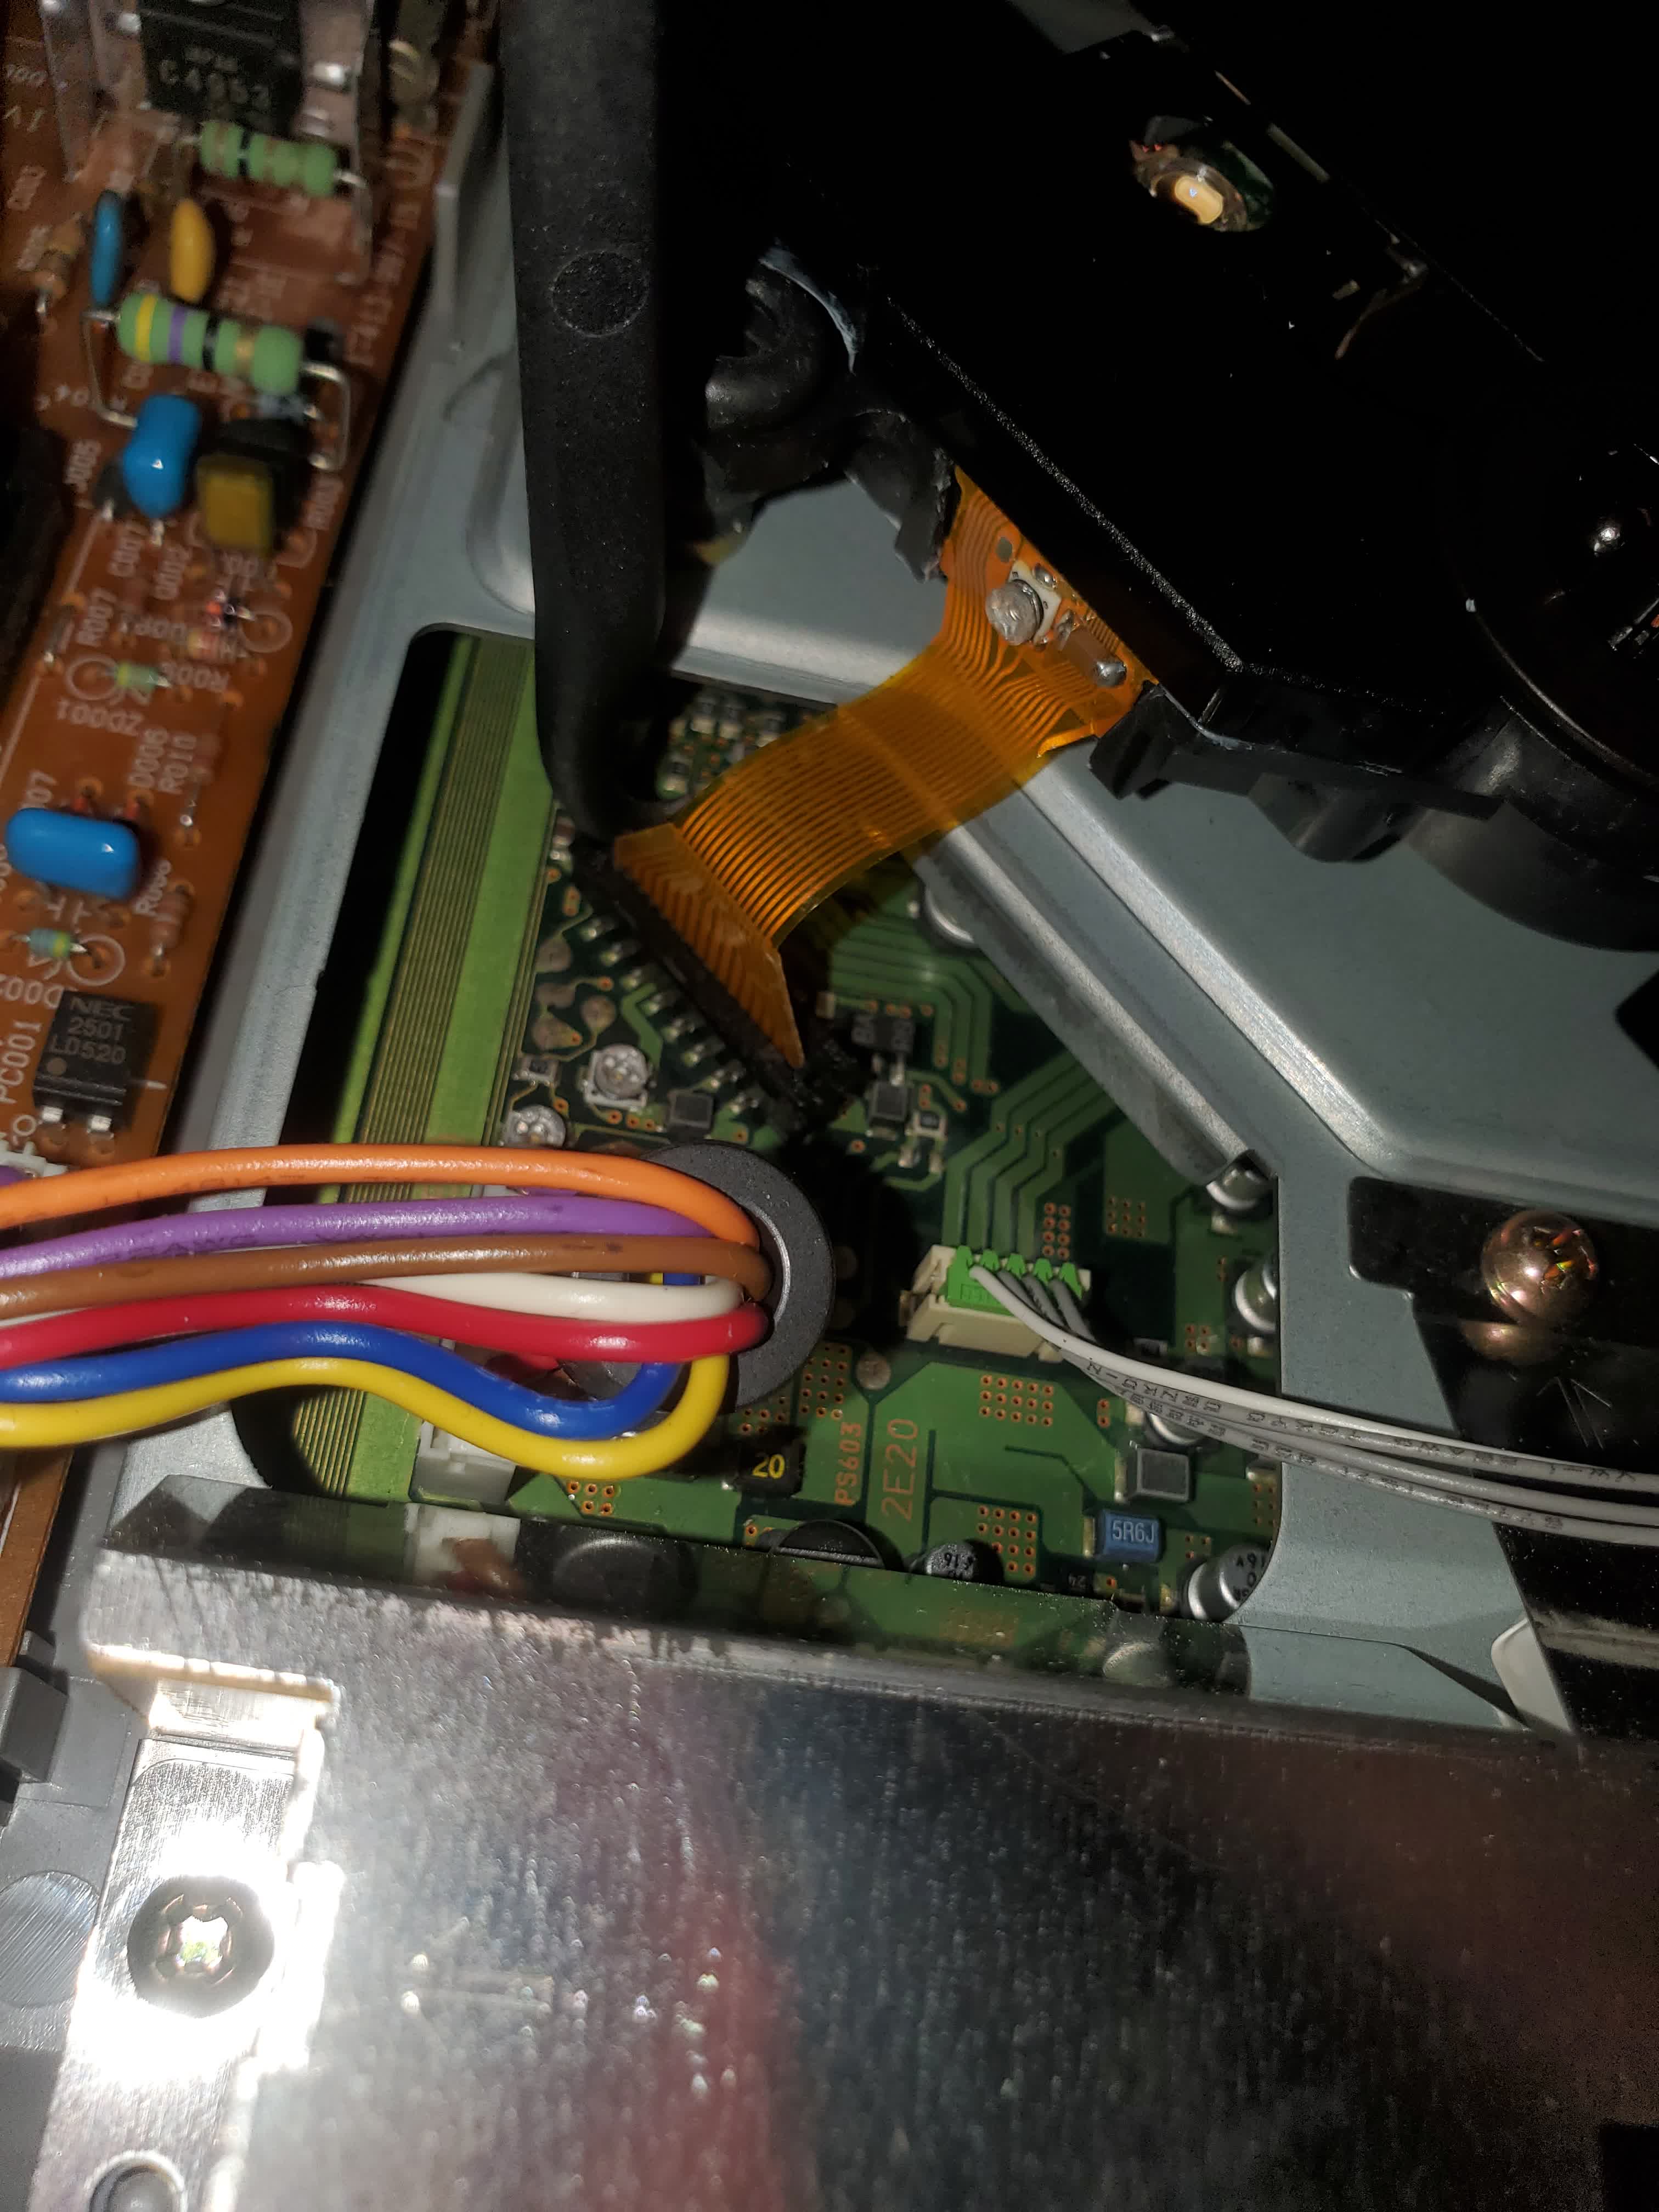
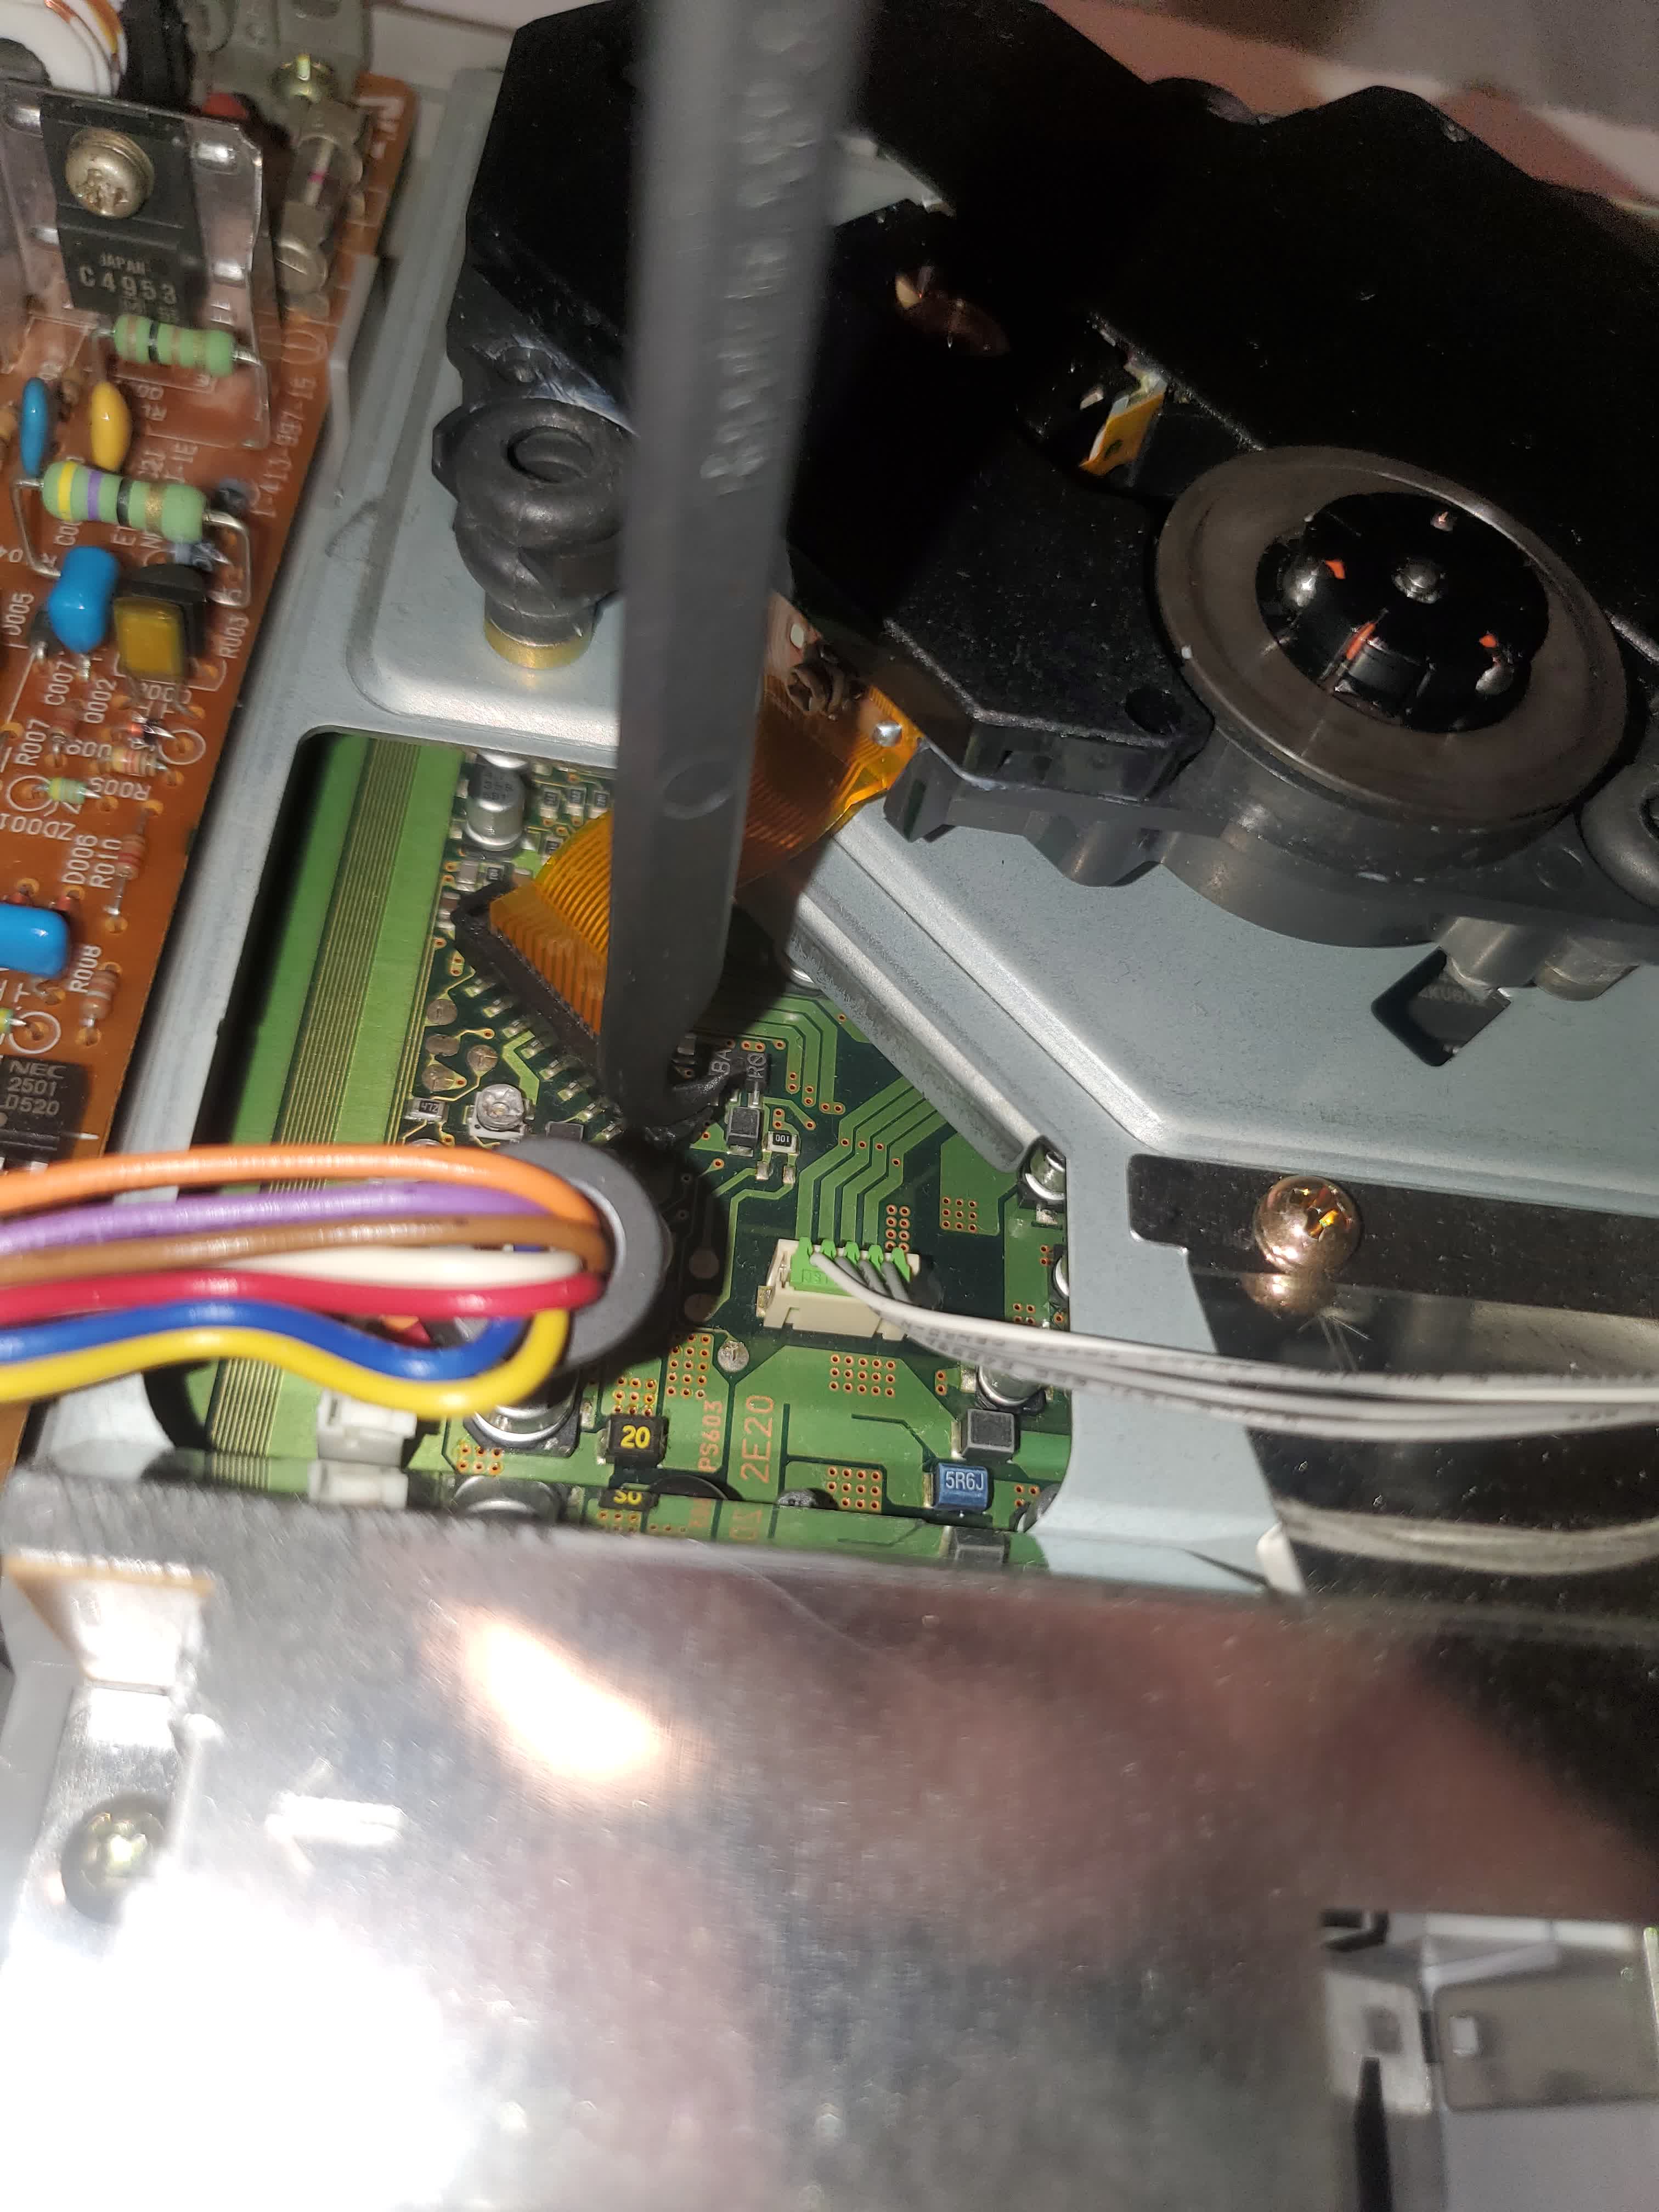
There are 2 different cables connecting the PS1 CD drive to the motherboard. The first one addressed is the laser ribbon cable, which is wide, thin, and red/orange. It is secured with a locking connector on the motherboard. Gently pull up on the left ‘wing’ of the locking socket, and then do the same to the right ‘wing’ on the right side of the locking socket. This will fully unlock the connector and release the laser ribbon cable. The laser ribbon cable can now be pulled gently out of the locking socket exposing it’s contacts.
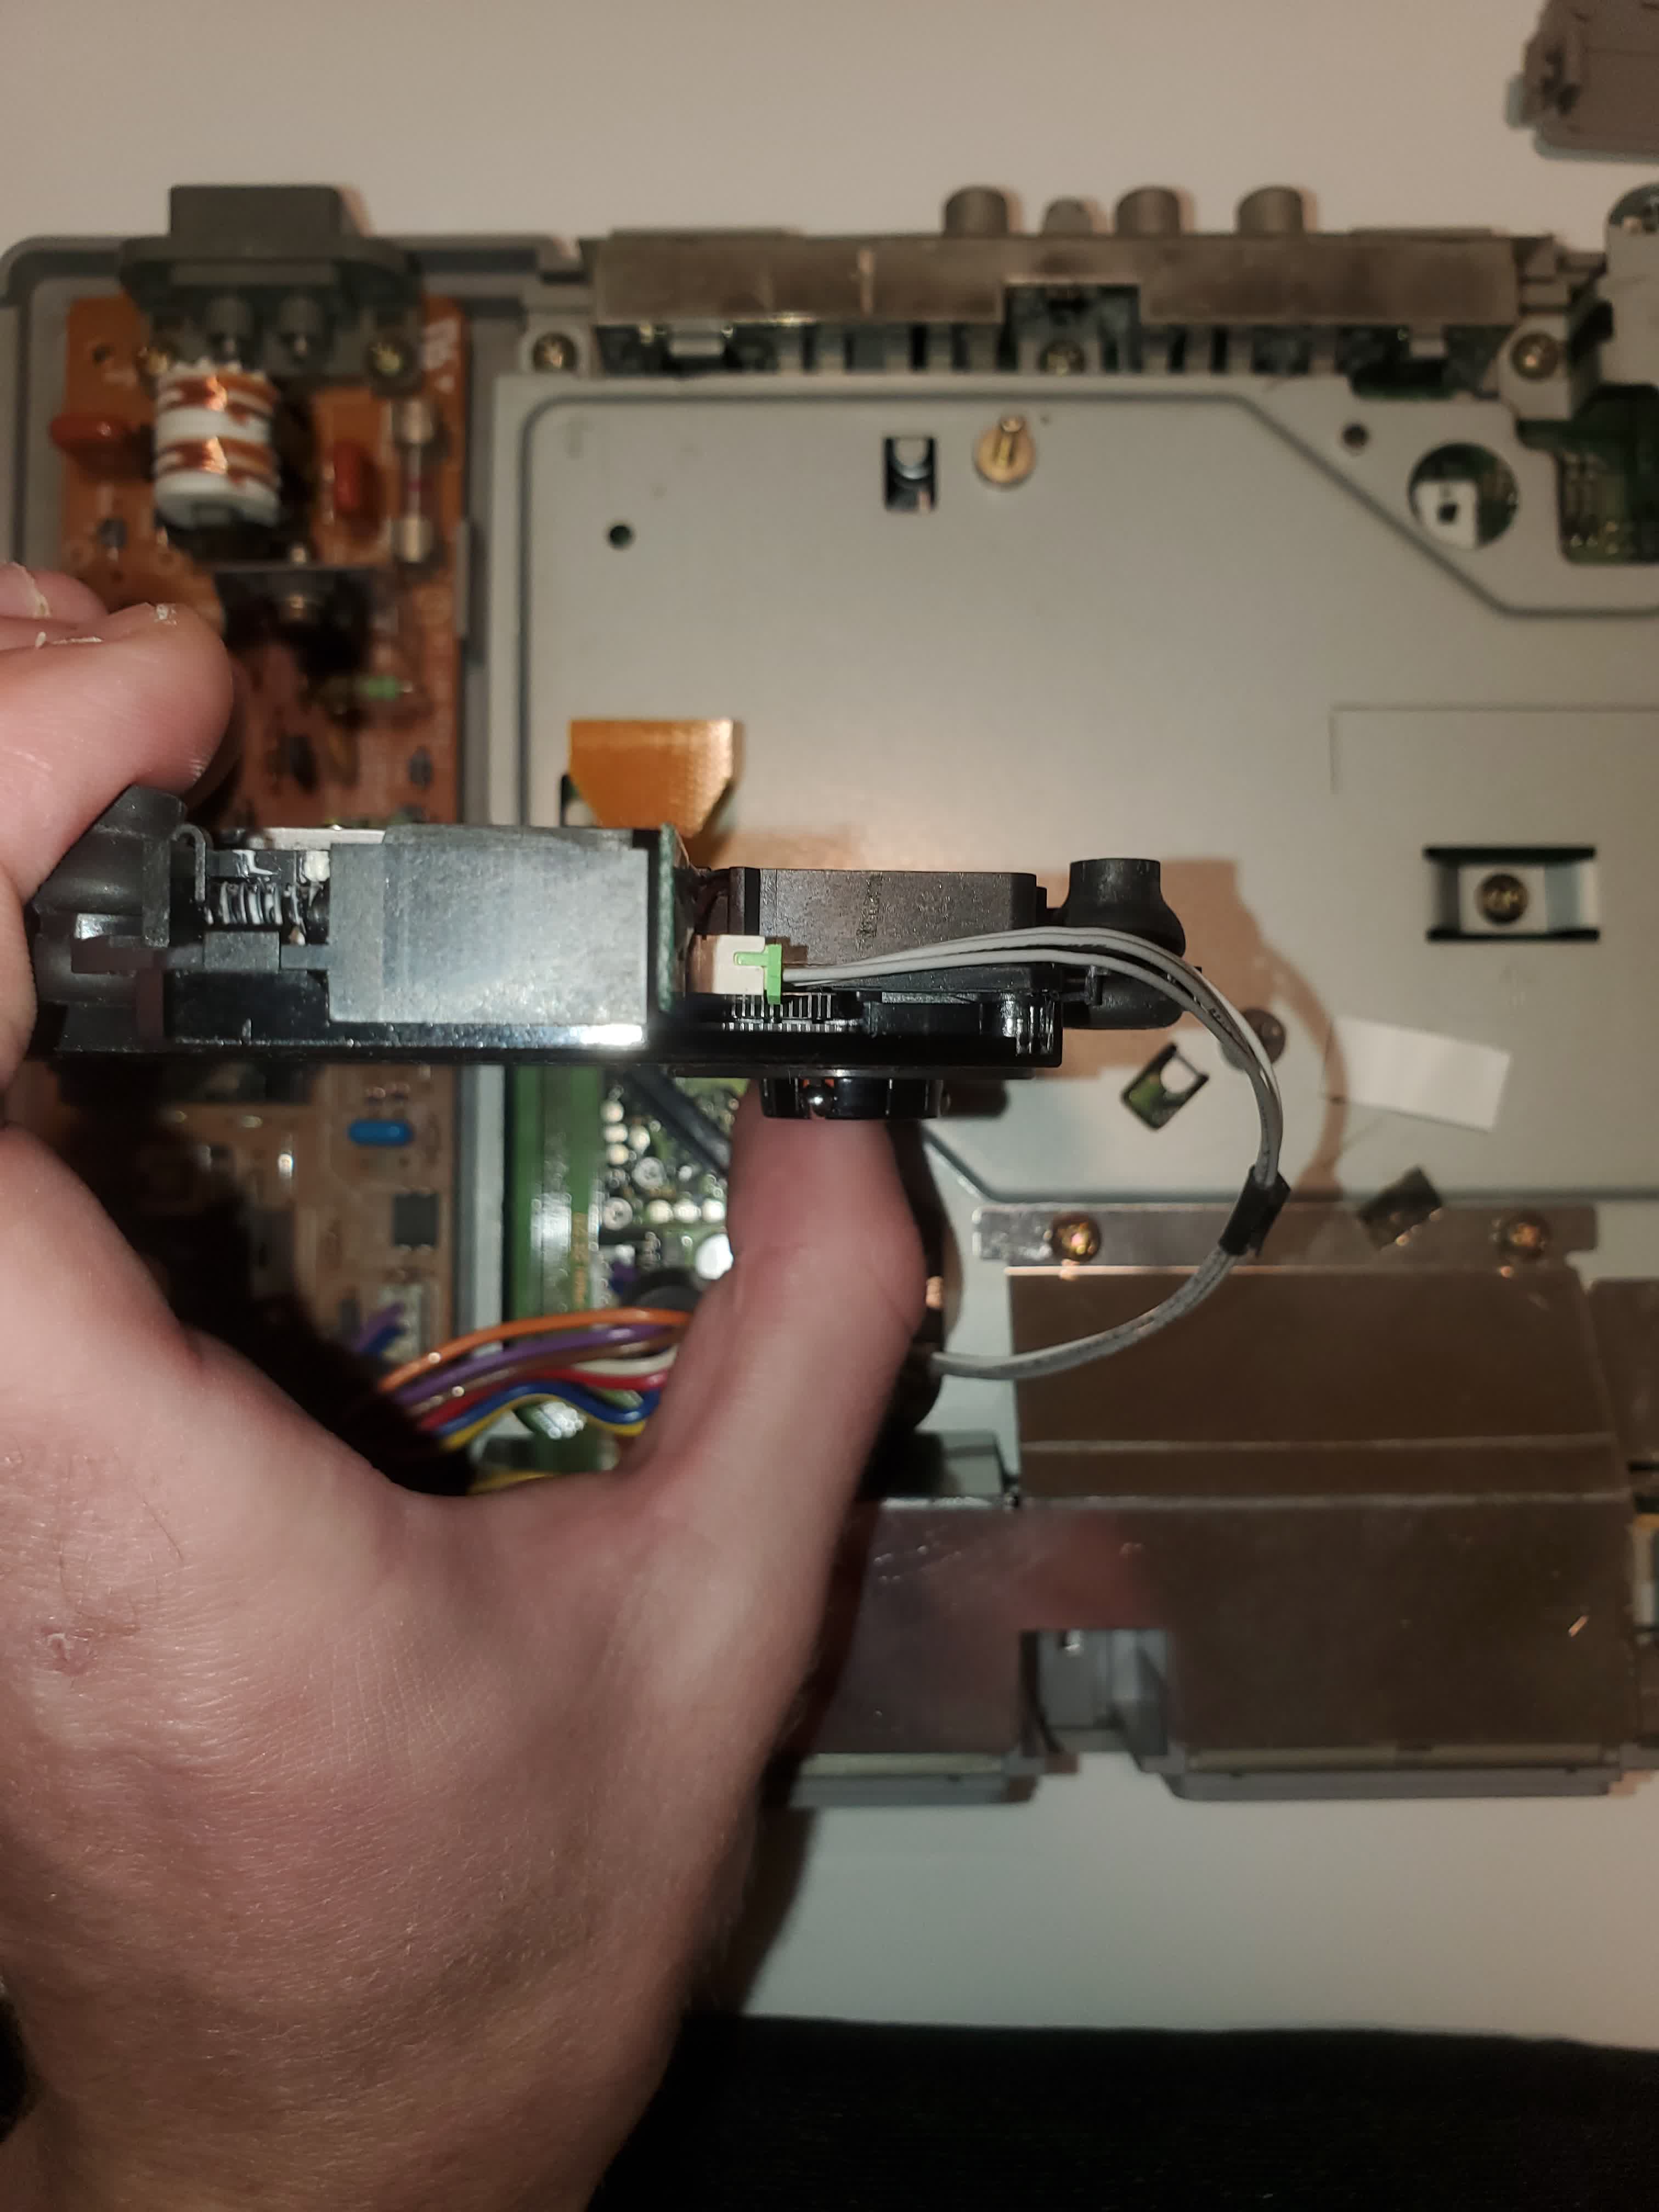
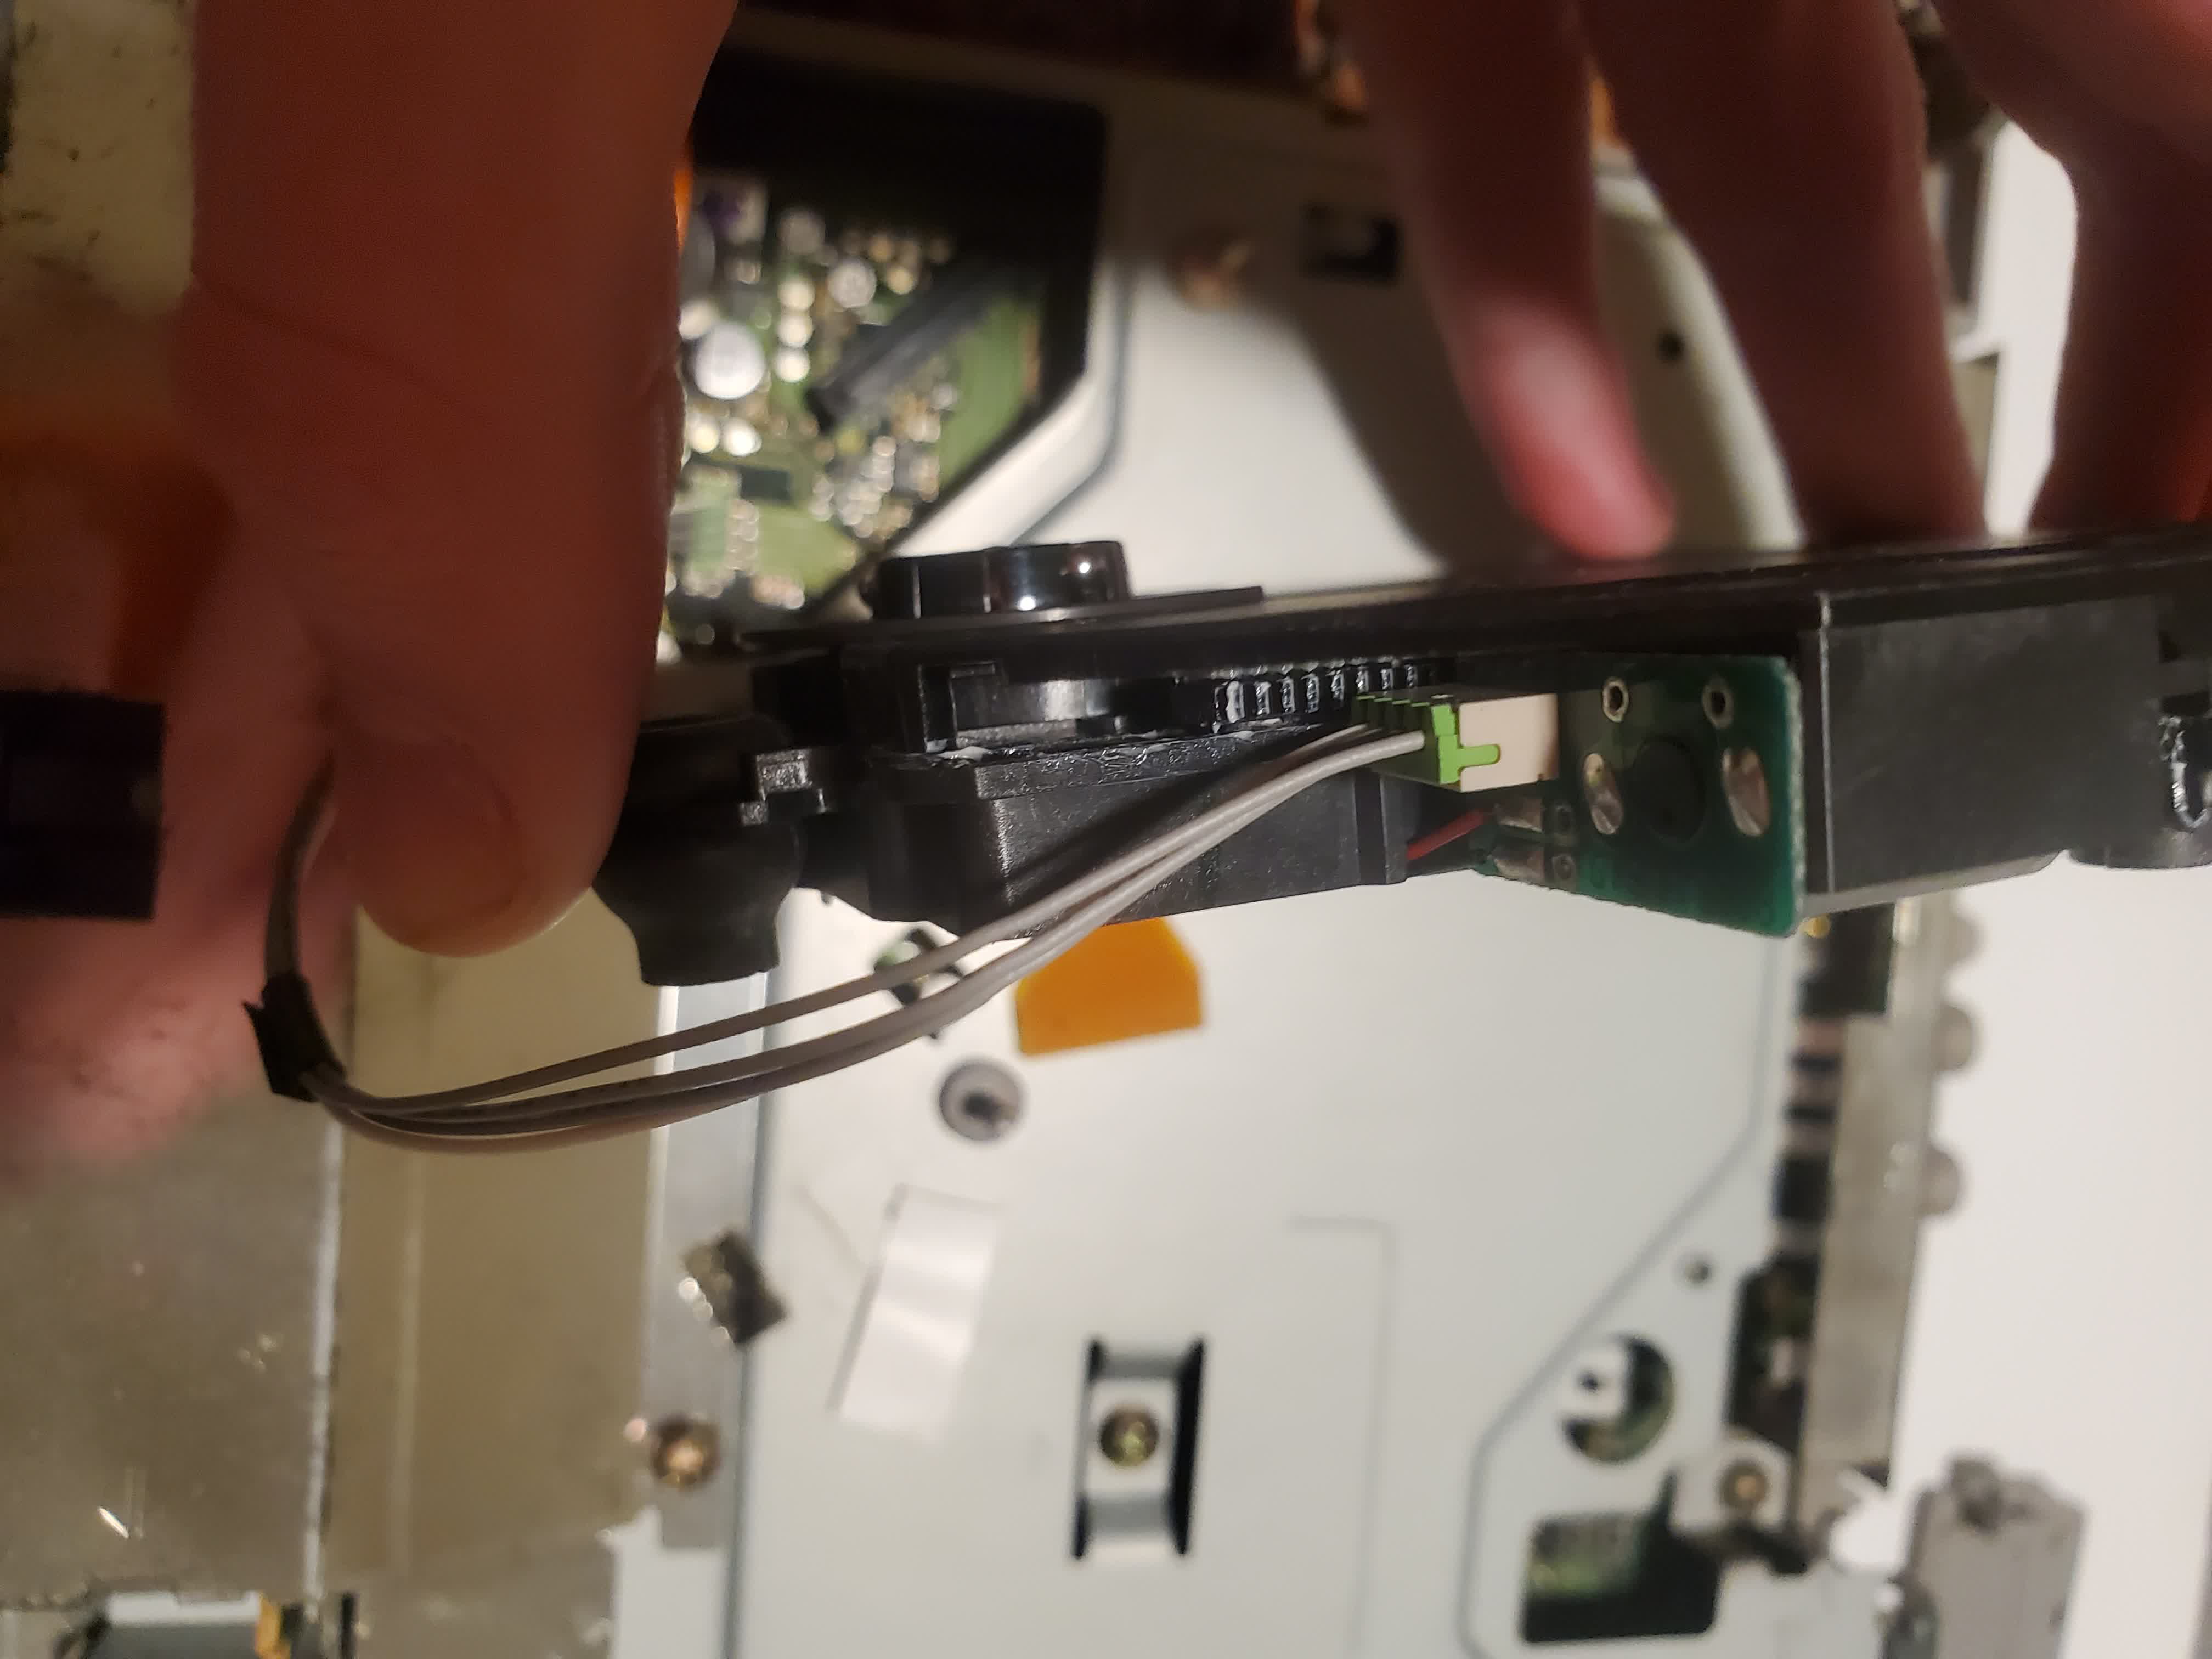
The second cable is what I dub the ‘power wires’. They are the thin multicolored group of wires connecting to a socket on the CD drive itself. Gently pull the power wires away from the socket on the CD drive itself to remove them, finally freeing the CD drive itself.
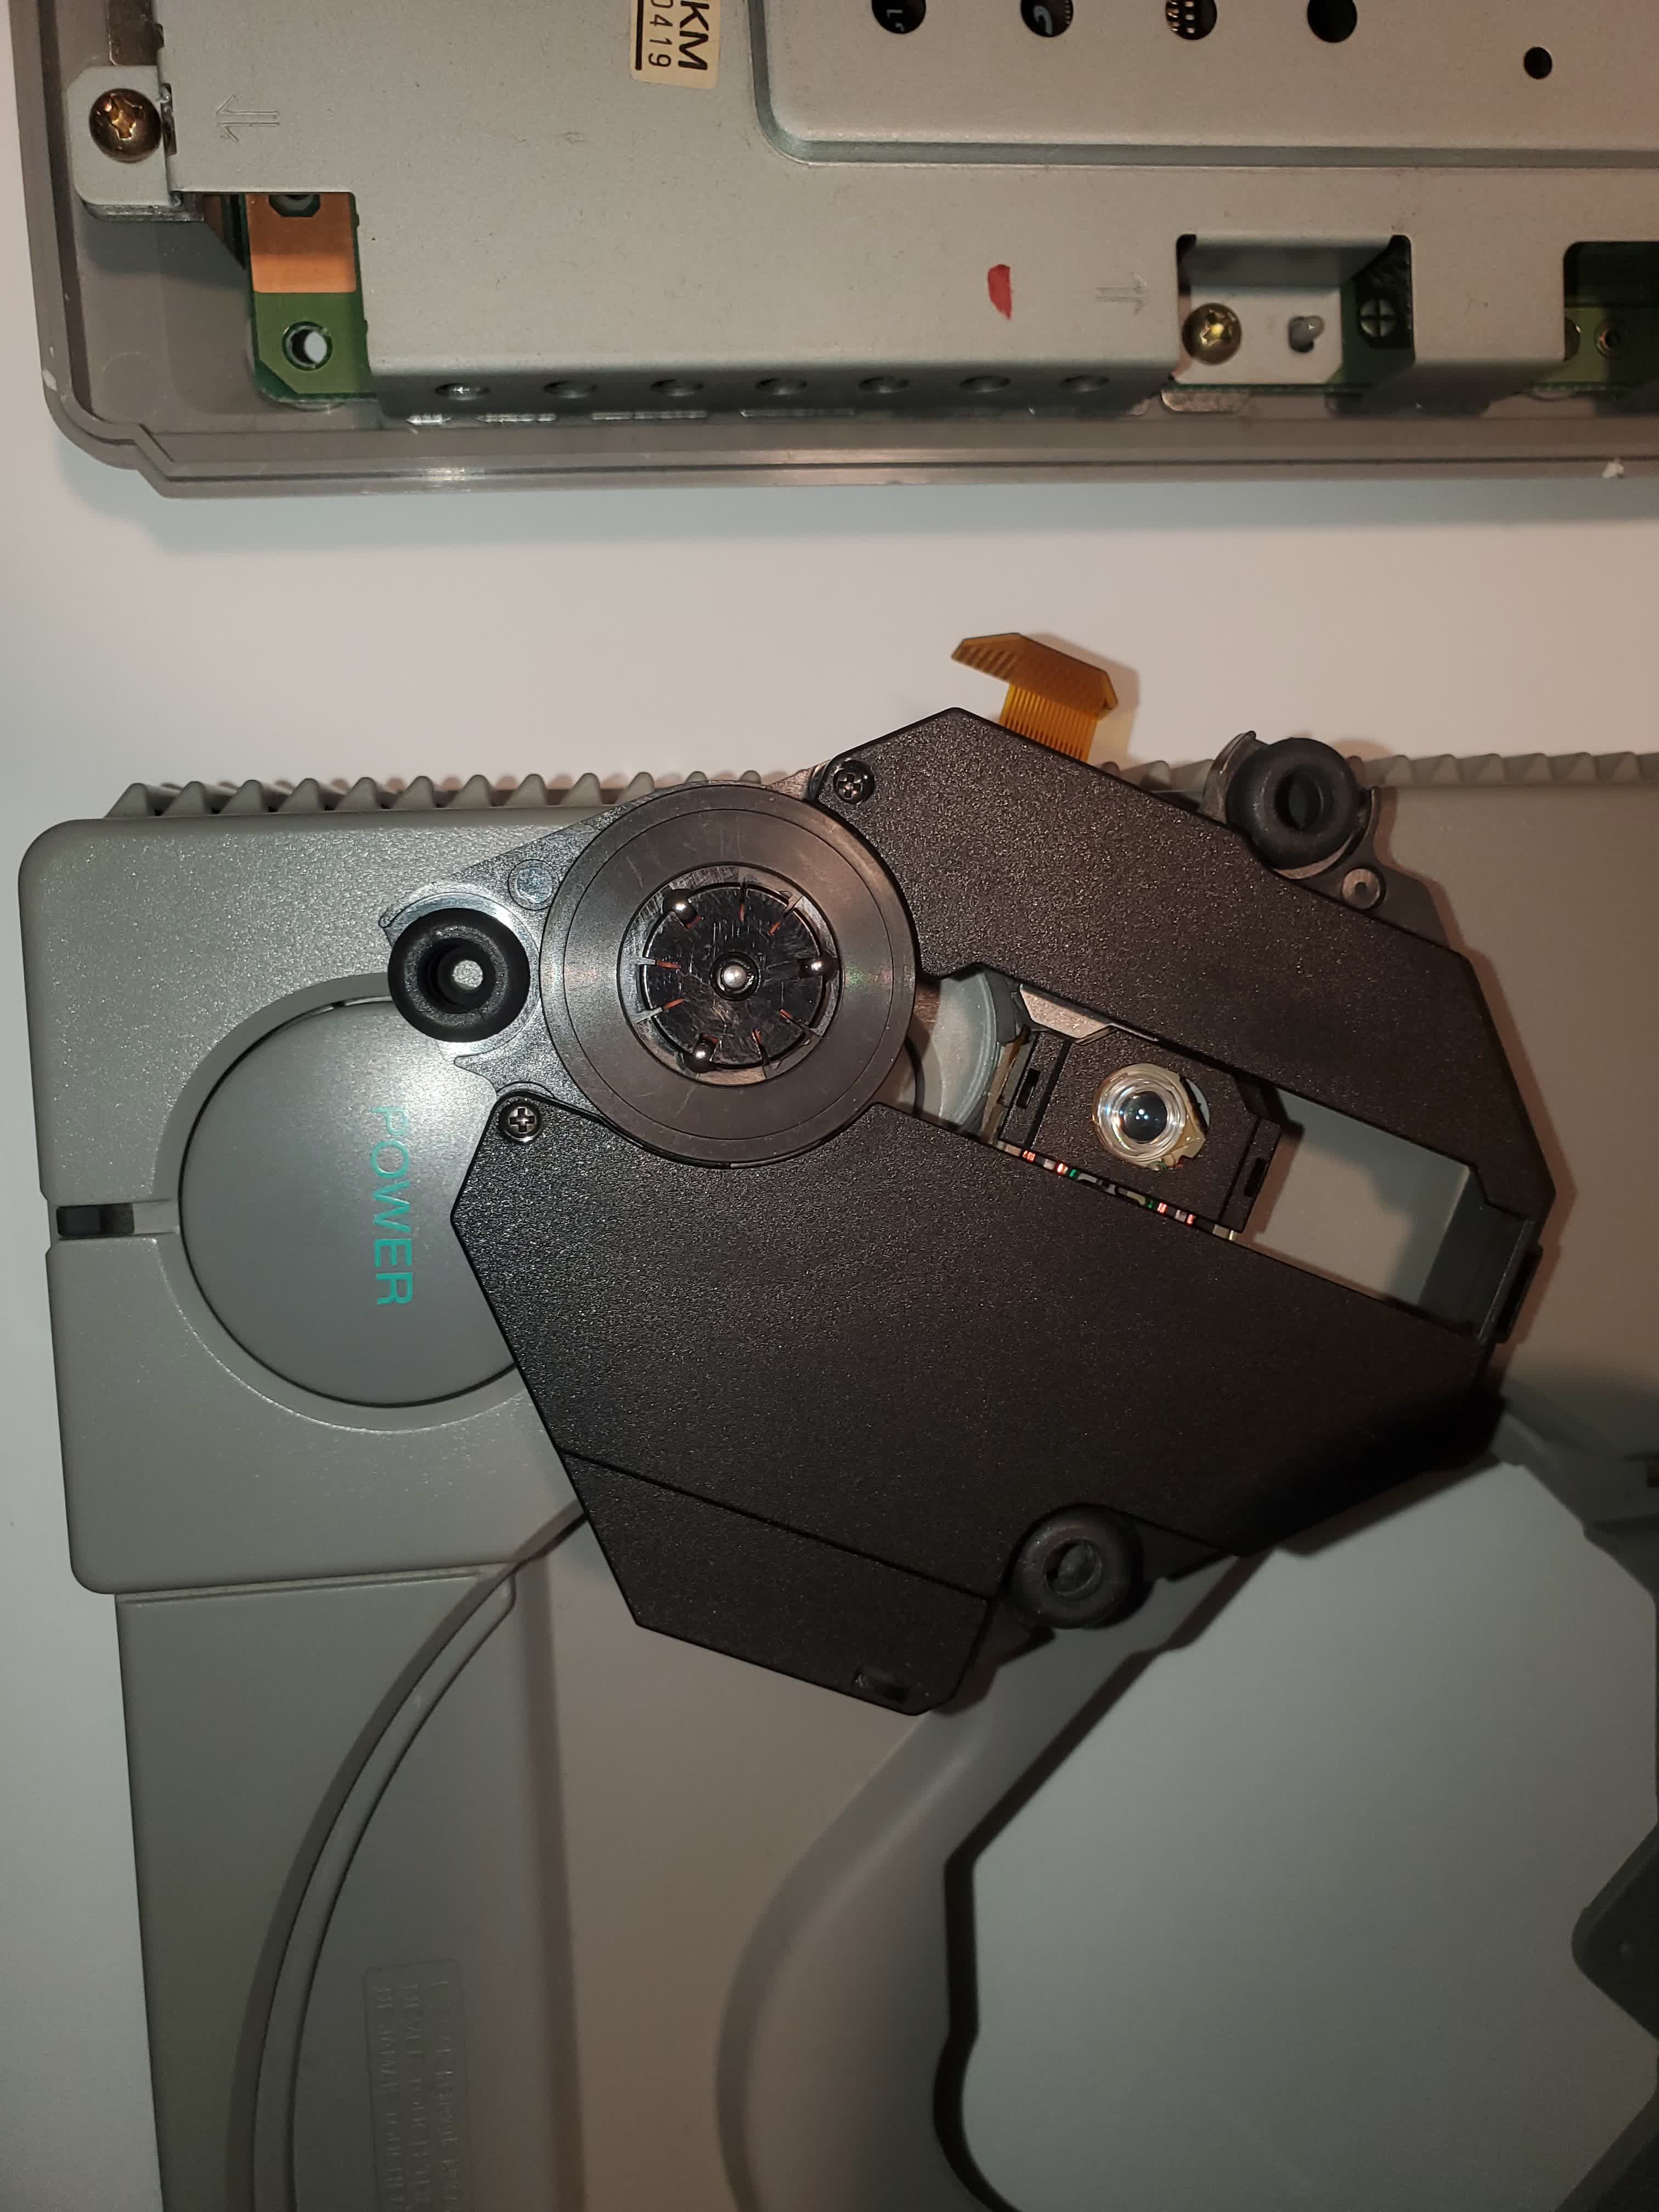
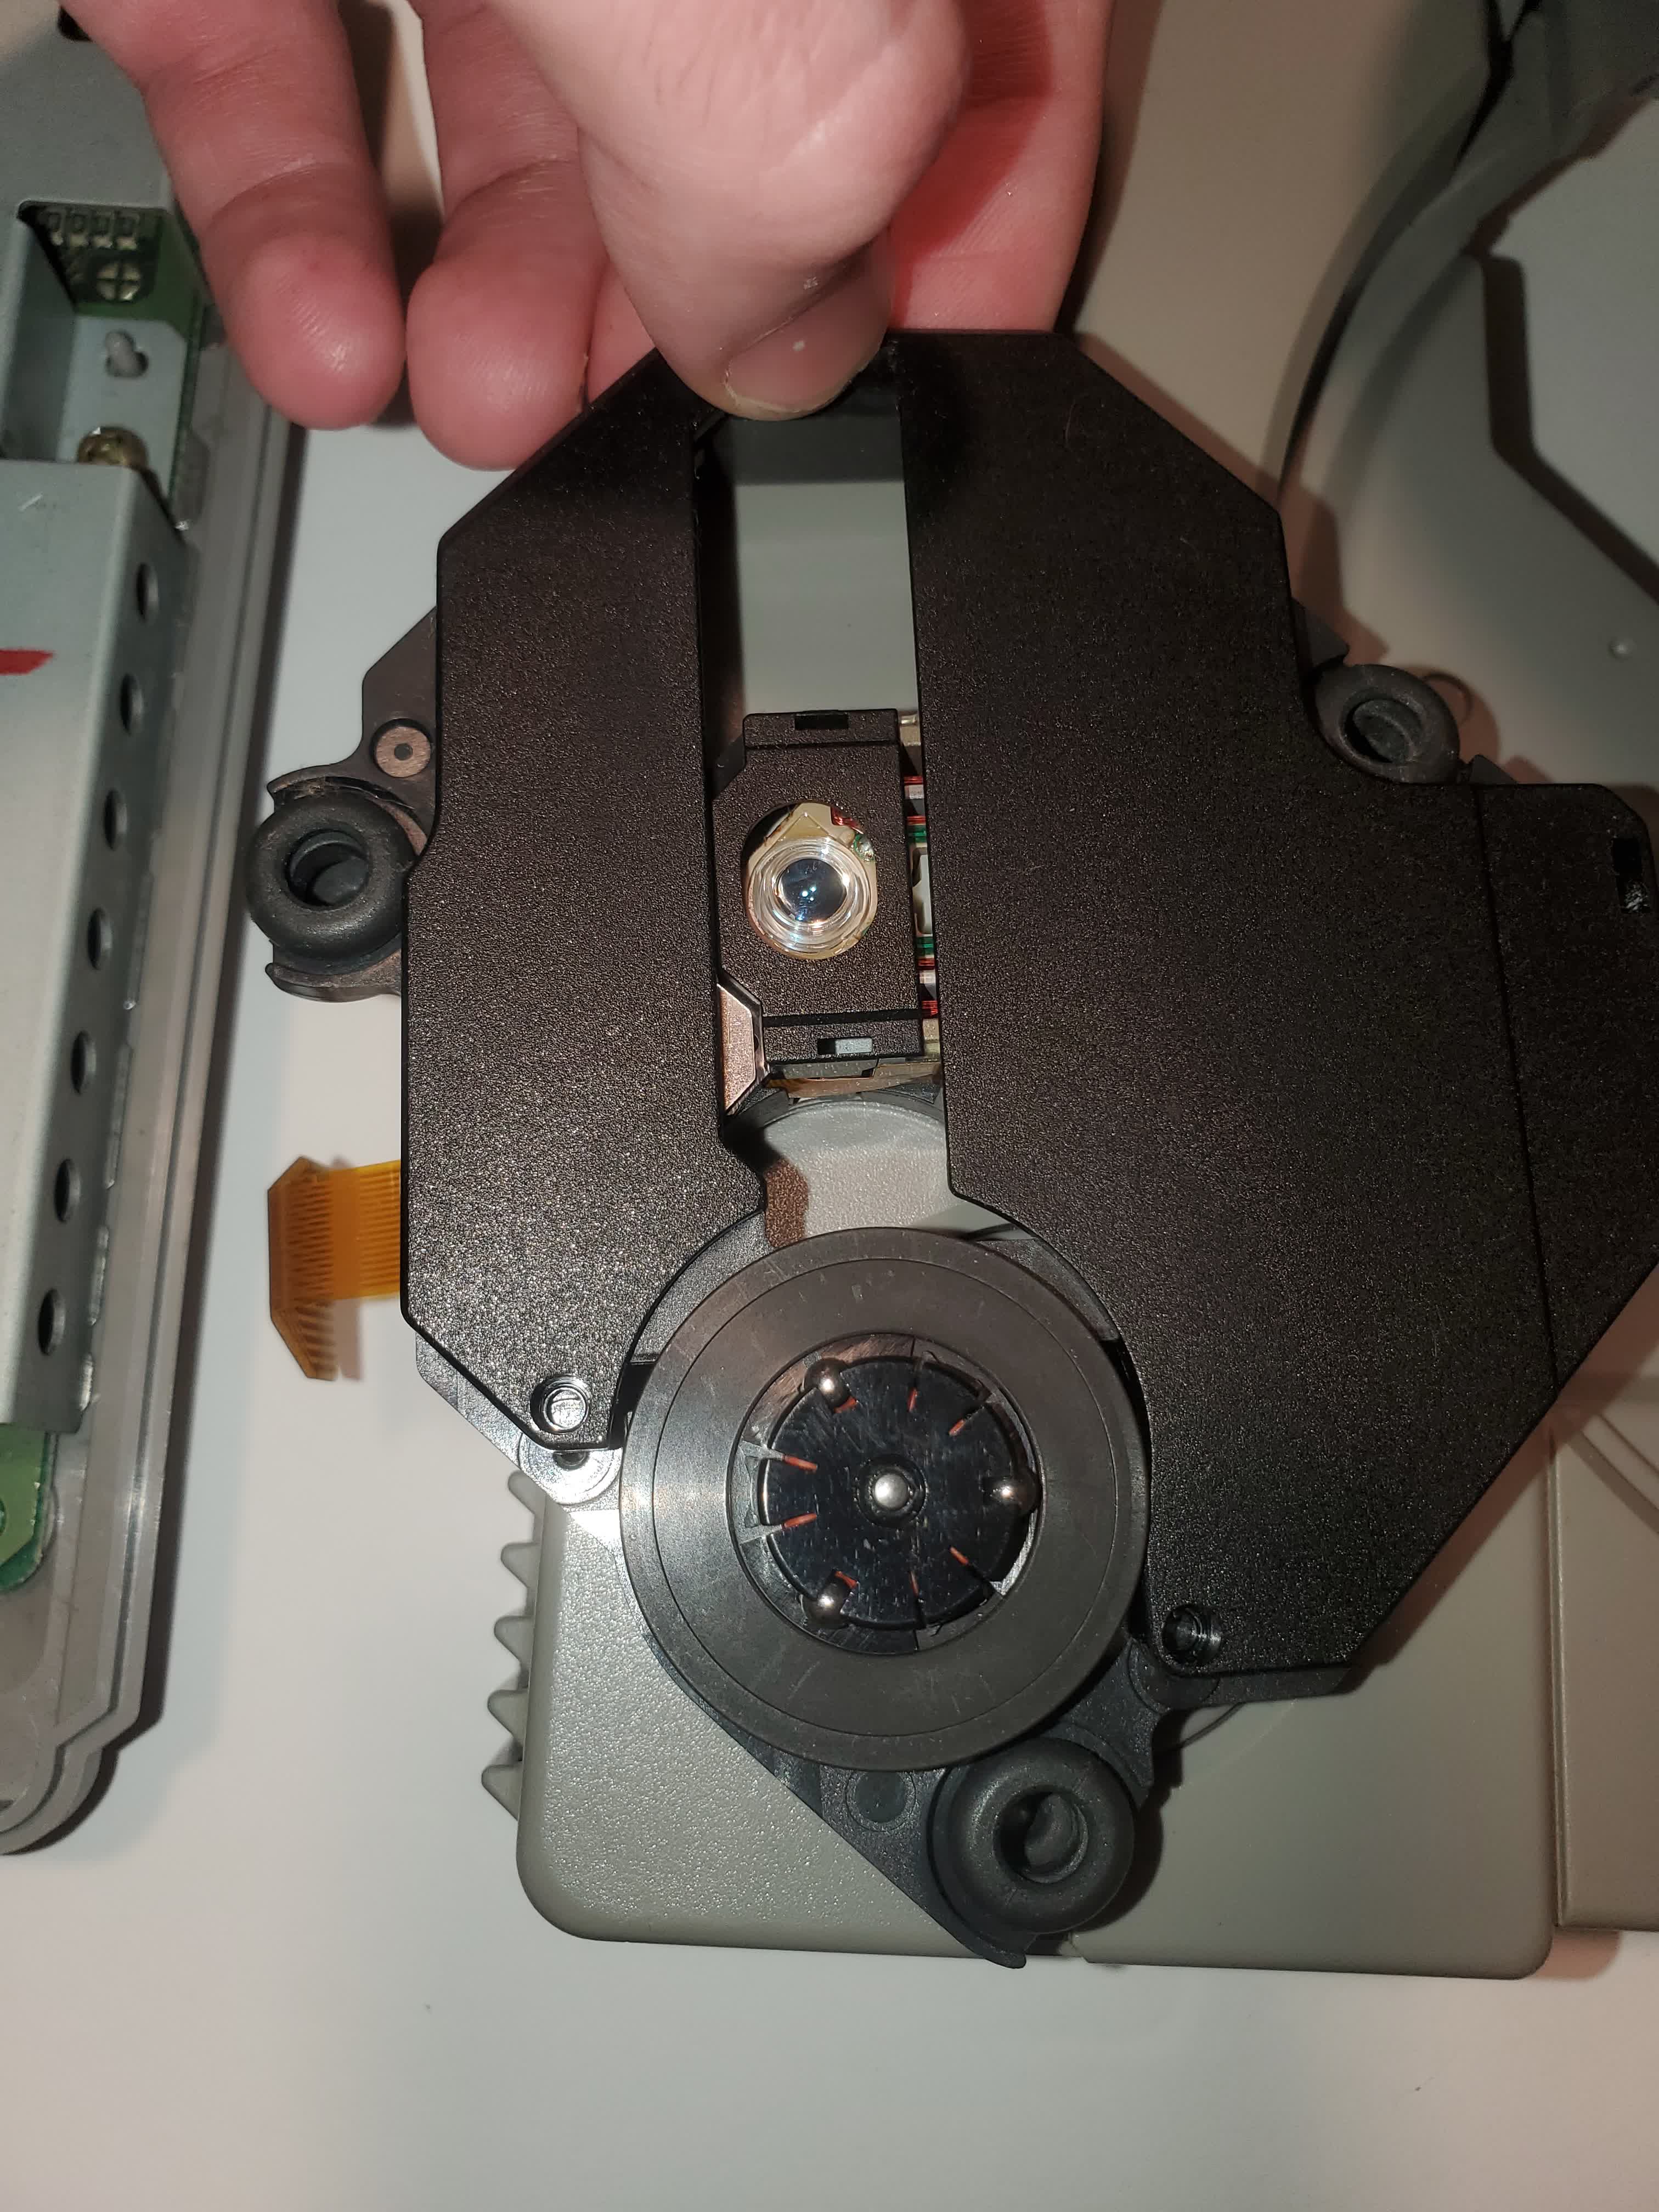
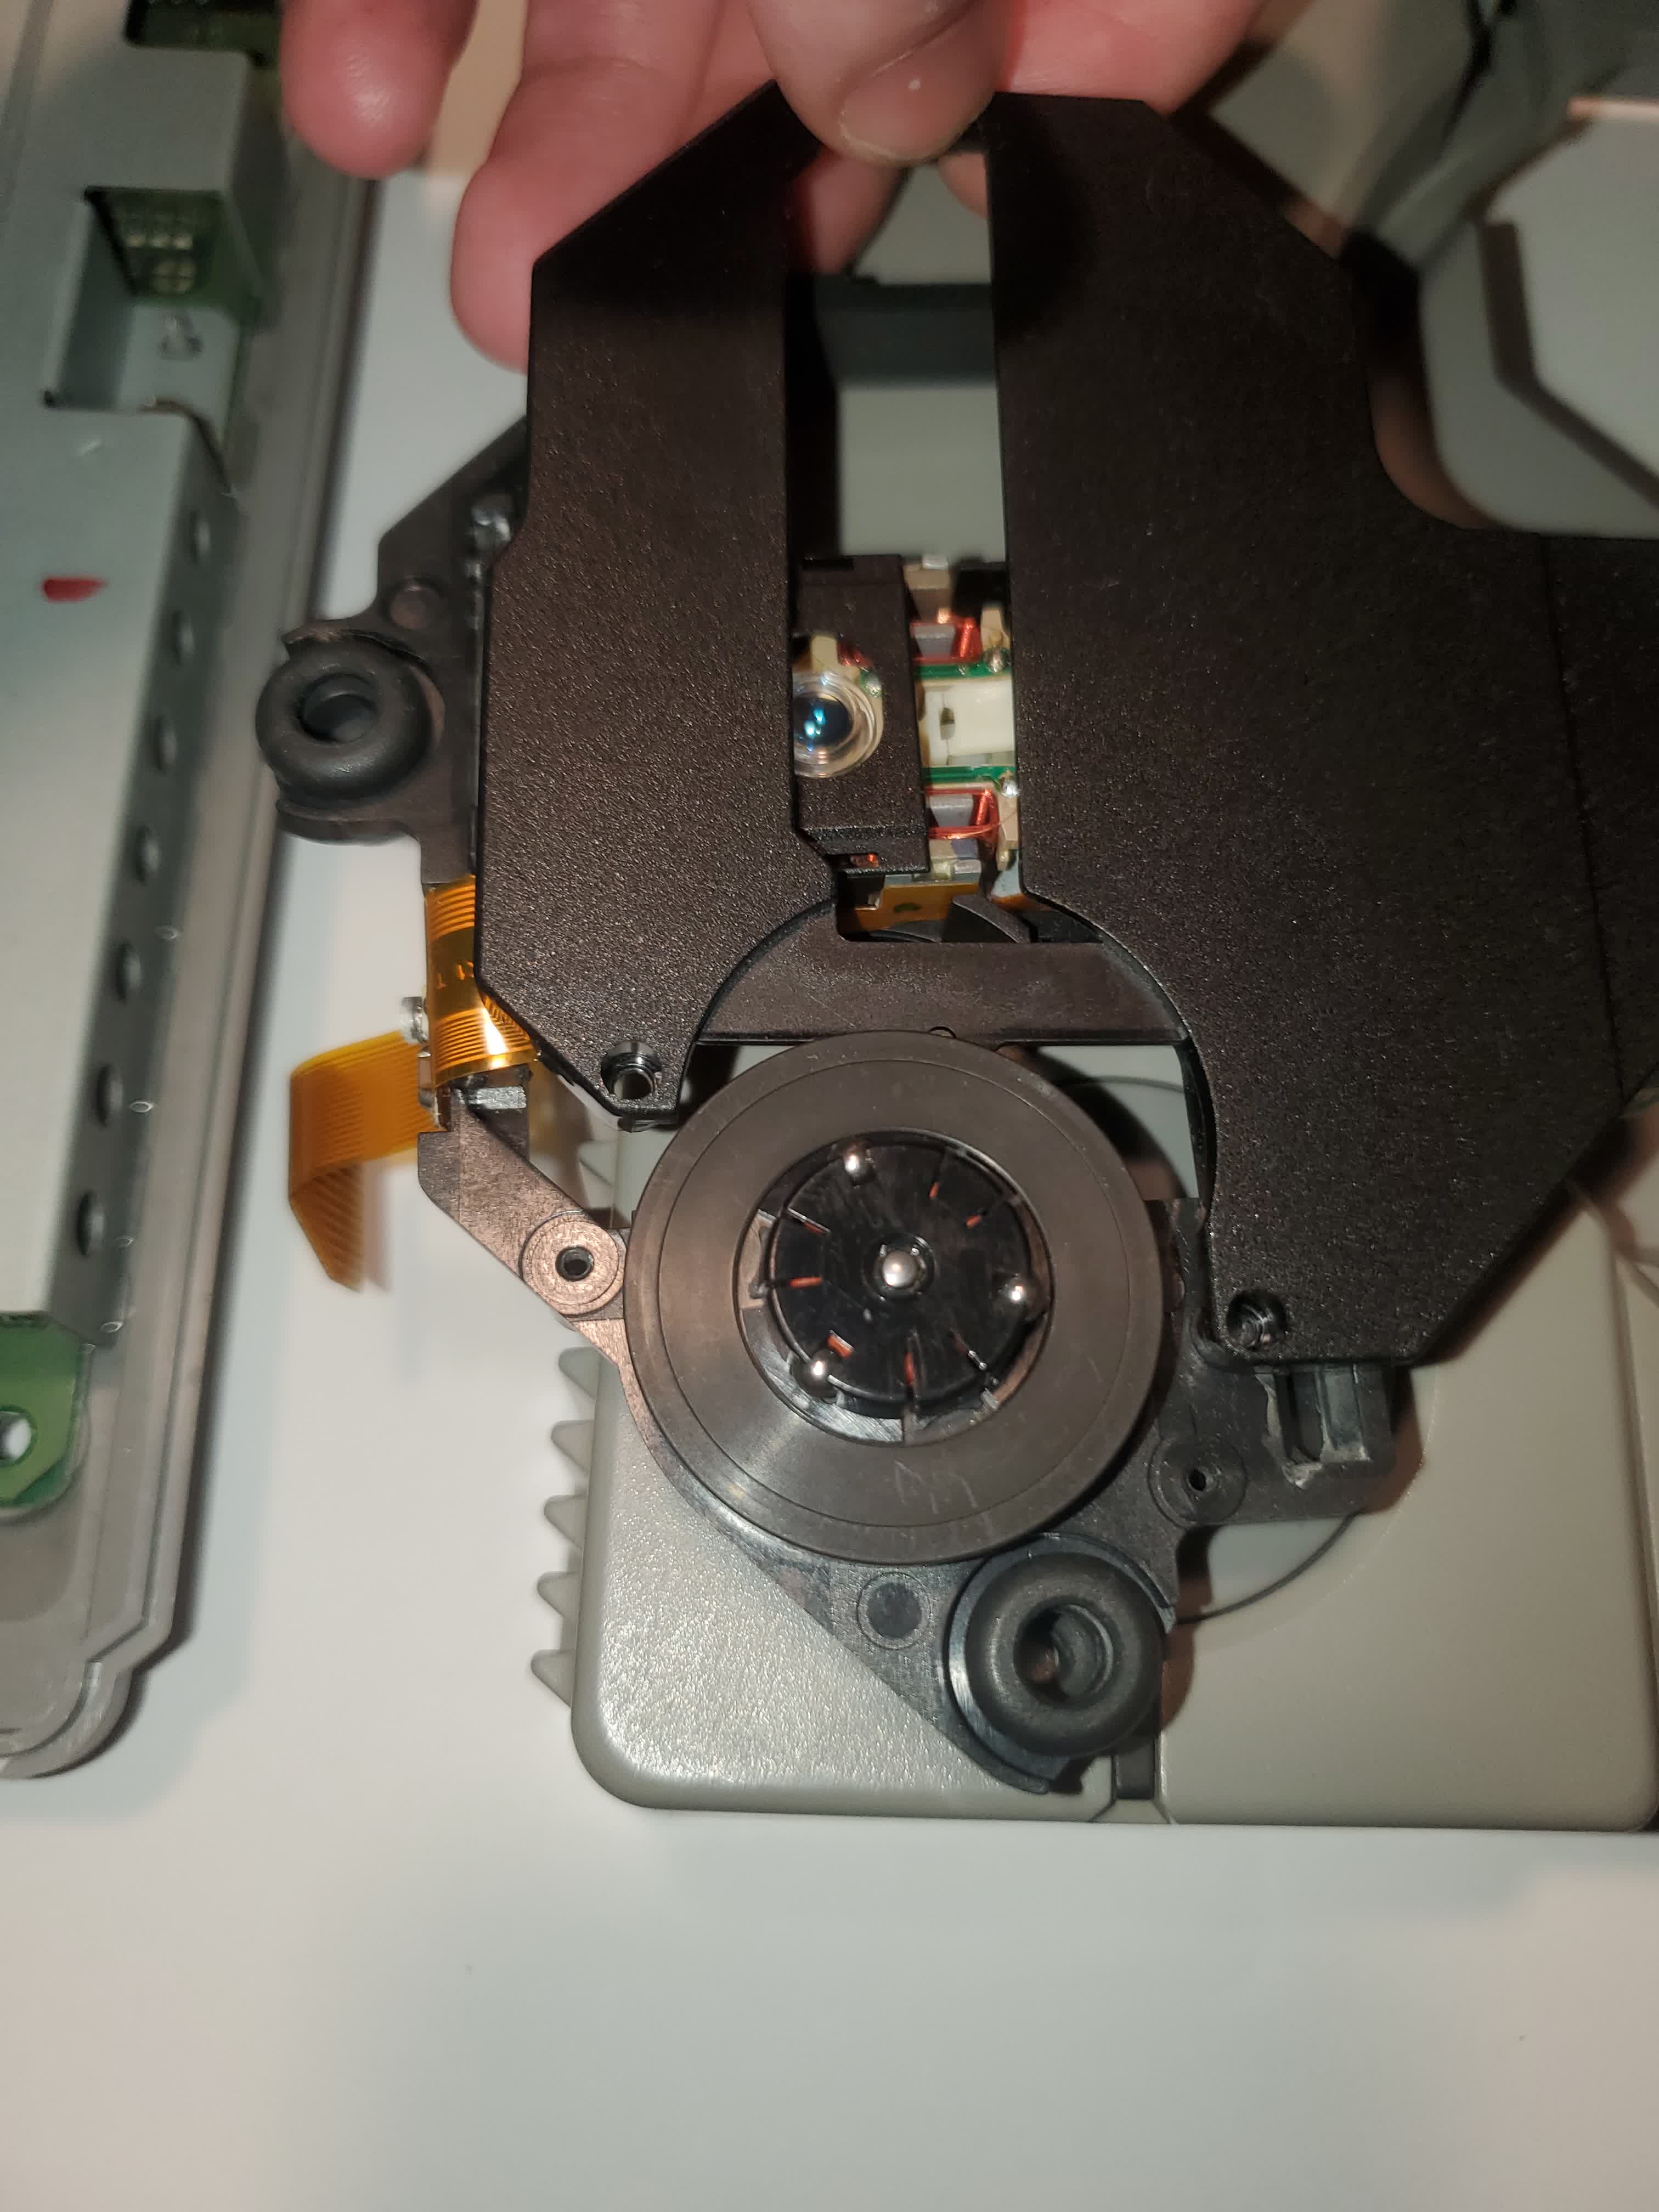
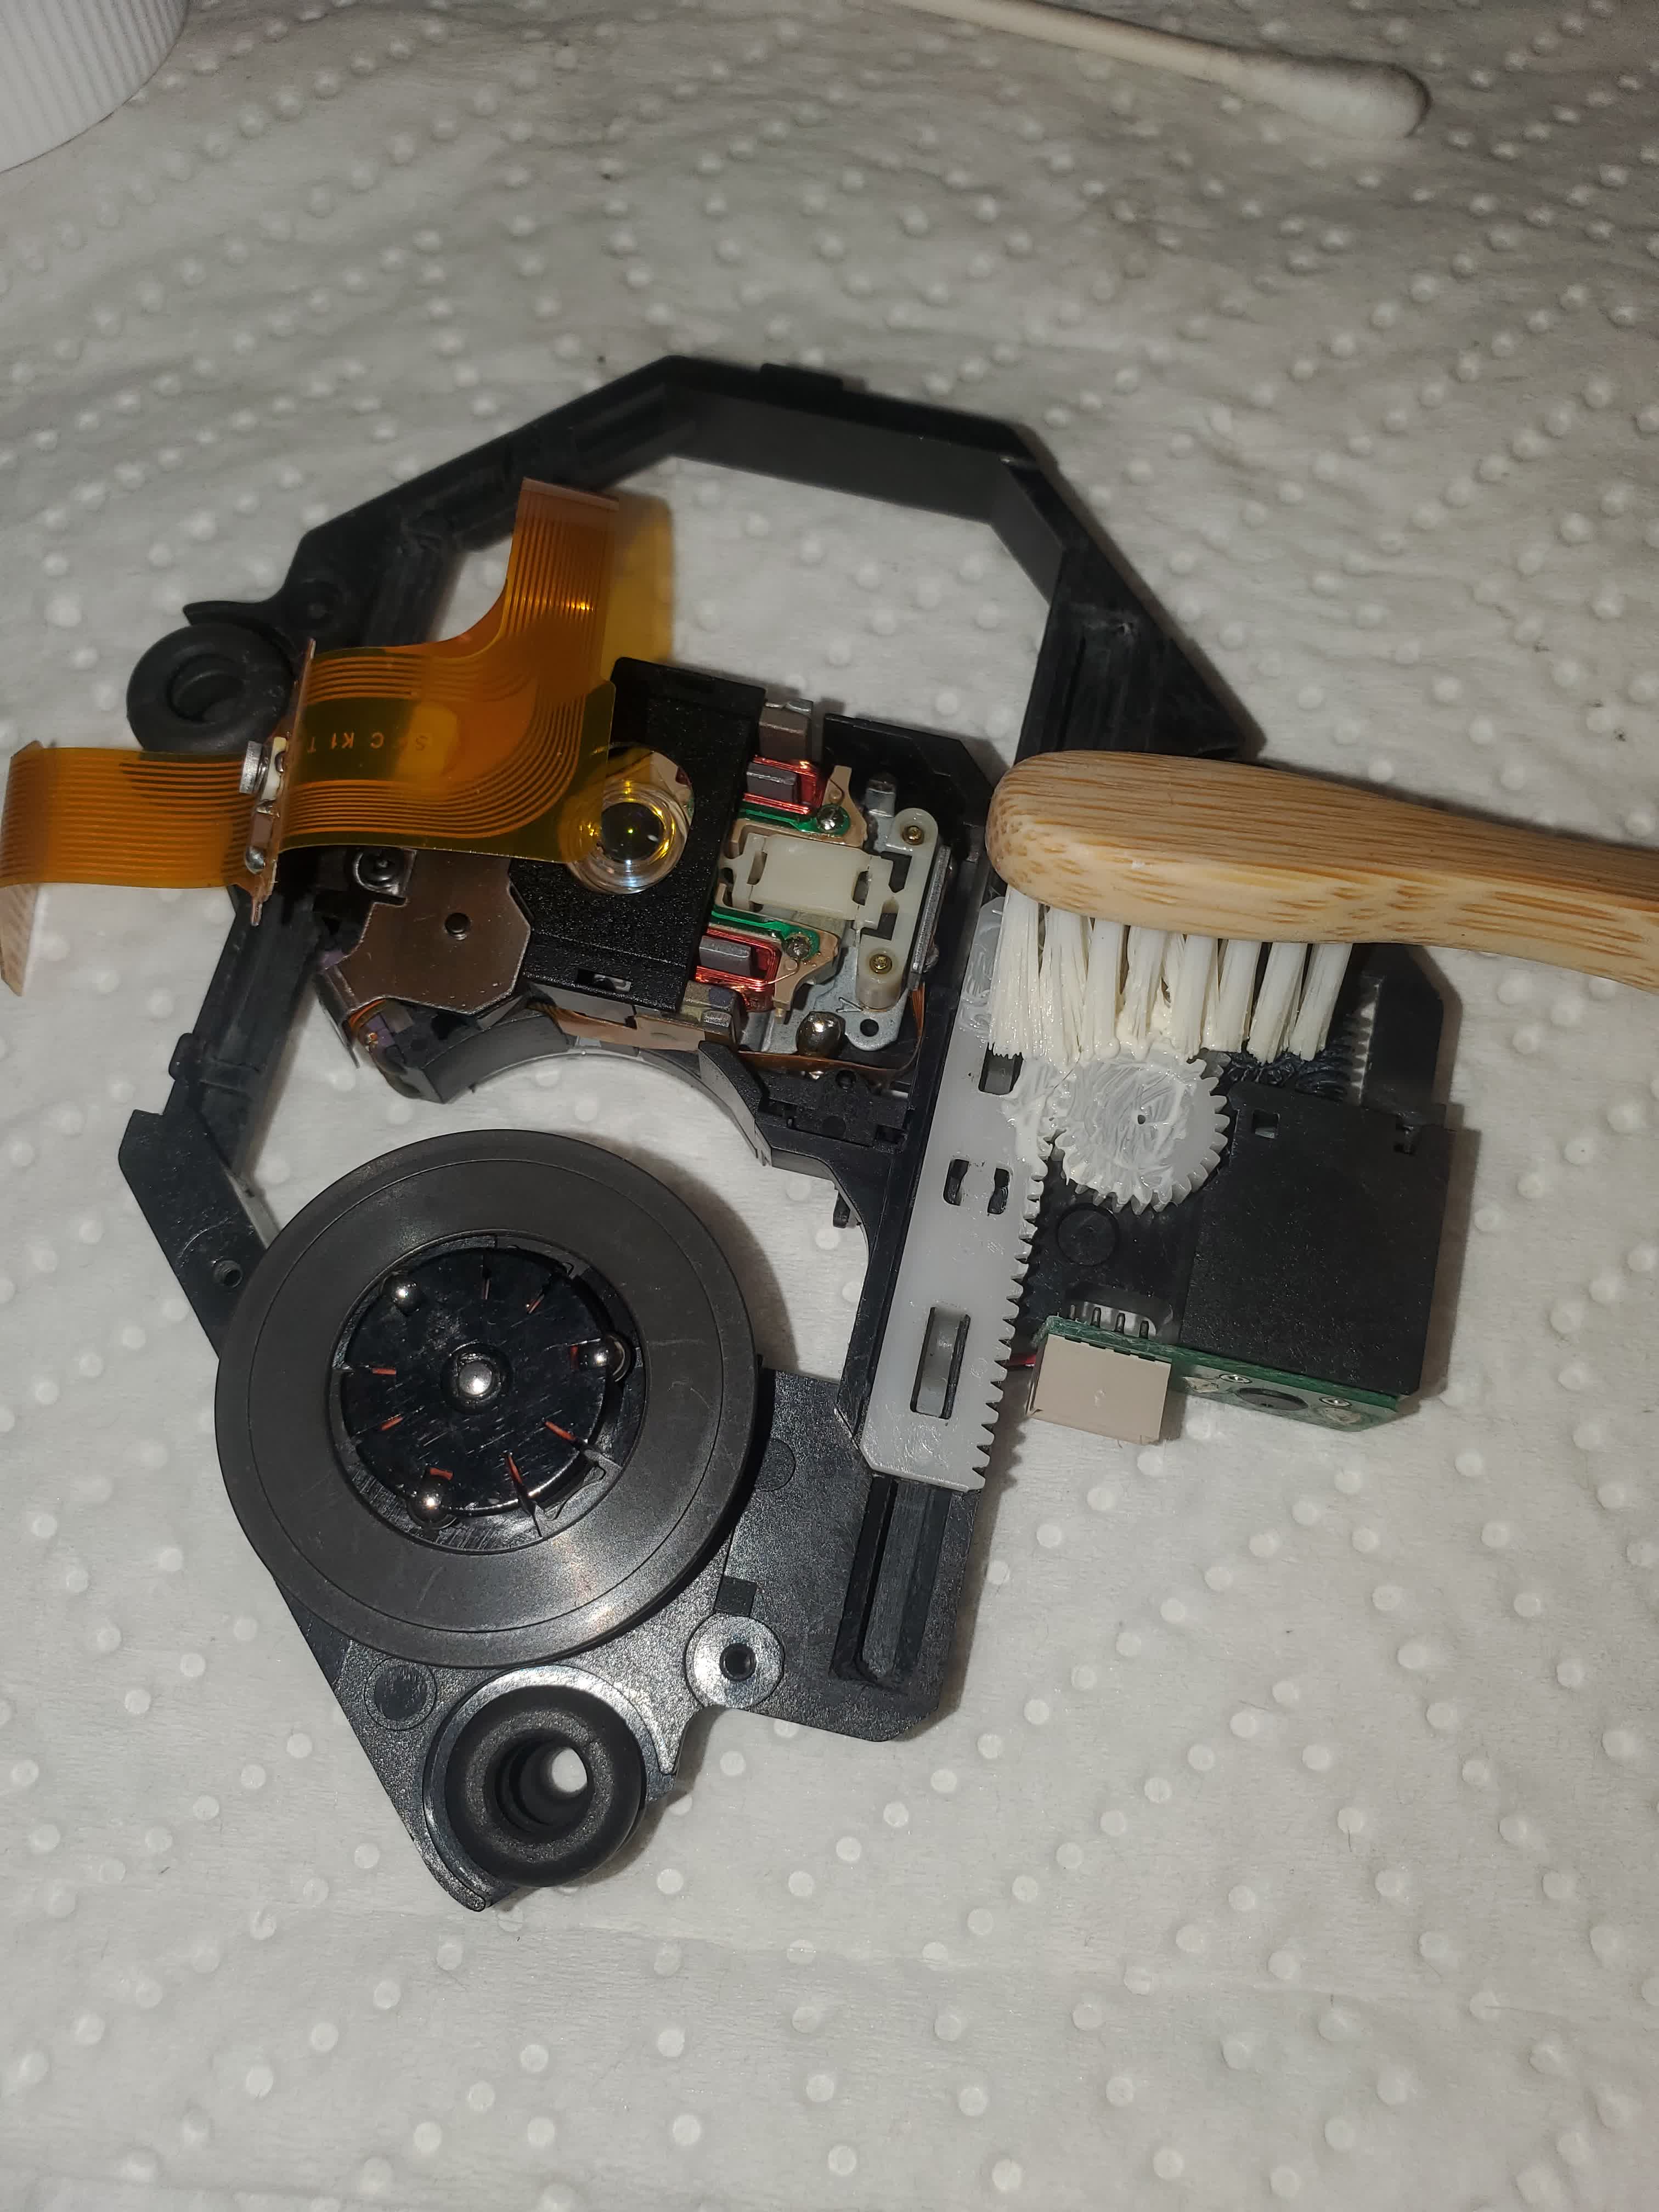
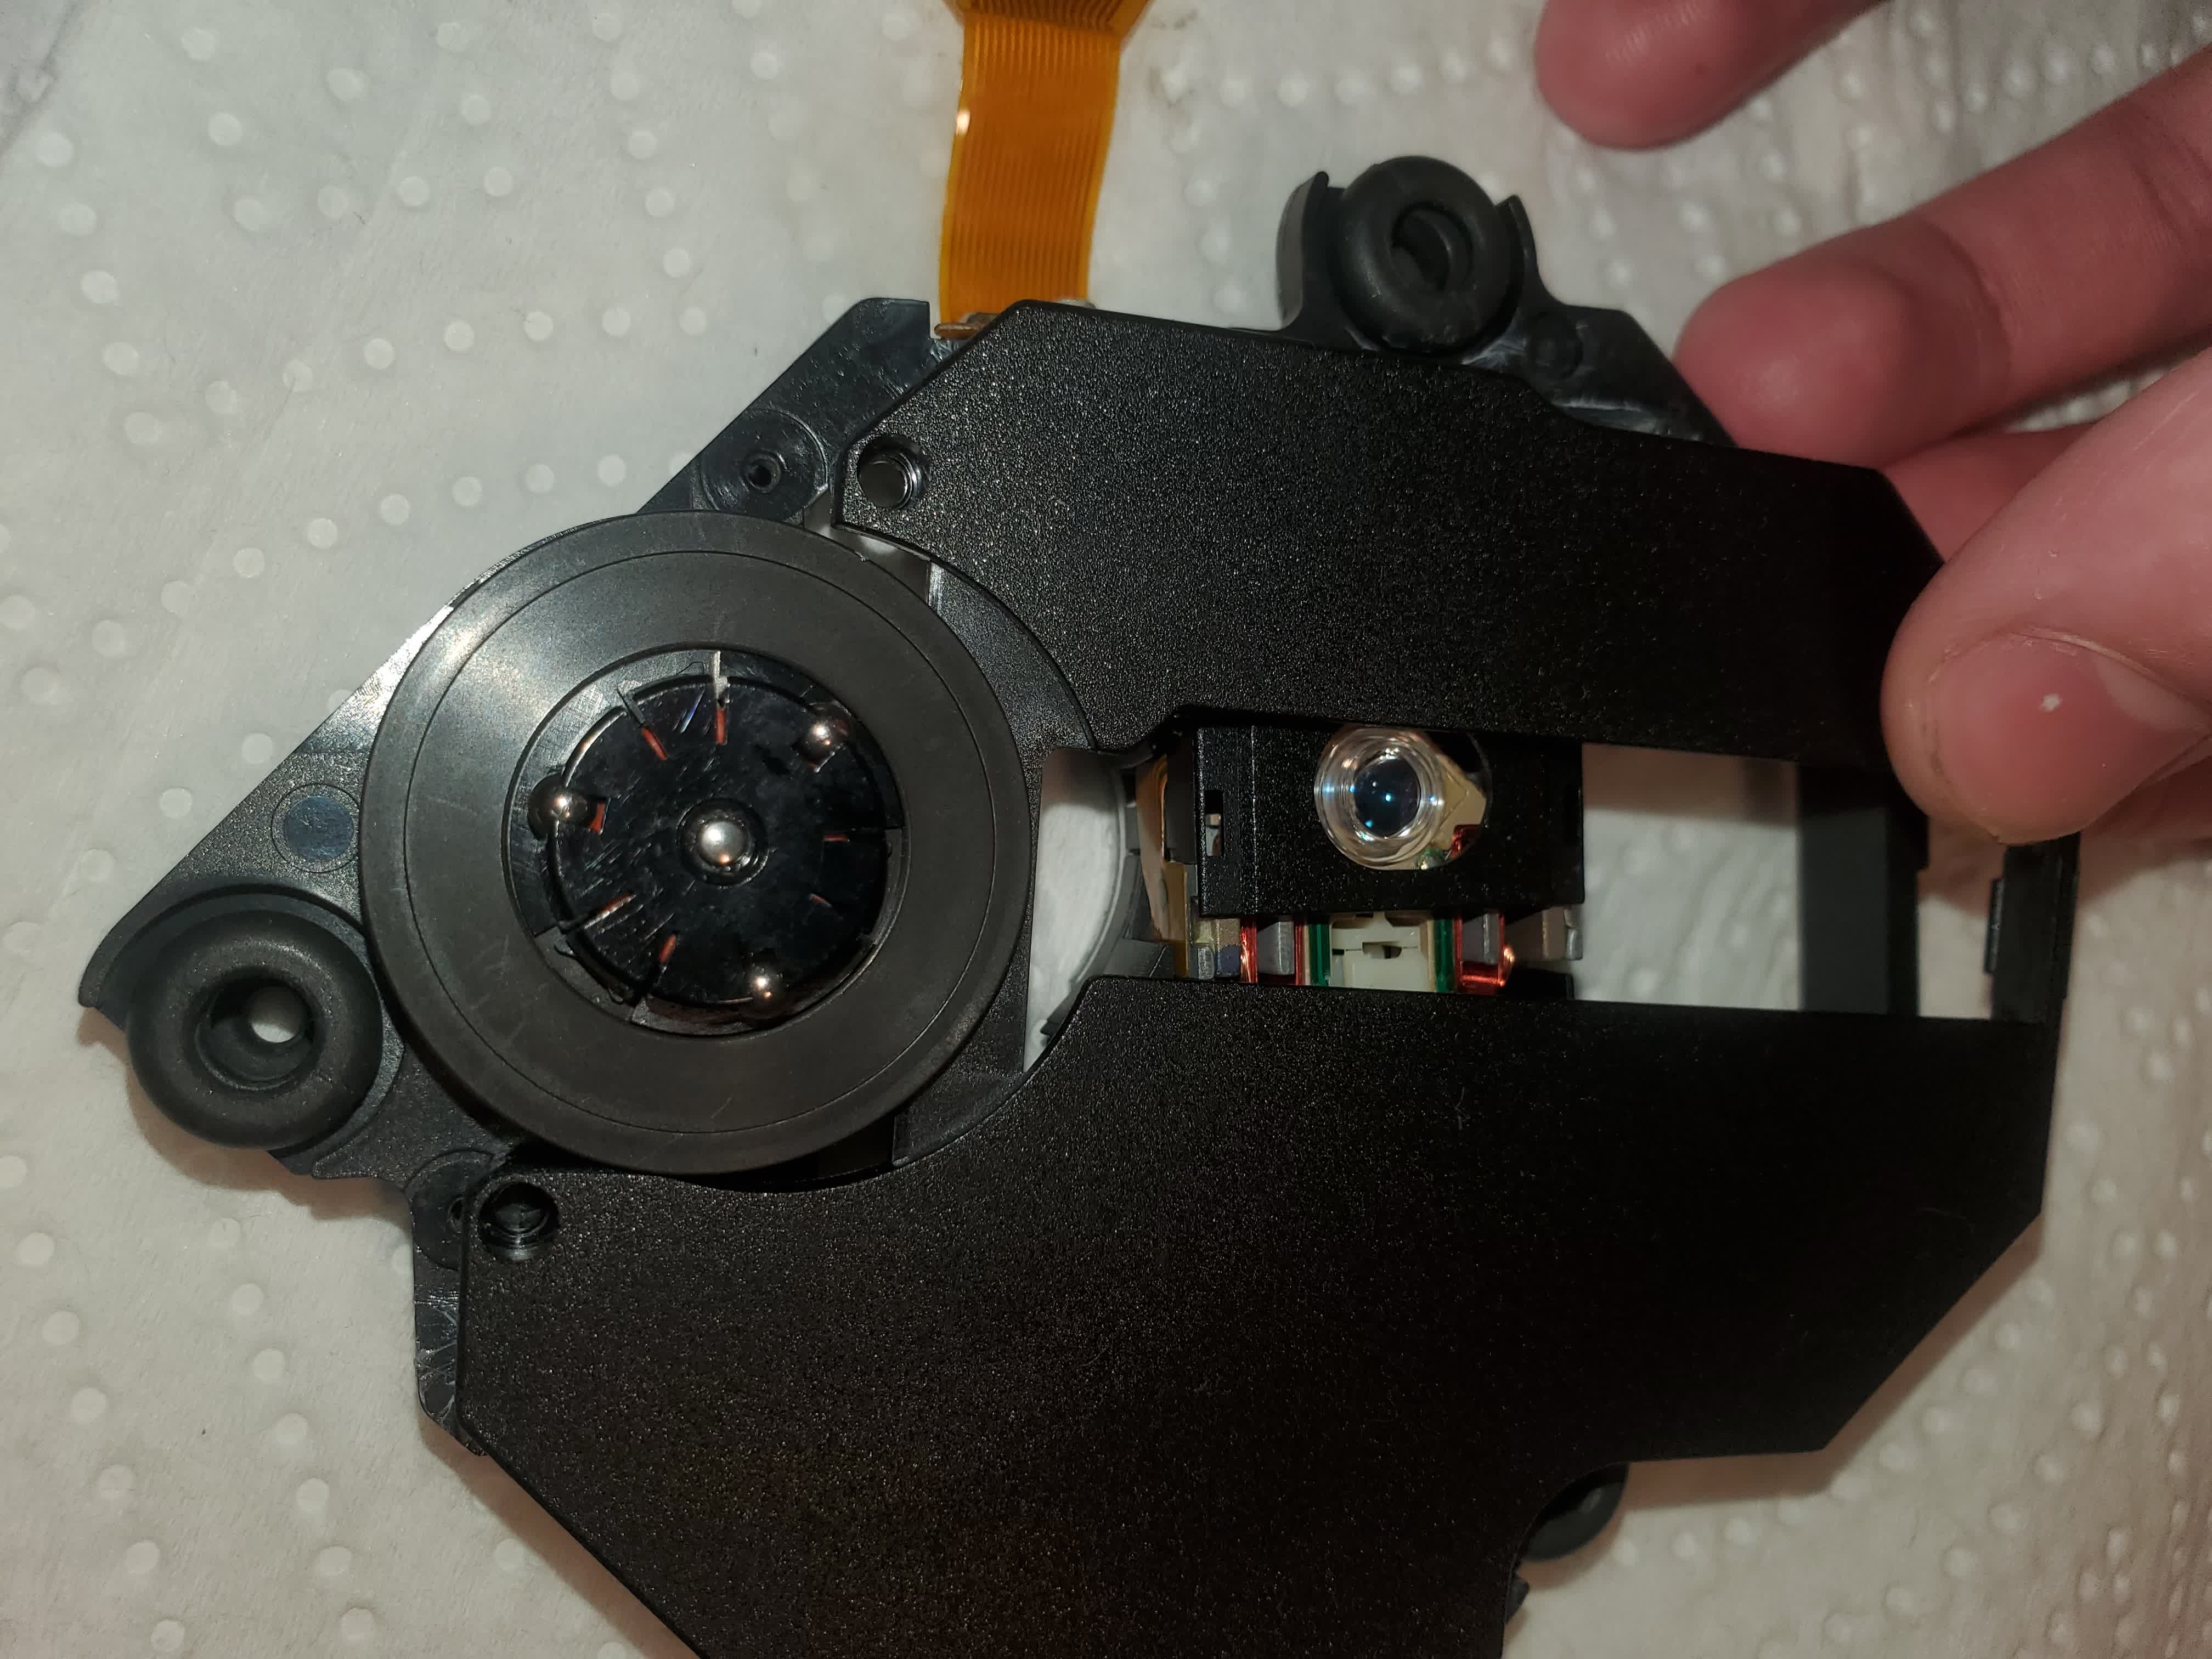
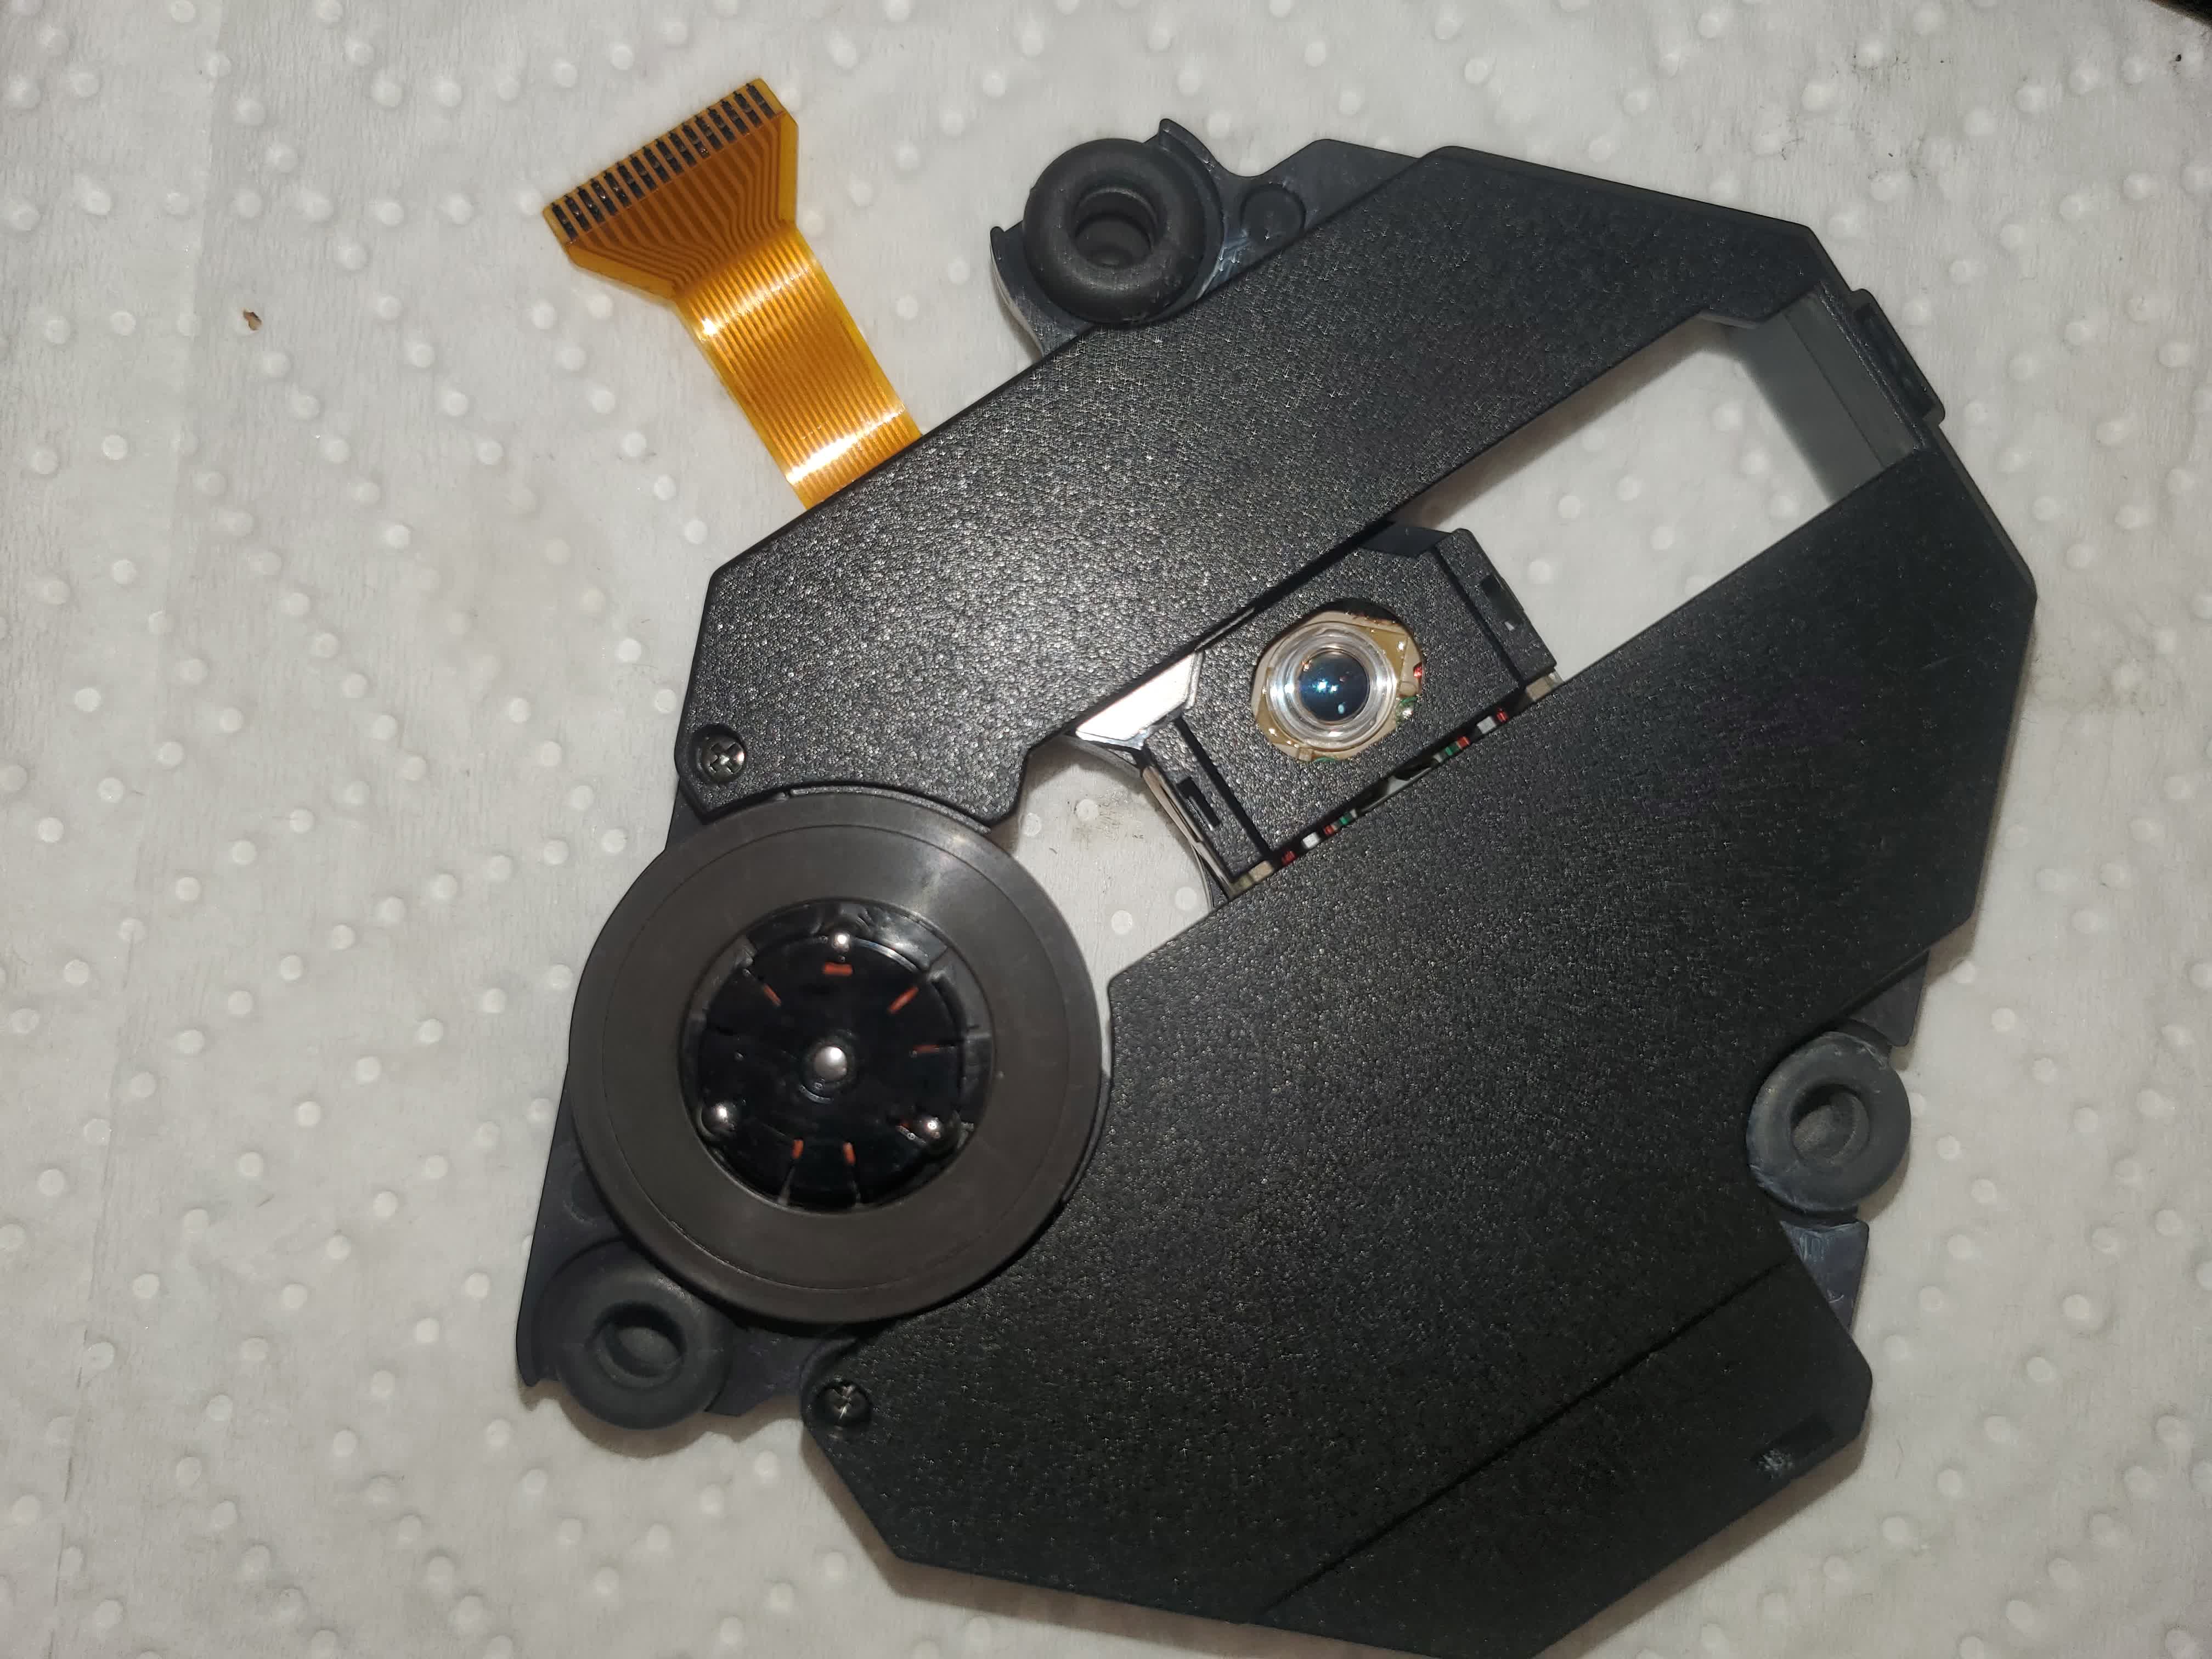
Unscrew the 2 Phillips #00 screws on each side of the spindle motor which secure CD drive top case to the rest of the CD drive. Once these screws are removed, push the CD drive’s top case forward (away from the spindle motor). Once it slides over the CD drive a bit forward, start pushing diagonally away from the spindle motor and to the right. The CD drive top case should just slide right out, exposing the CD drive’s internals.
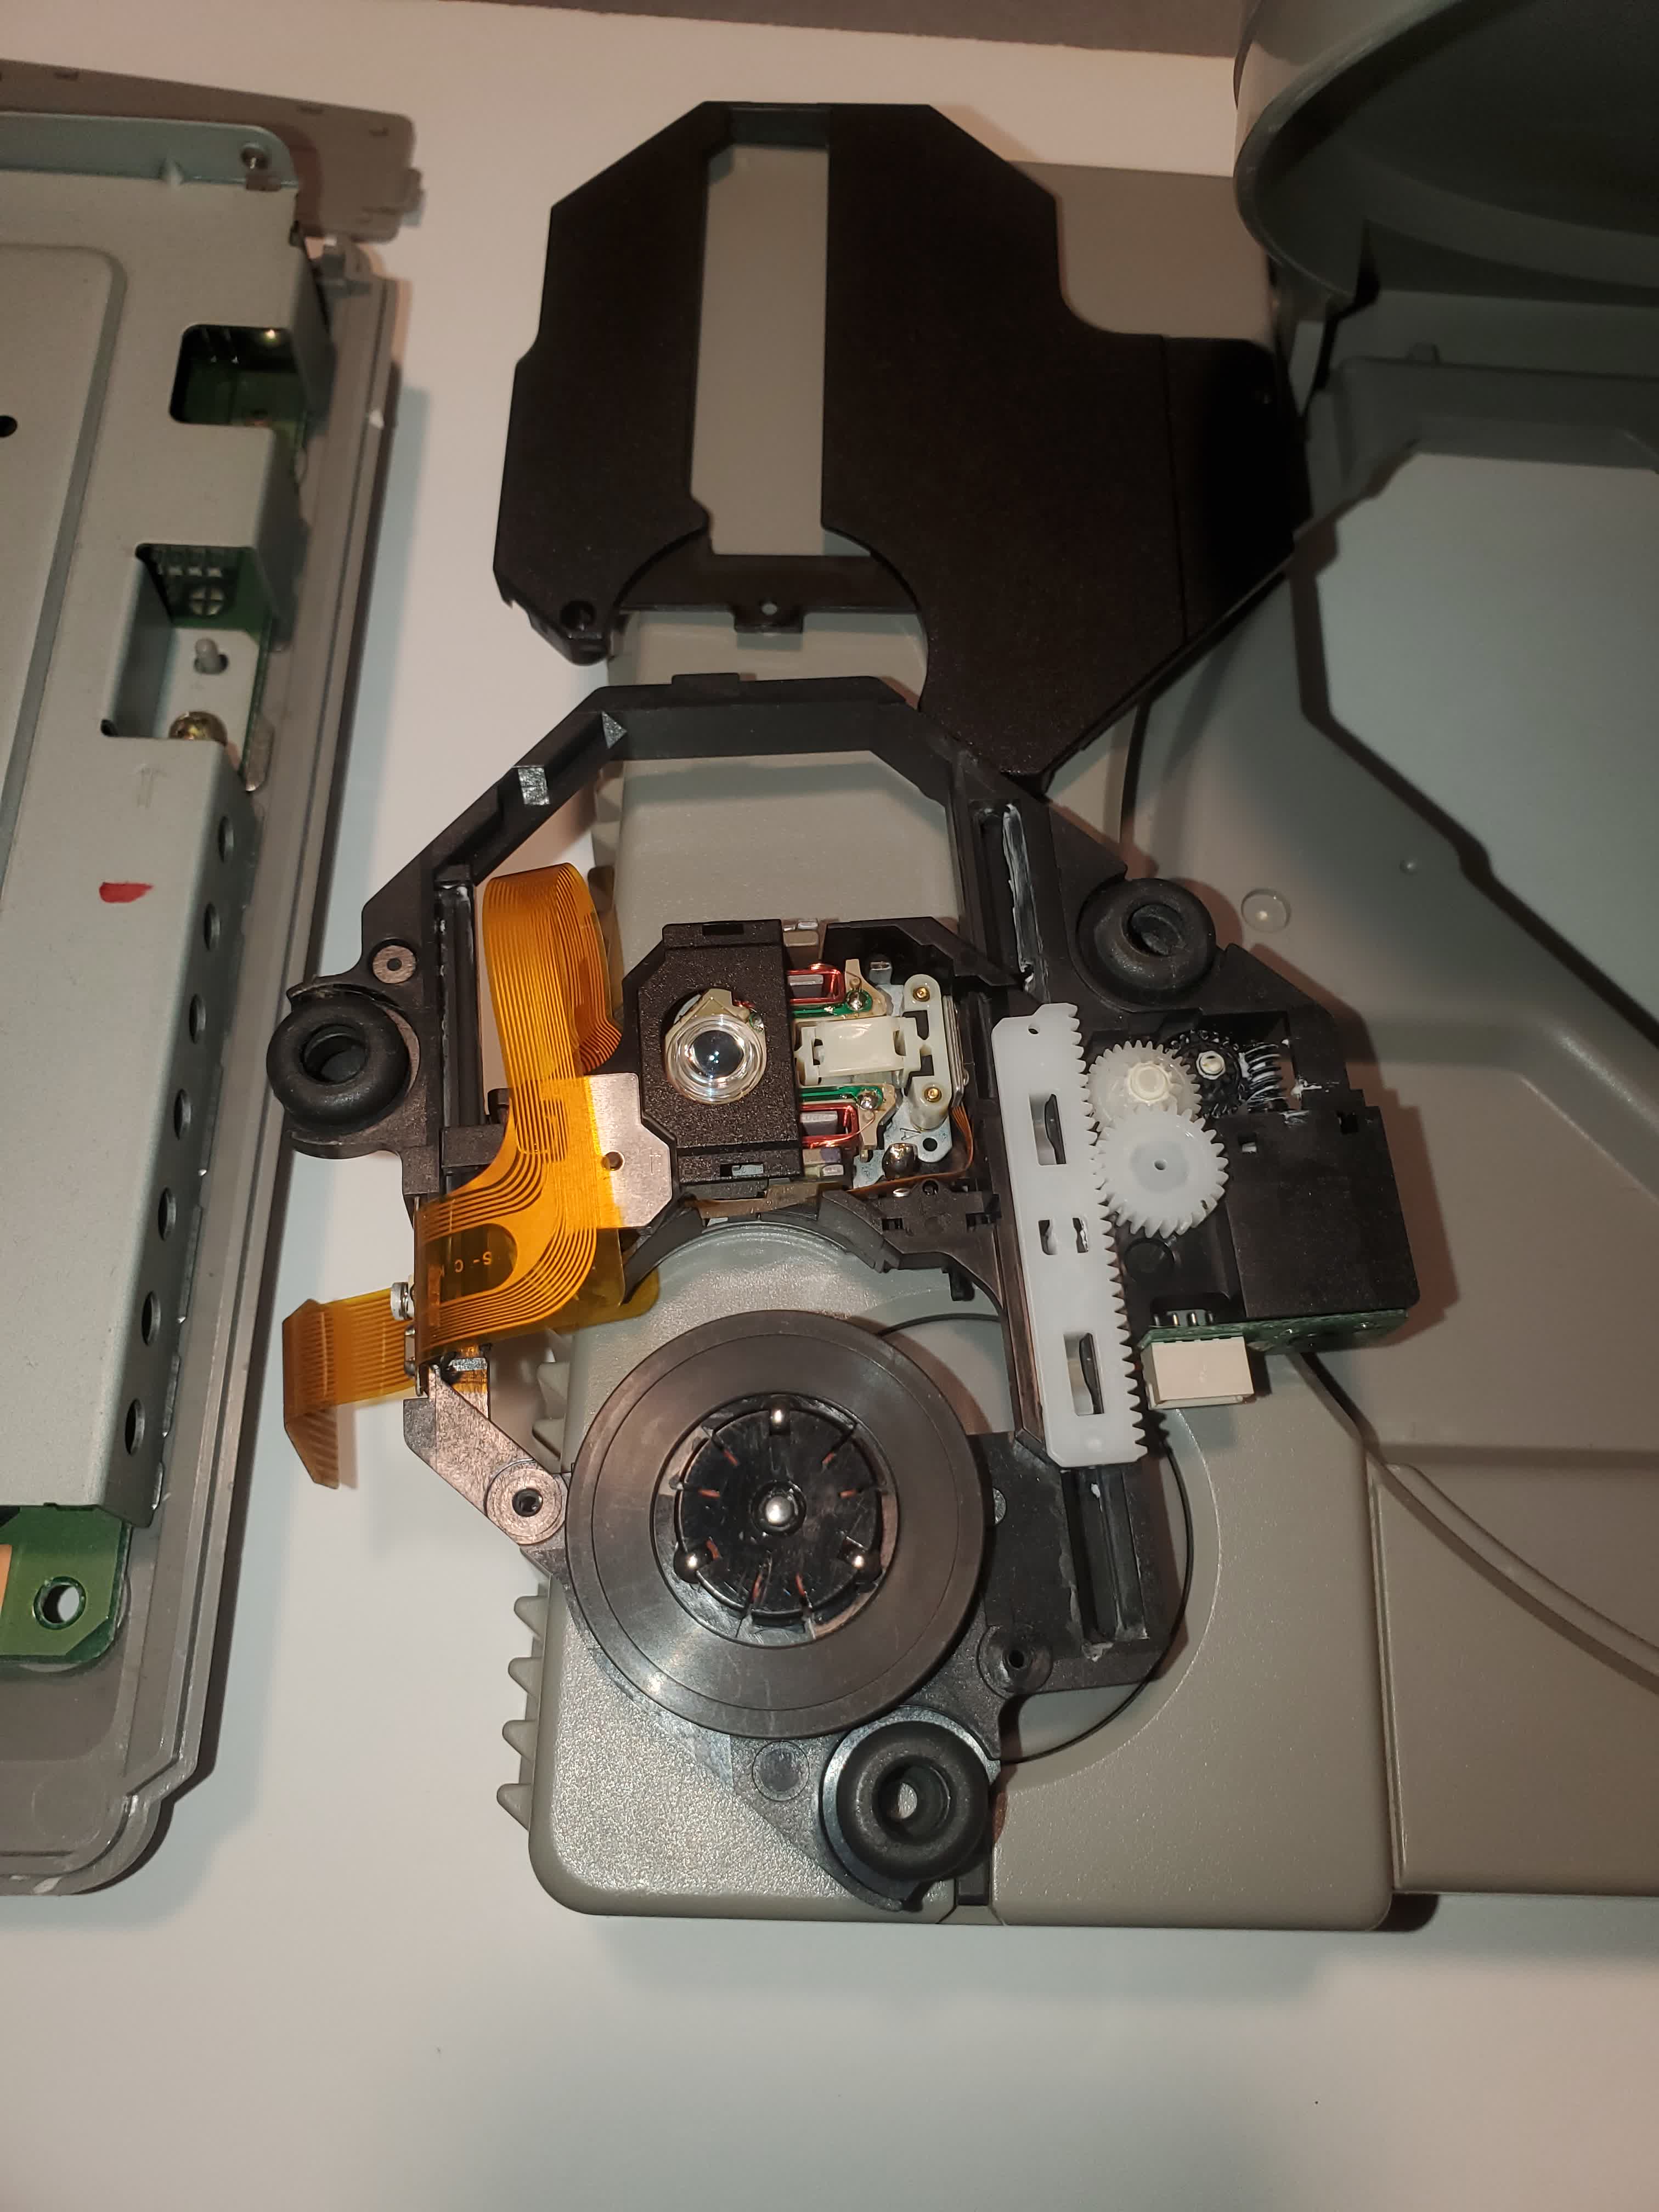
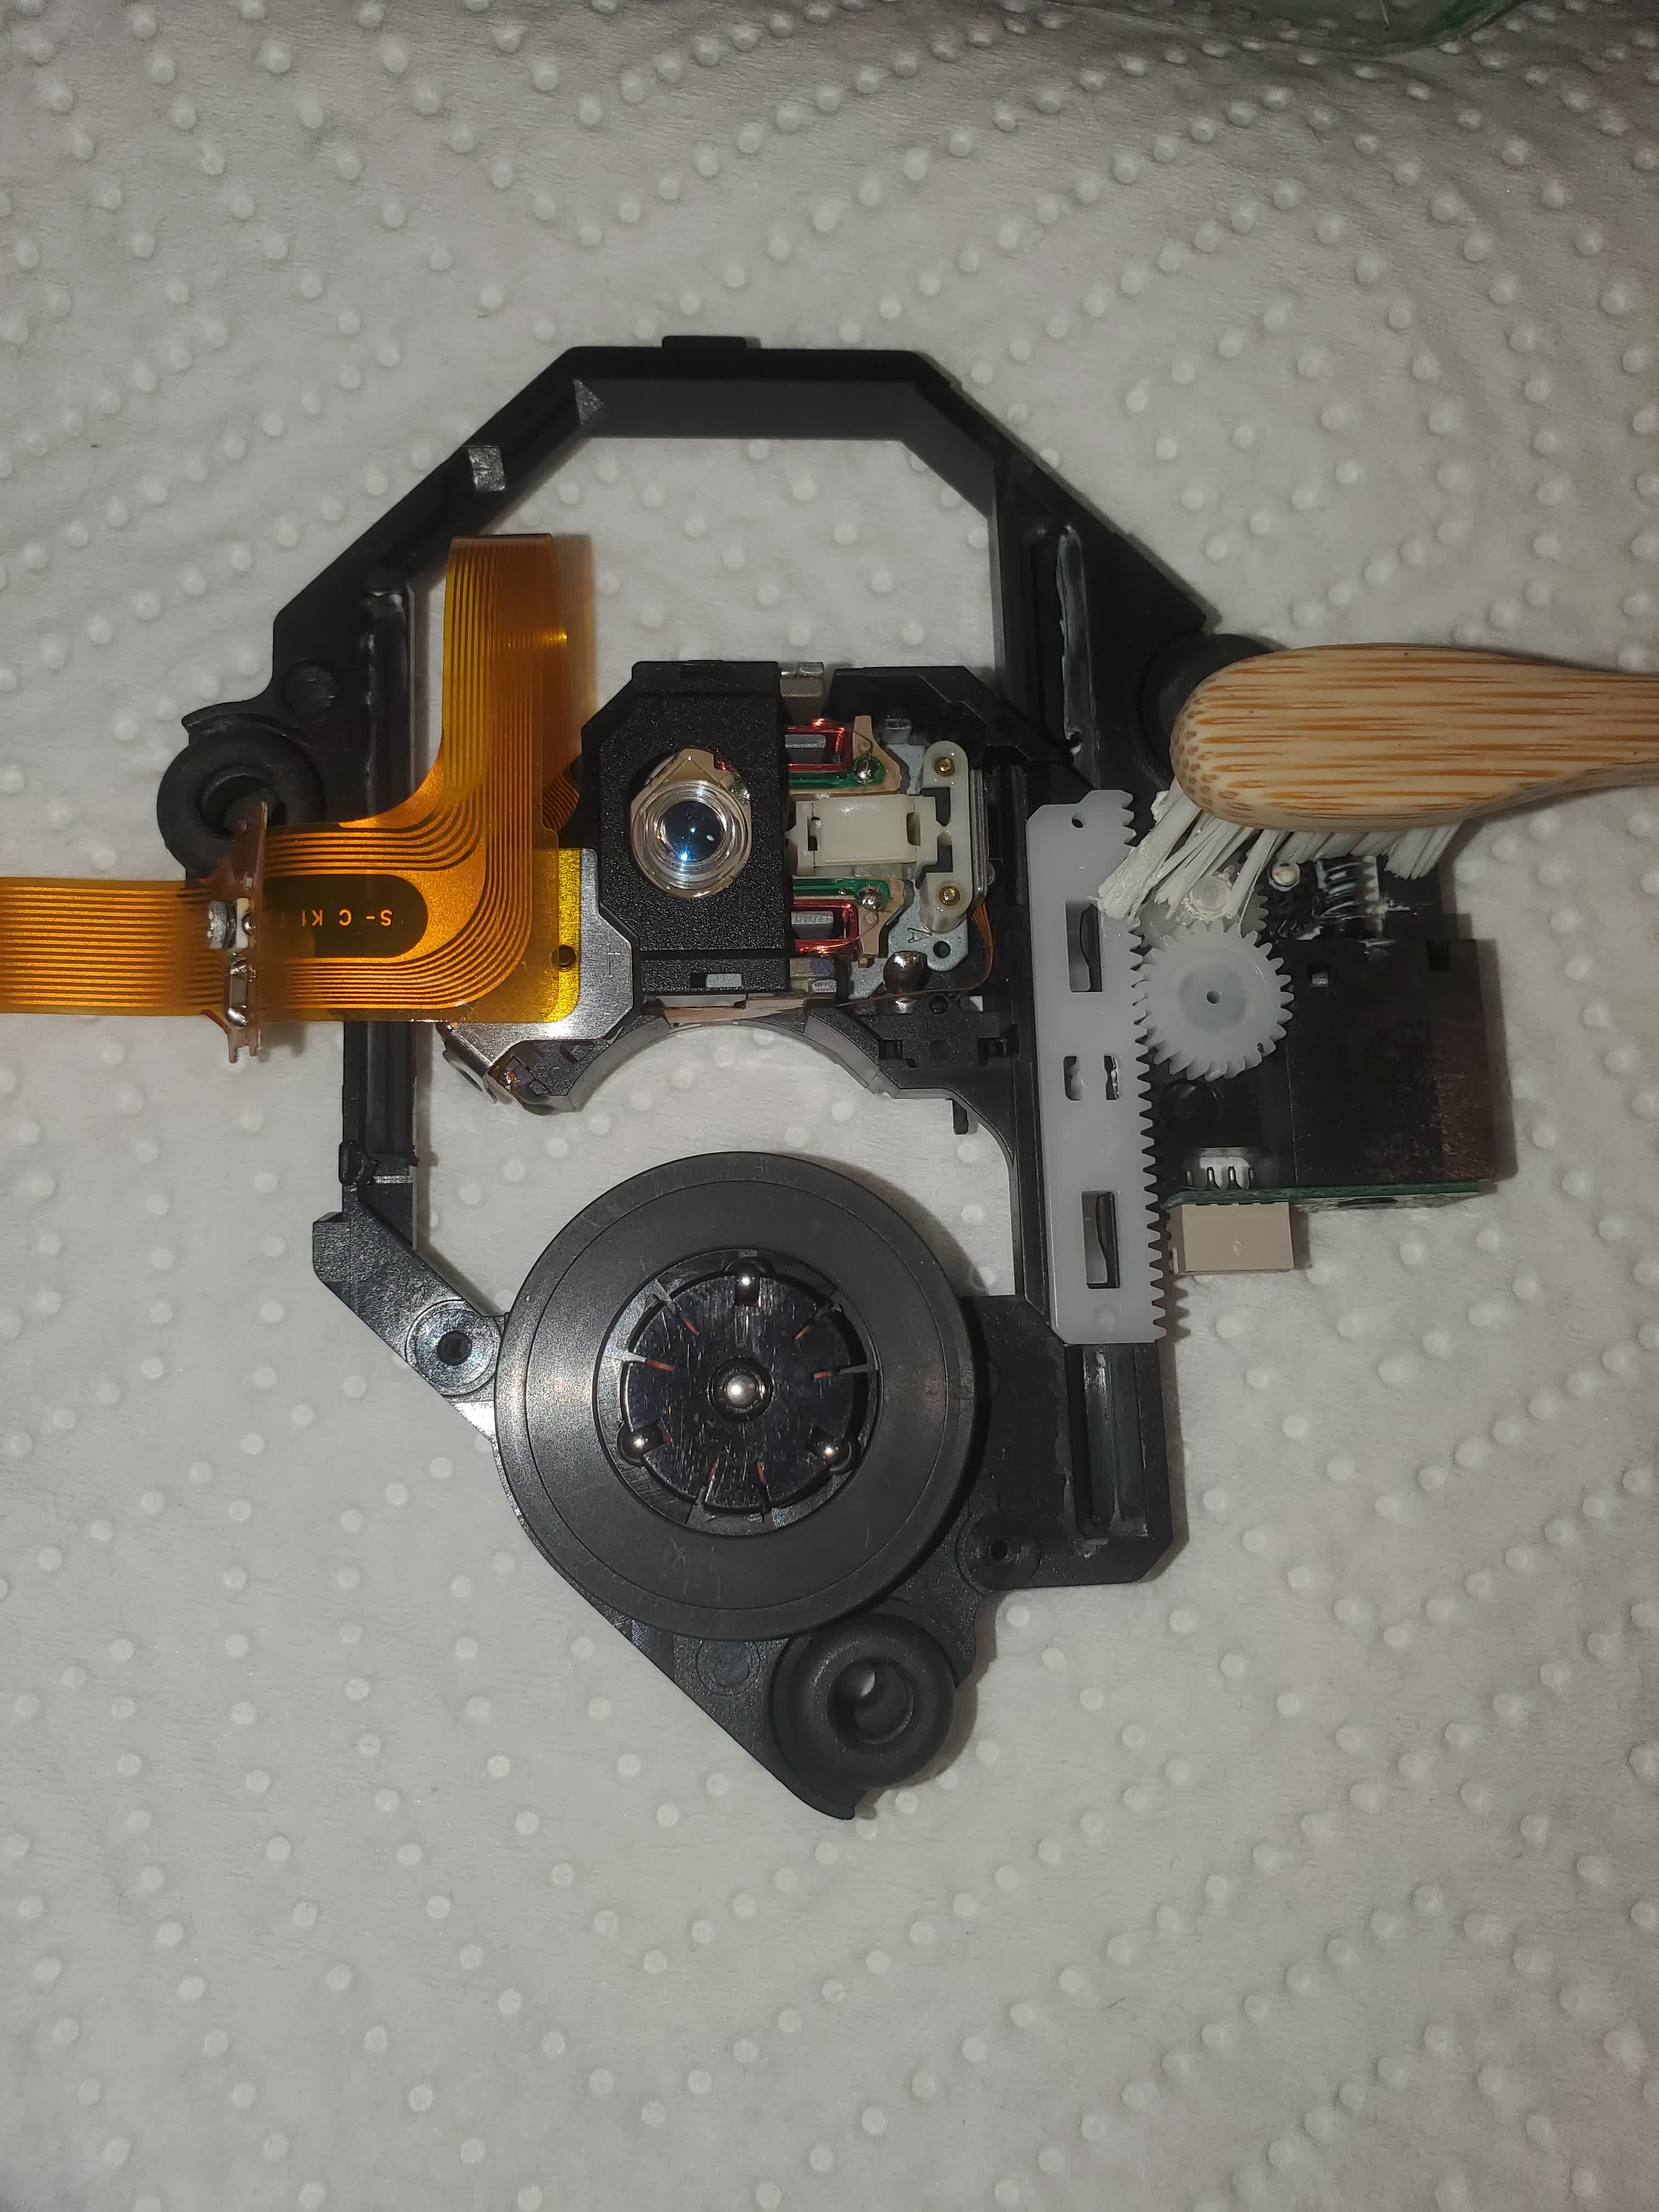
With the CD drive top case now removed, we can get to work. Use a clean wet toothbrush (water or soapy water) to remove any remaining grease on all of the gears which connect the laser sled motor to the laser sled.
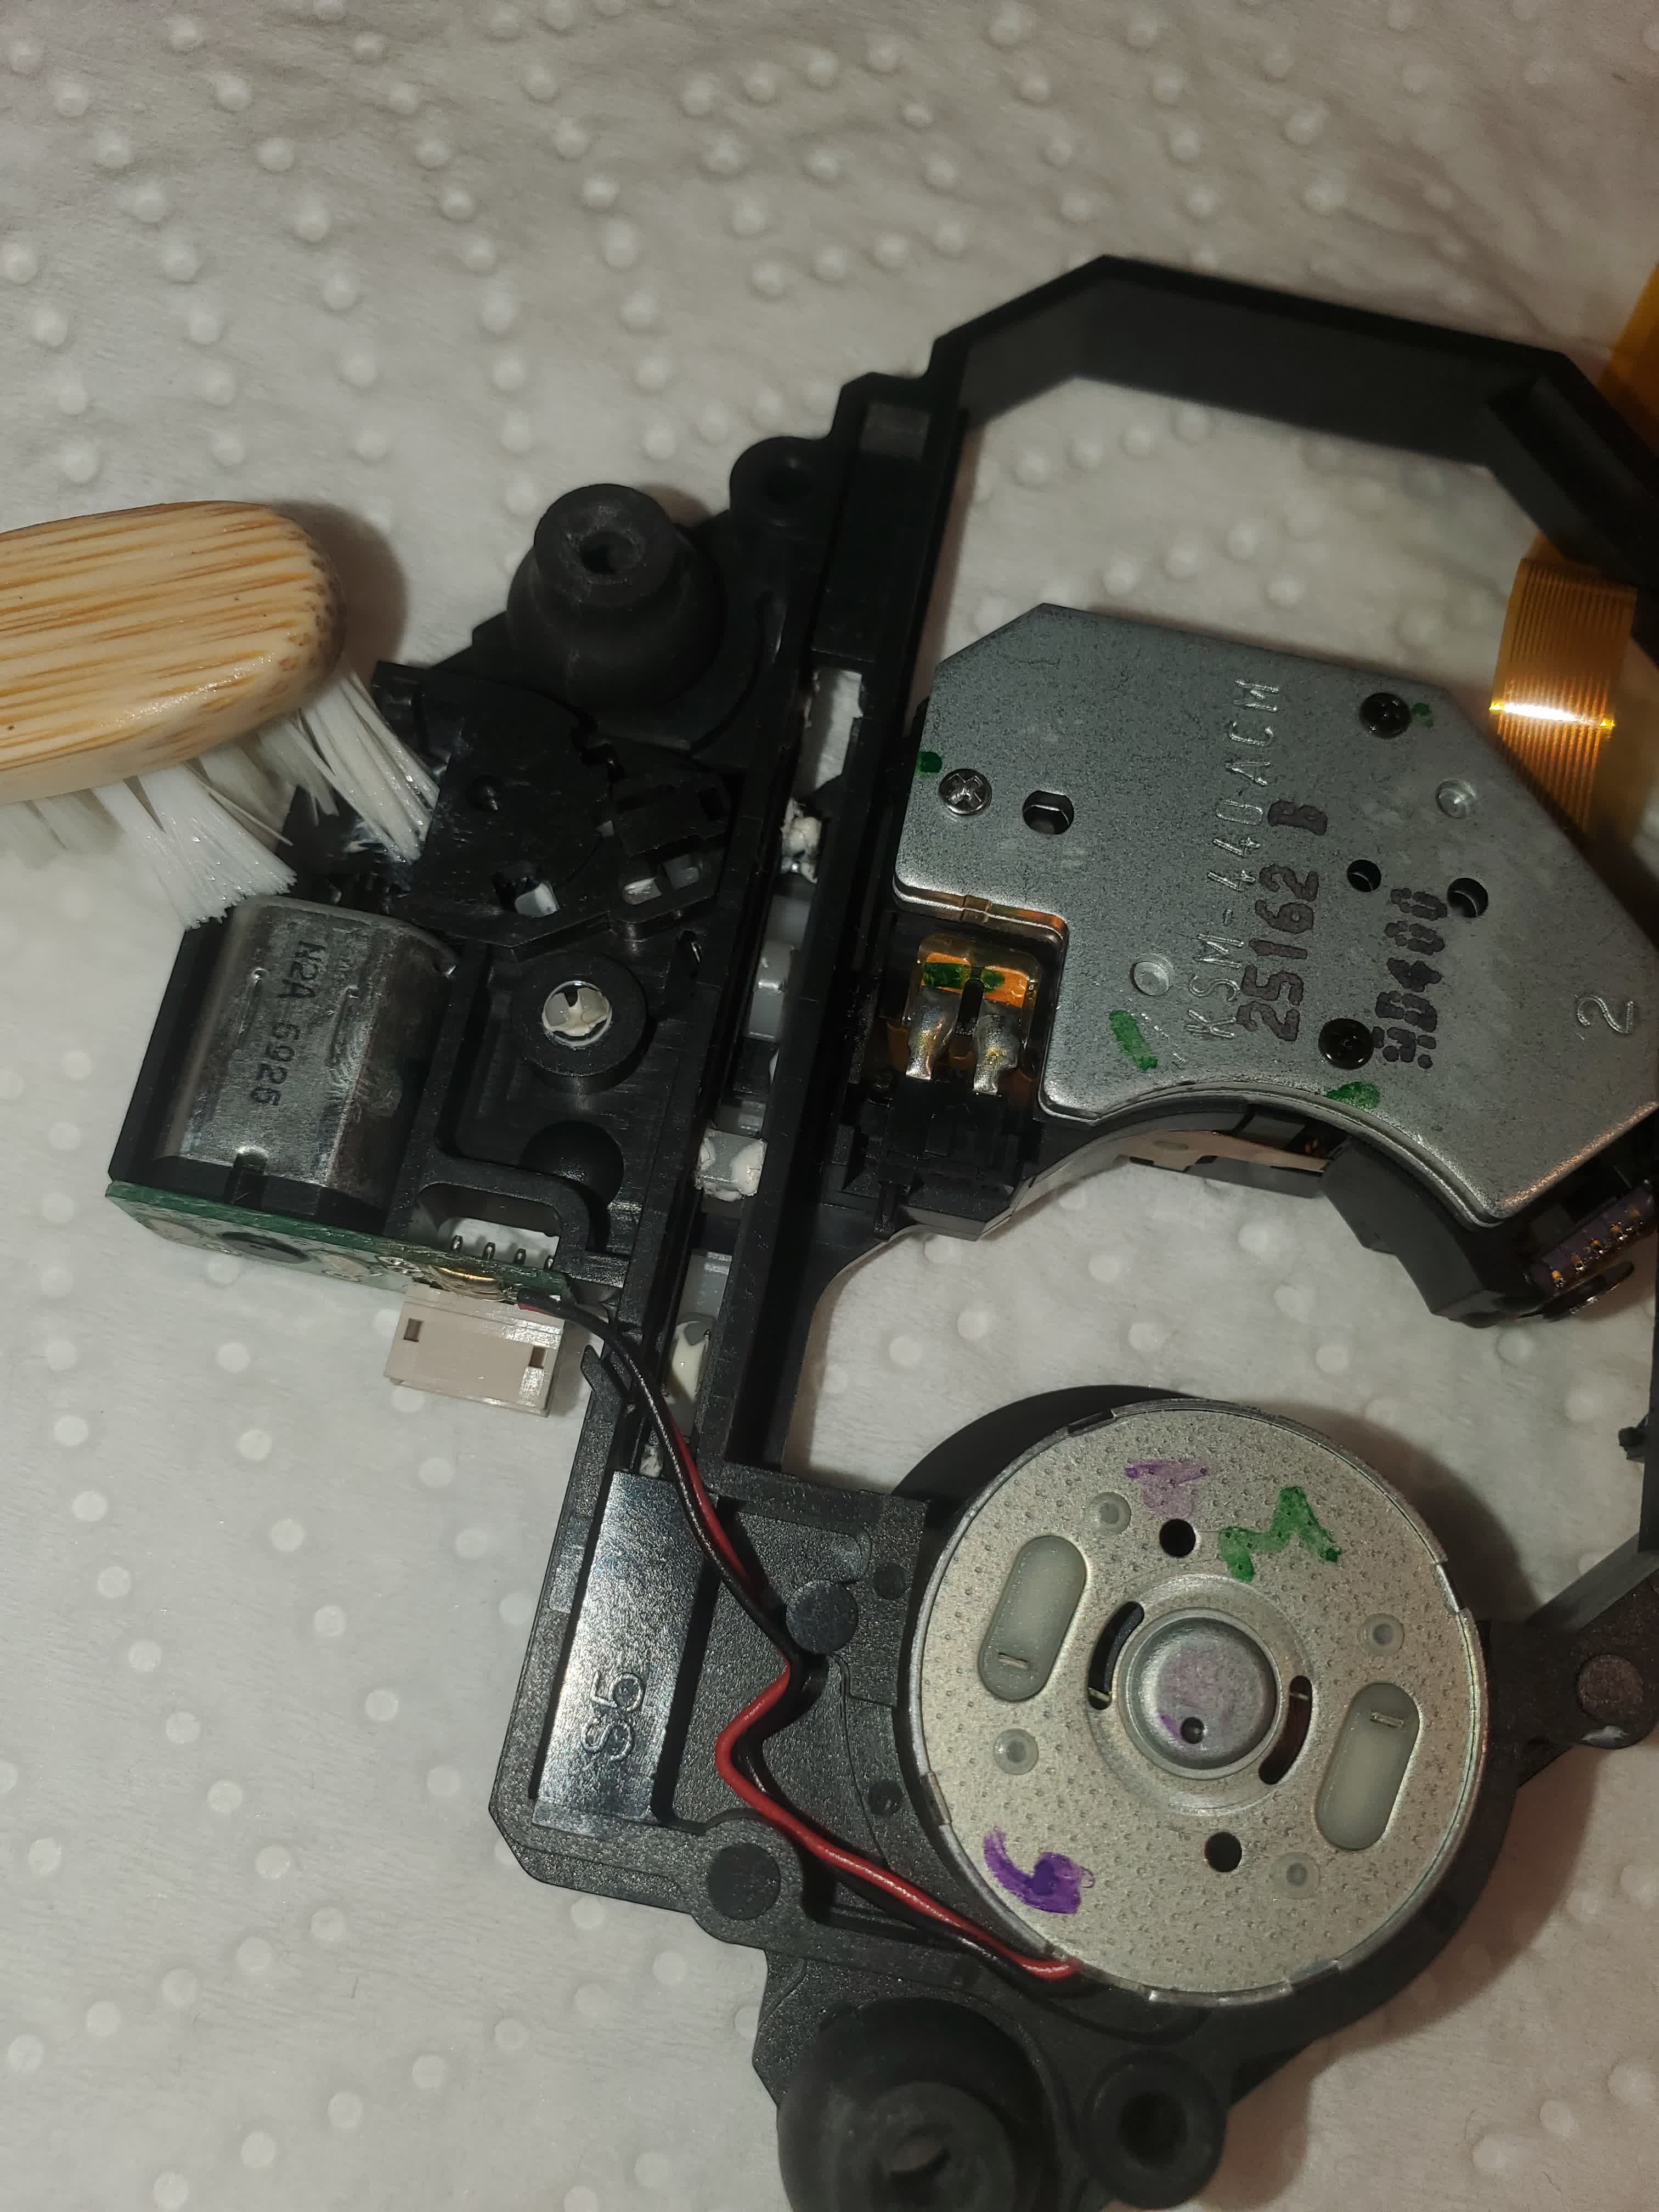
Flip the CD drive over and make sure to get the bottom part of the laser sled motor gear as well.
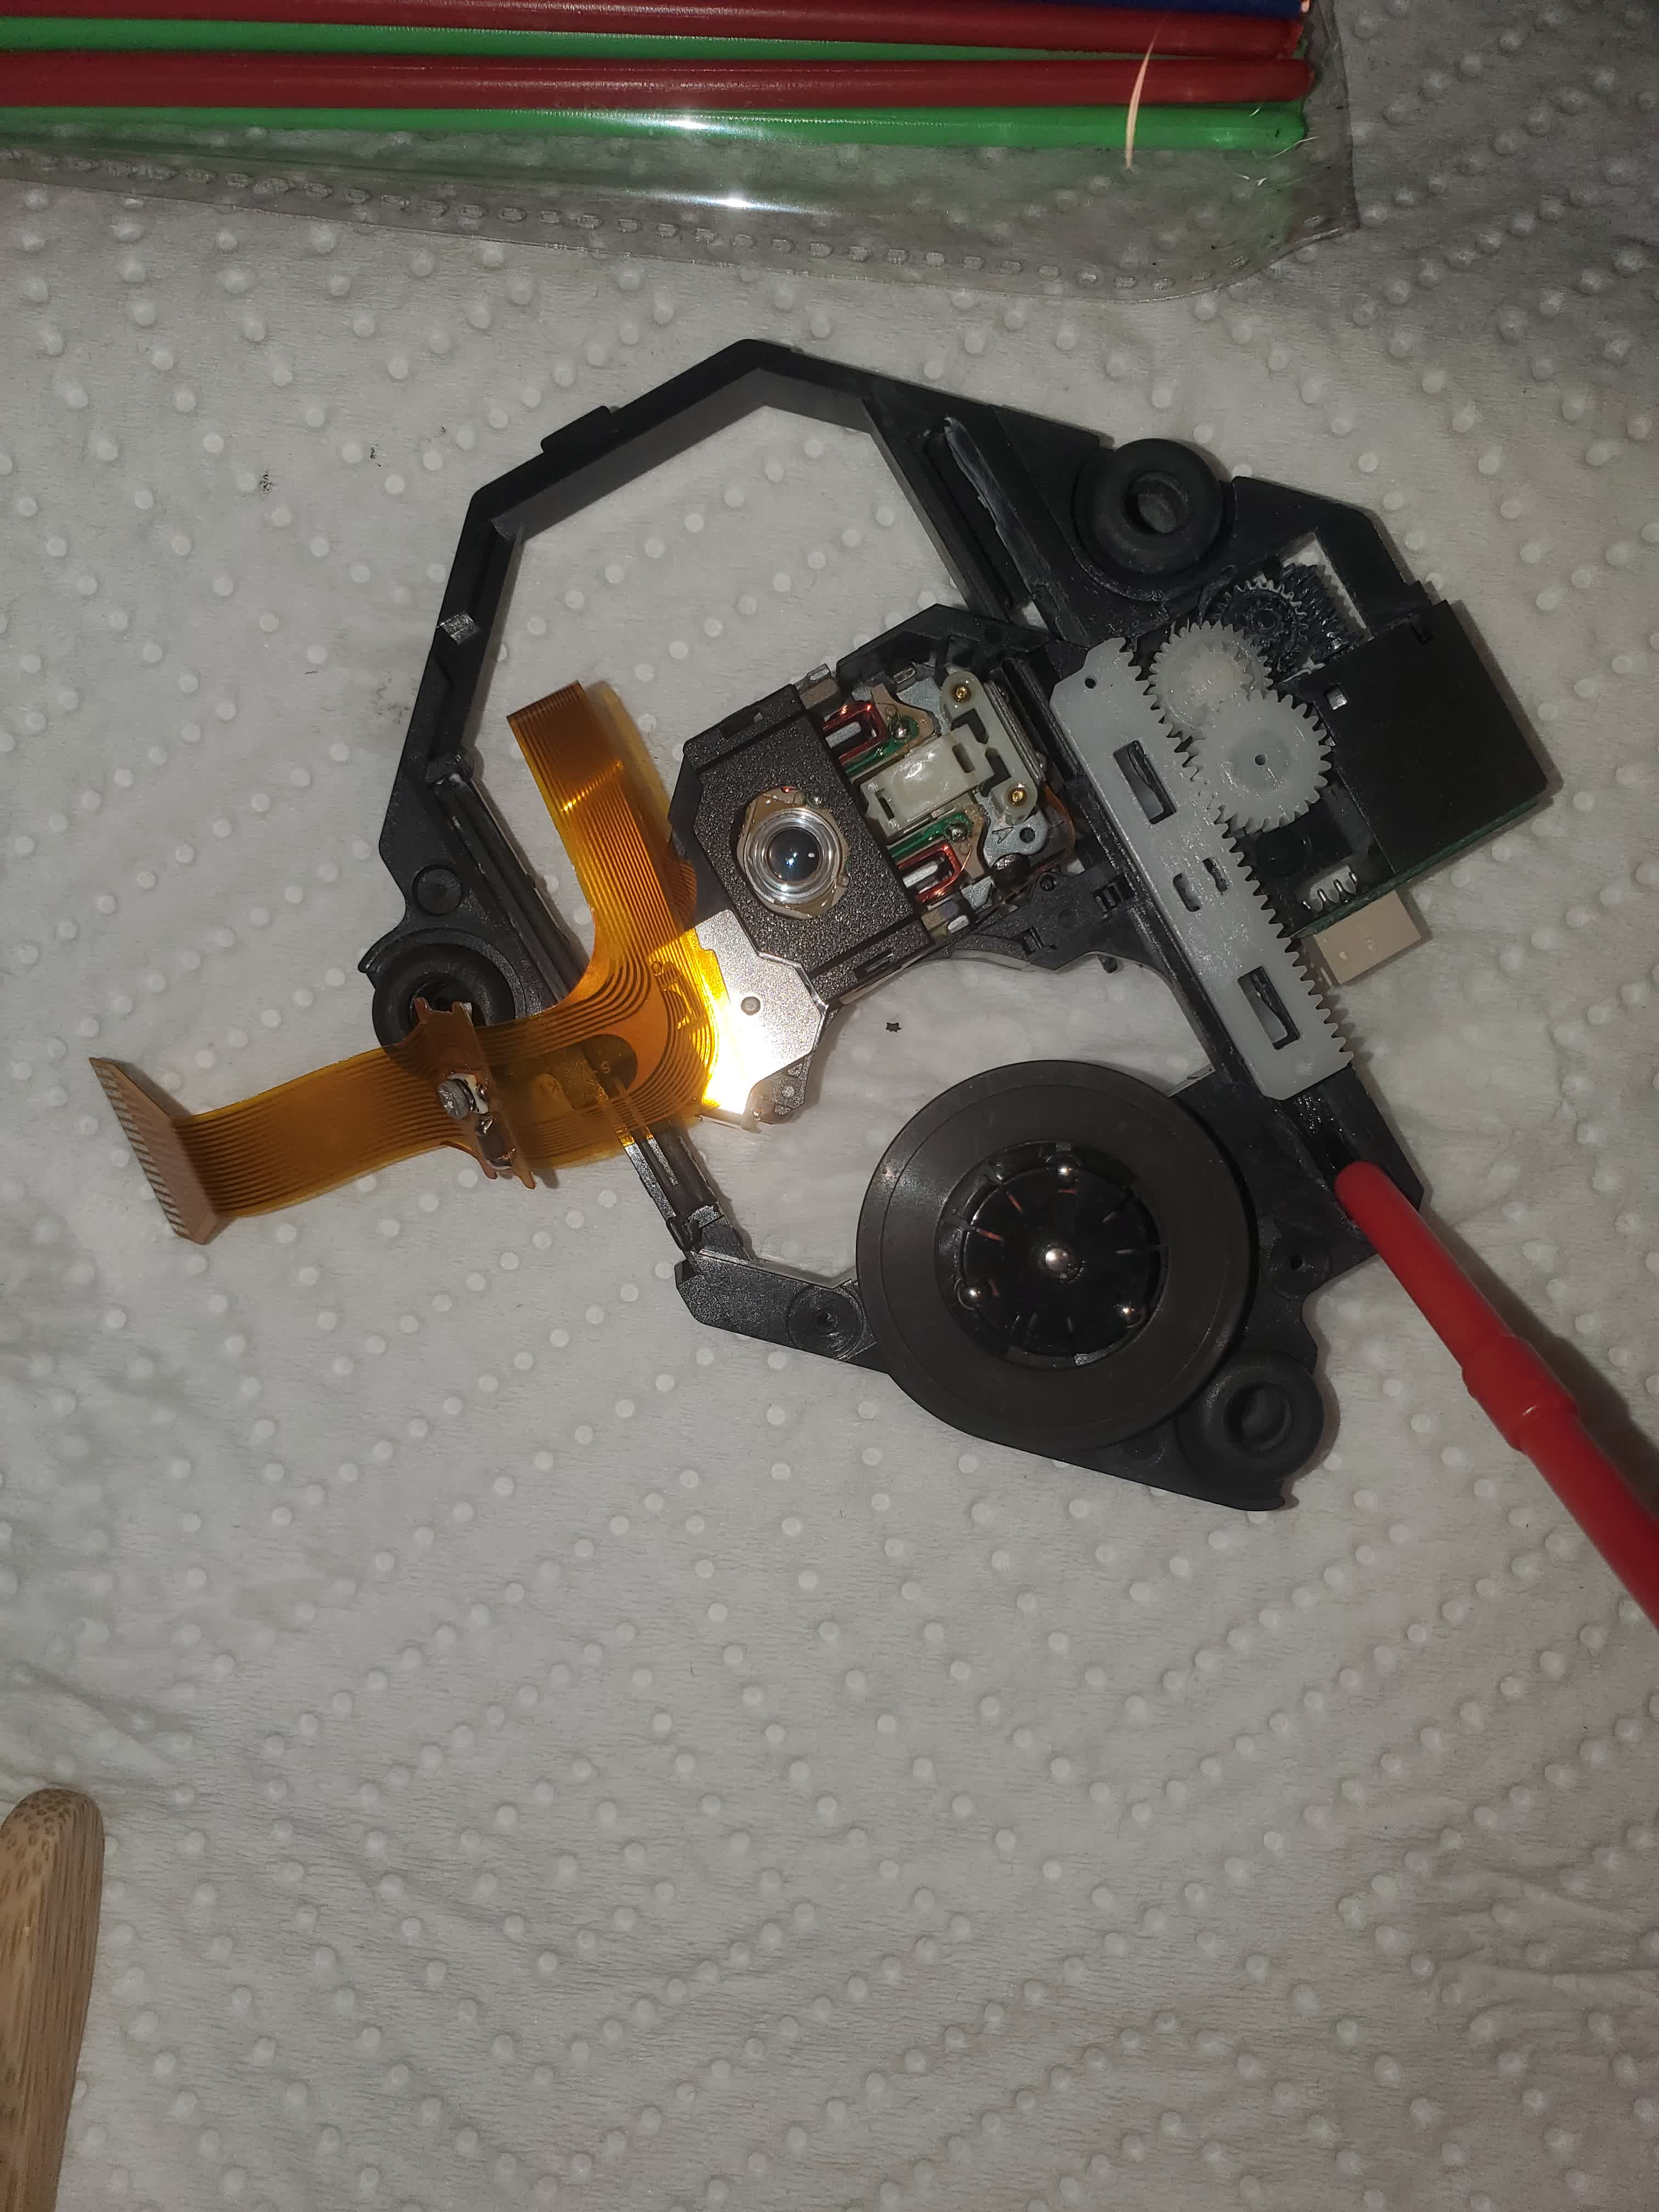
Next clean the bottom of the laser sled rails with a wet (water or soapy water) fine tipped paintbrush. Strip off all of the grease thoroughly on the rails.
Flip the CD drive back over and clean the top of the laser rails in the same way
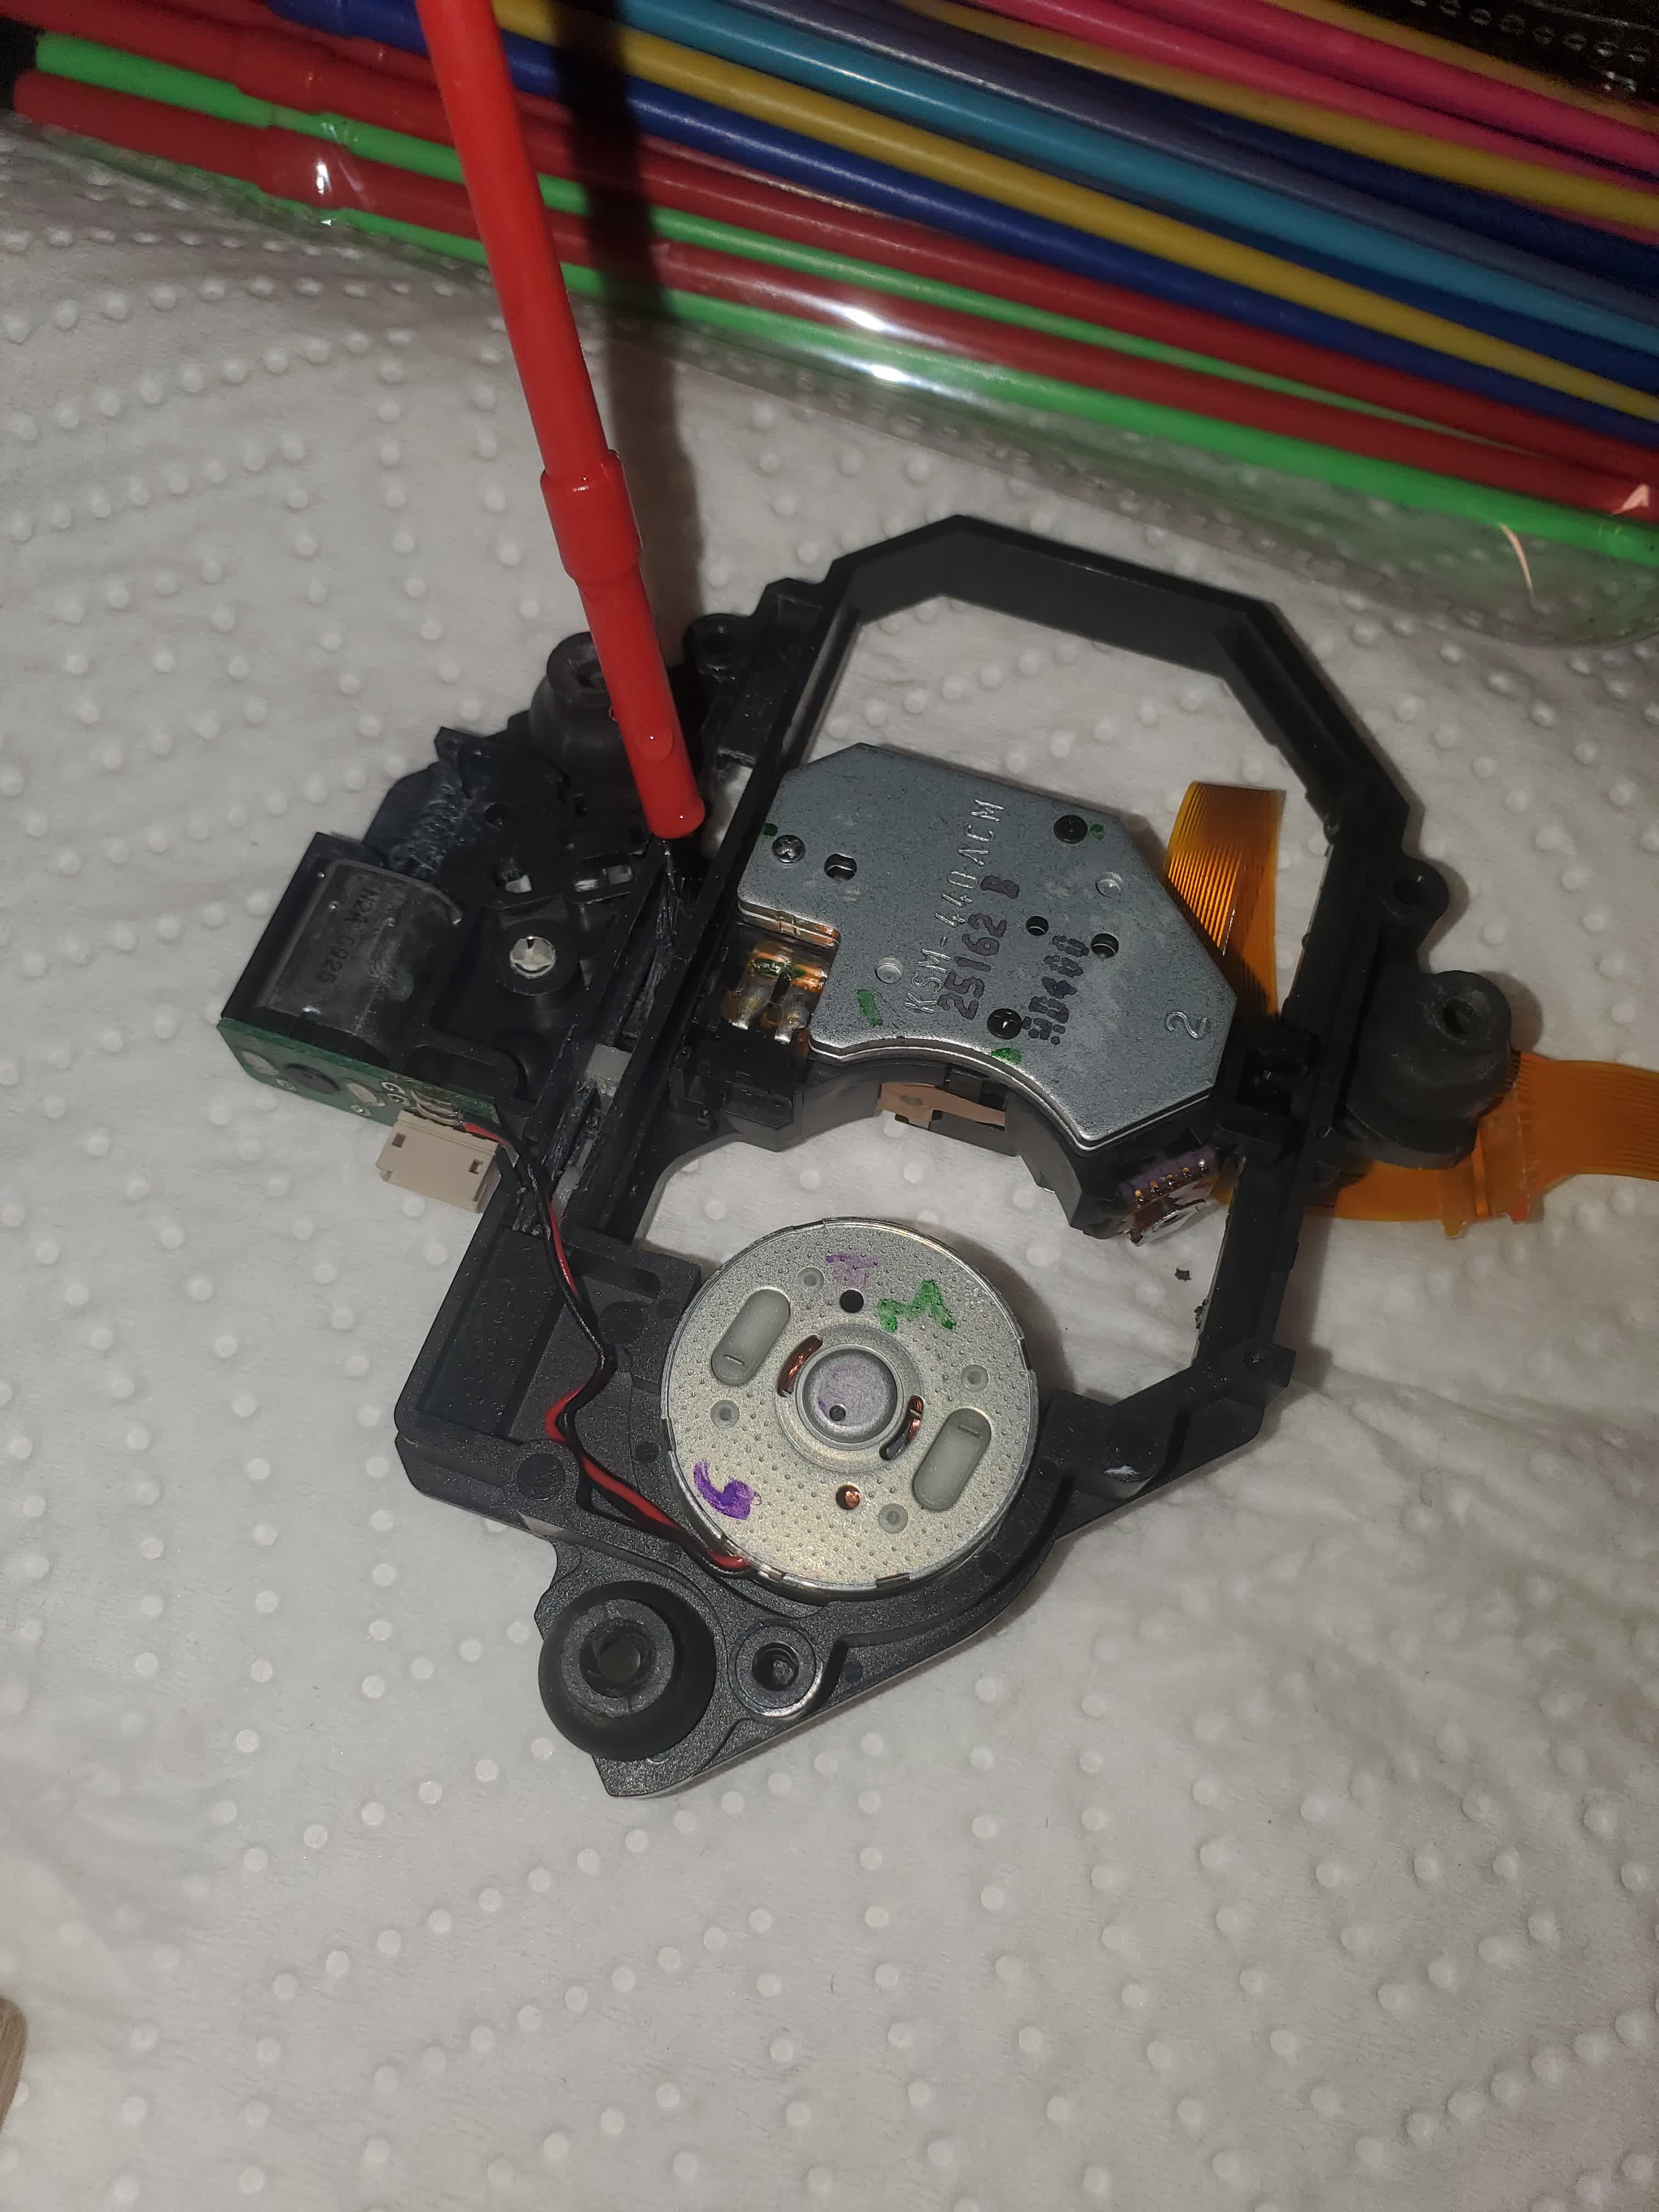
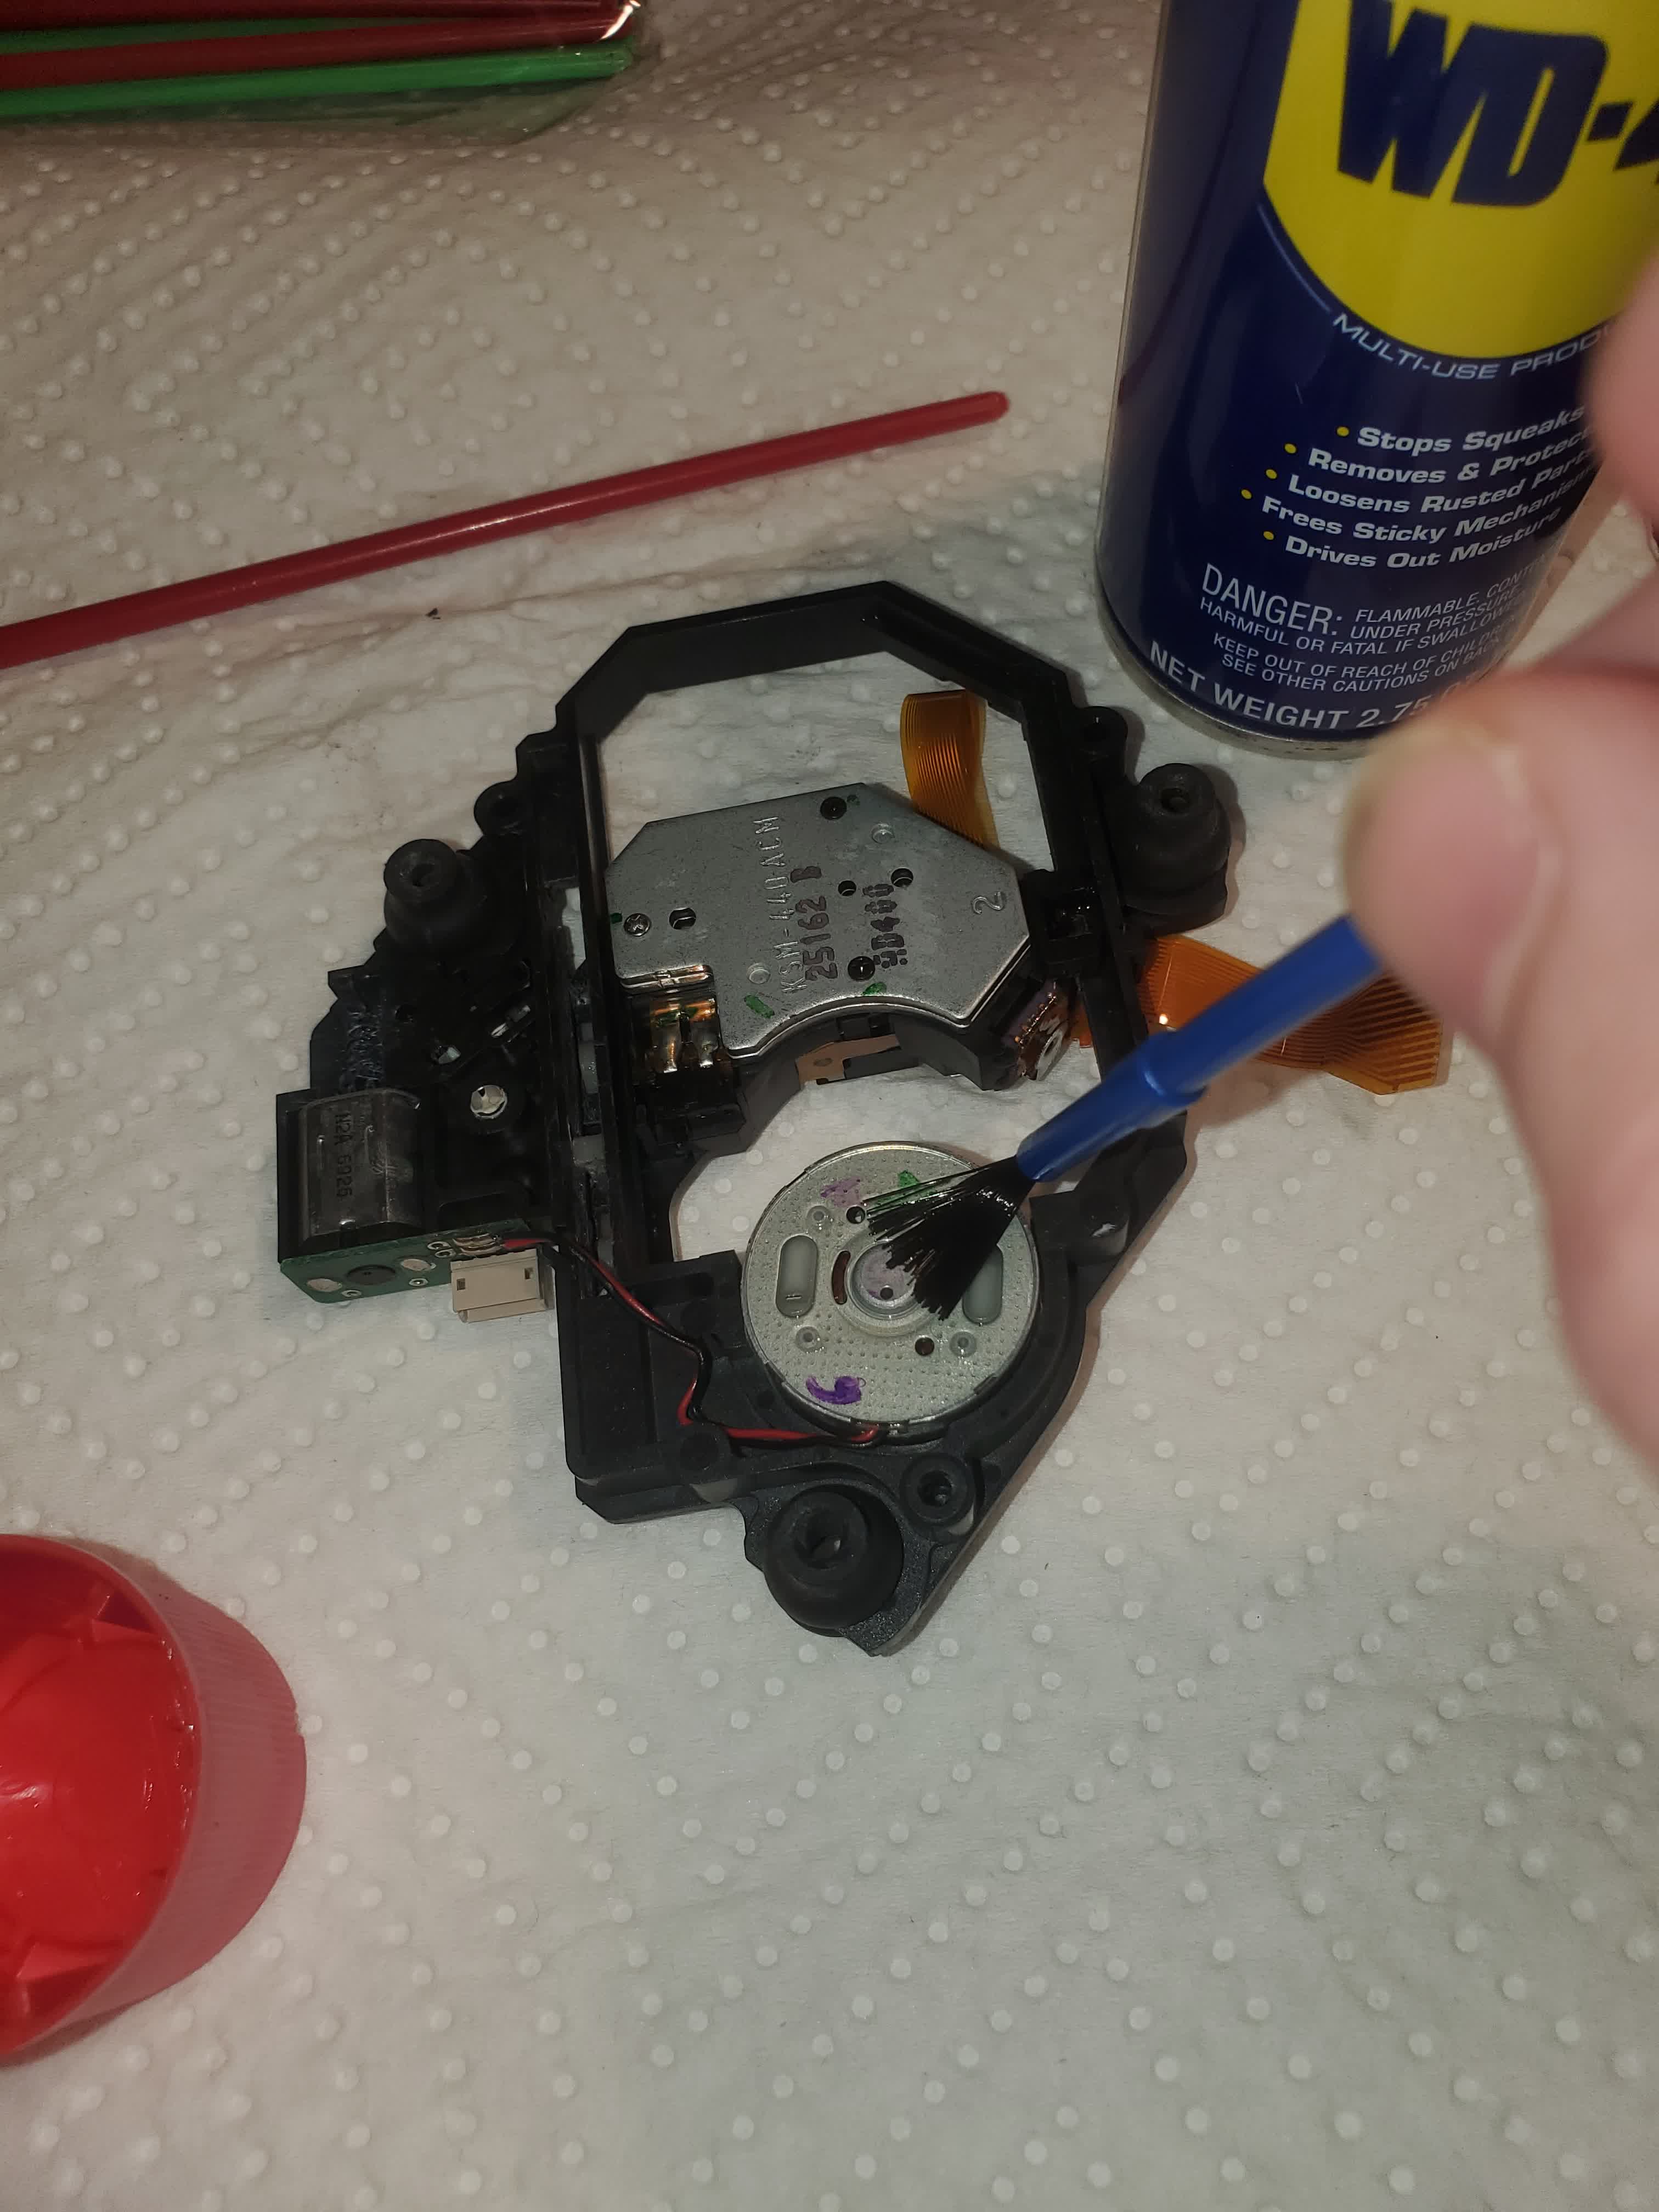
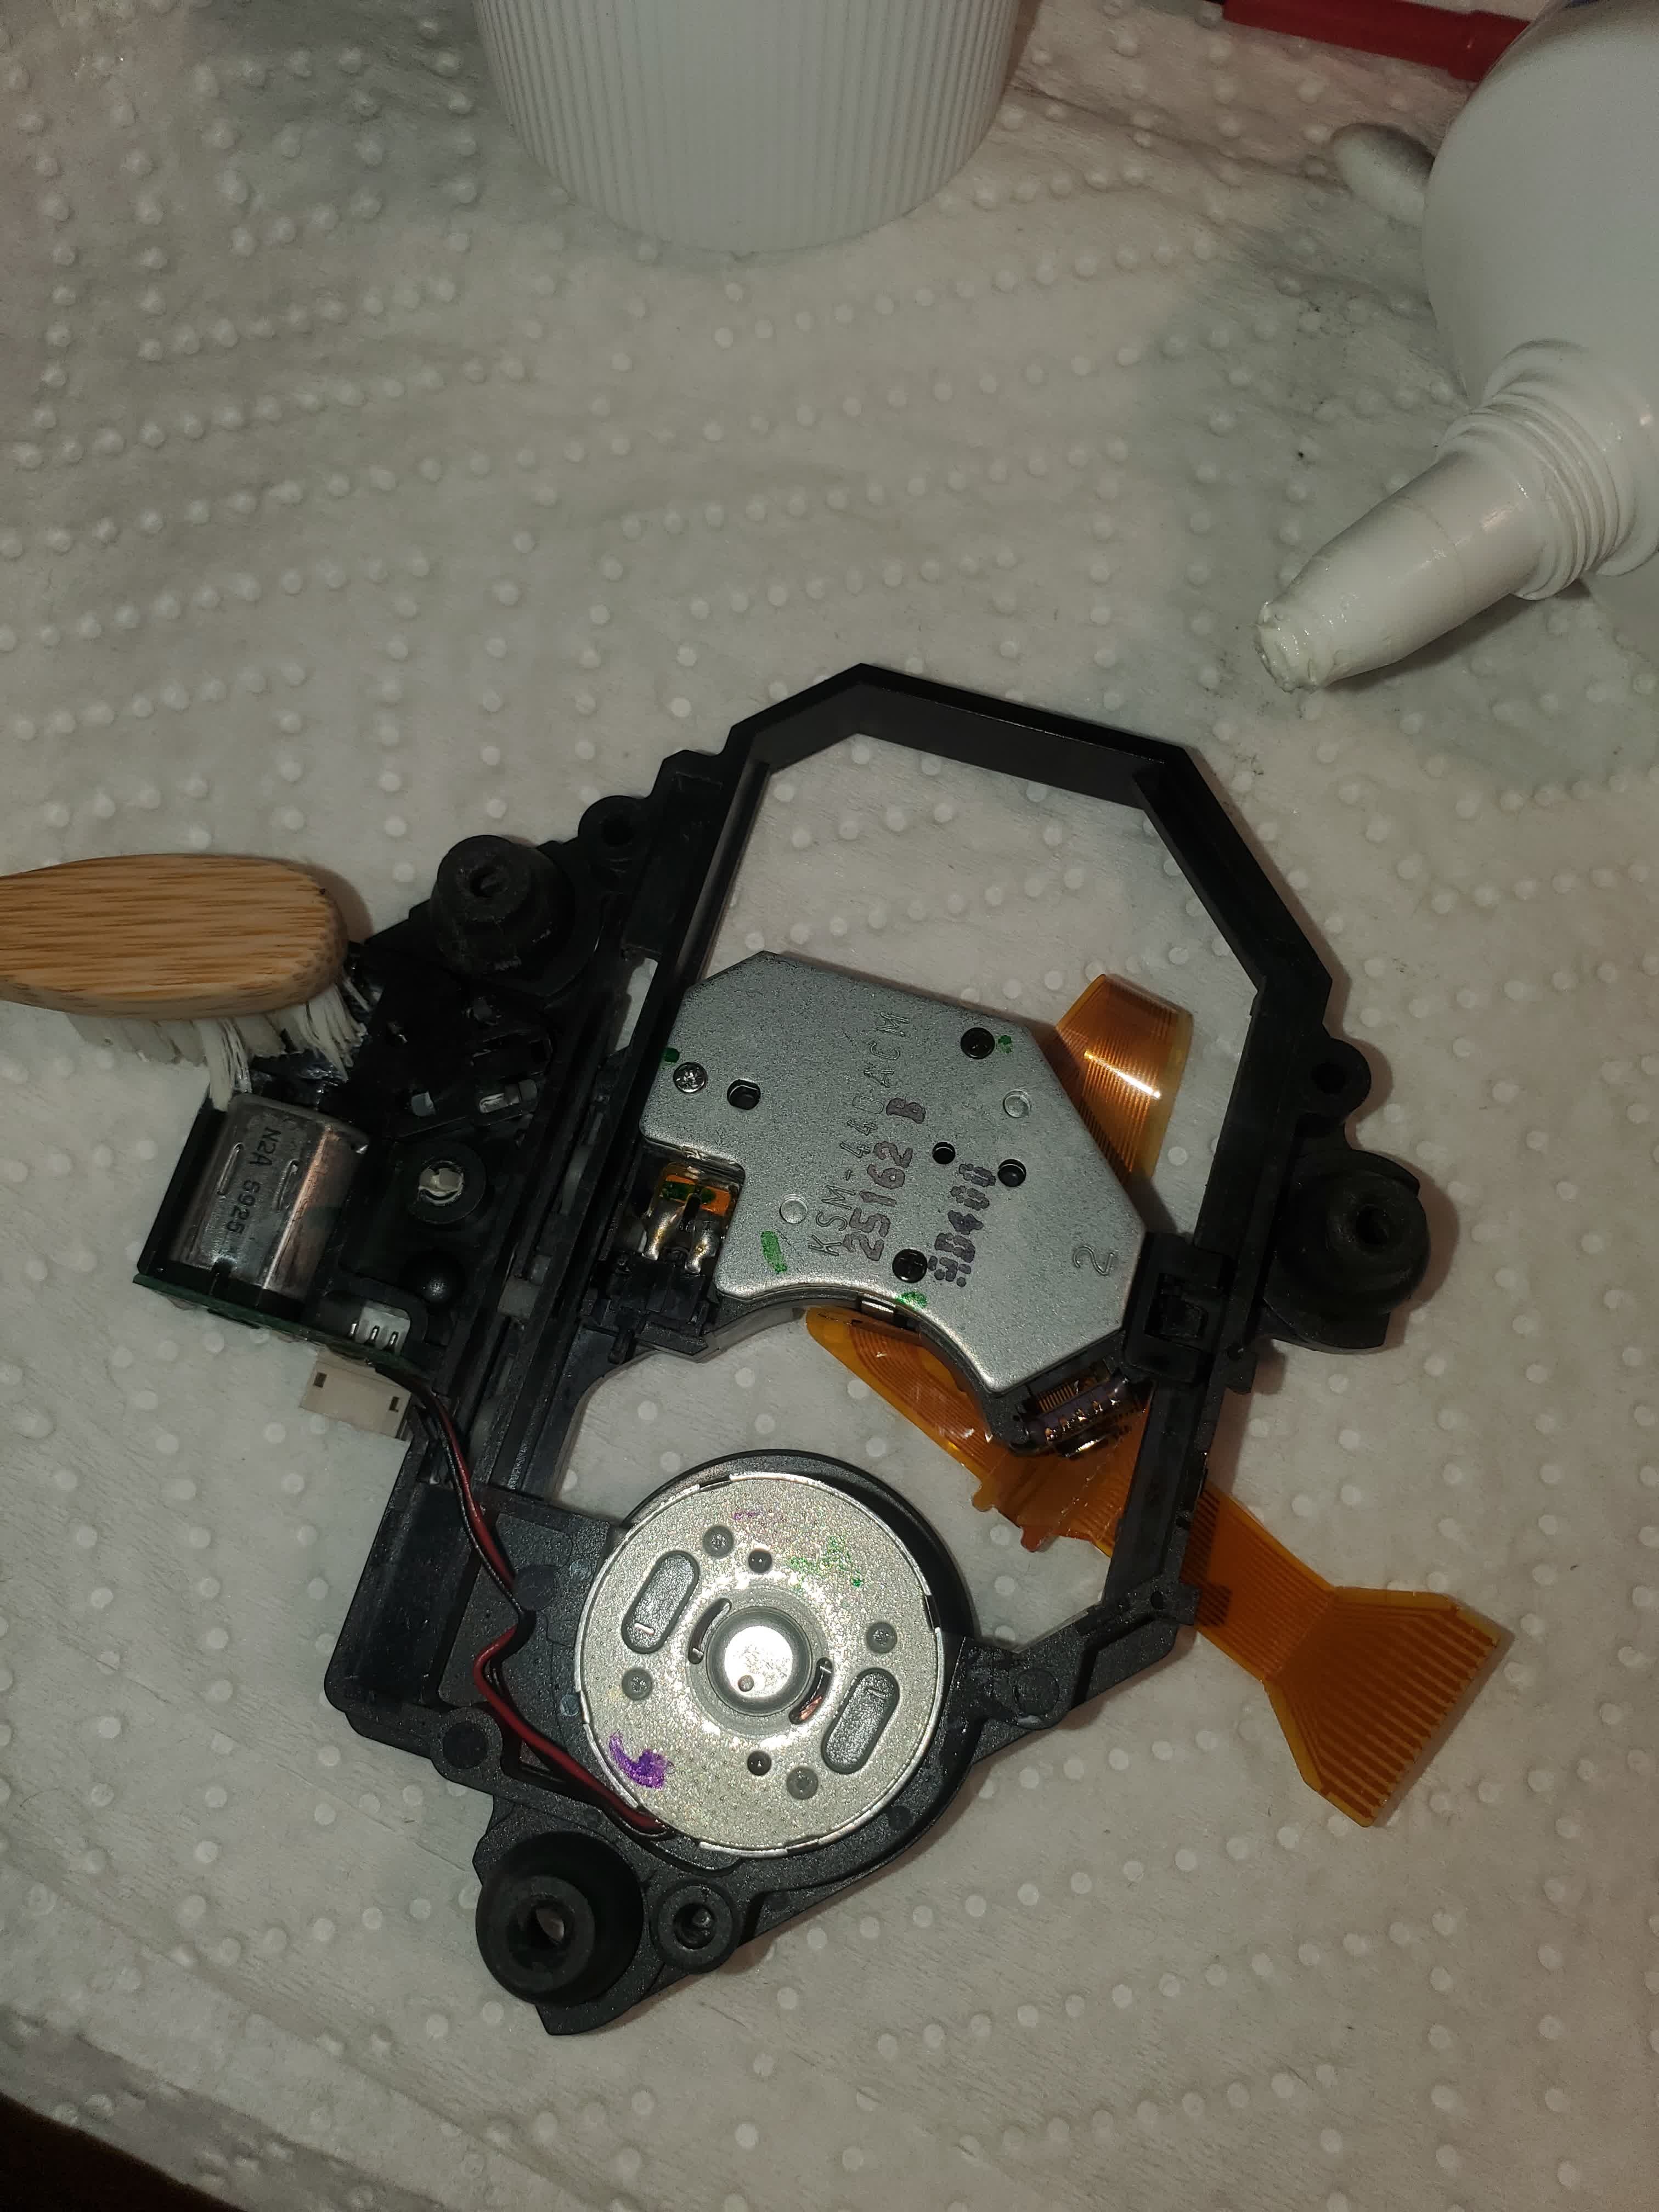
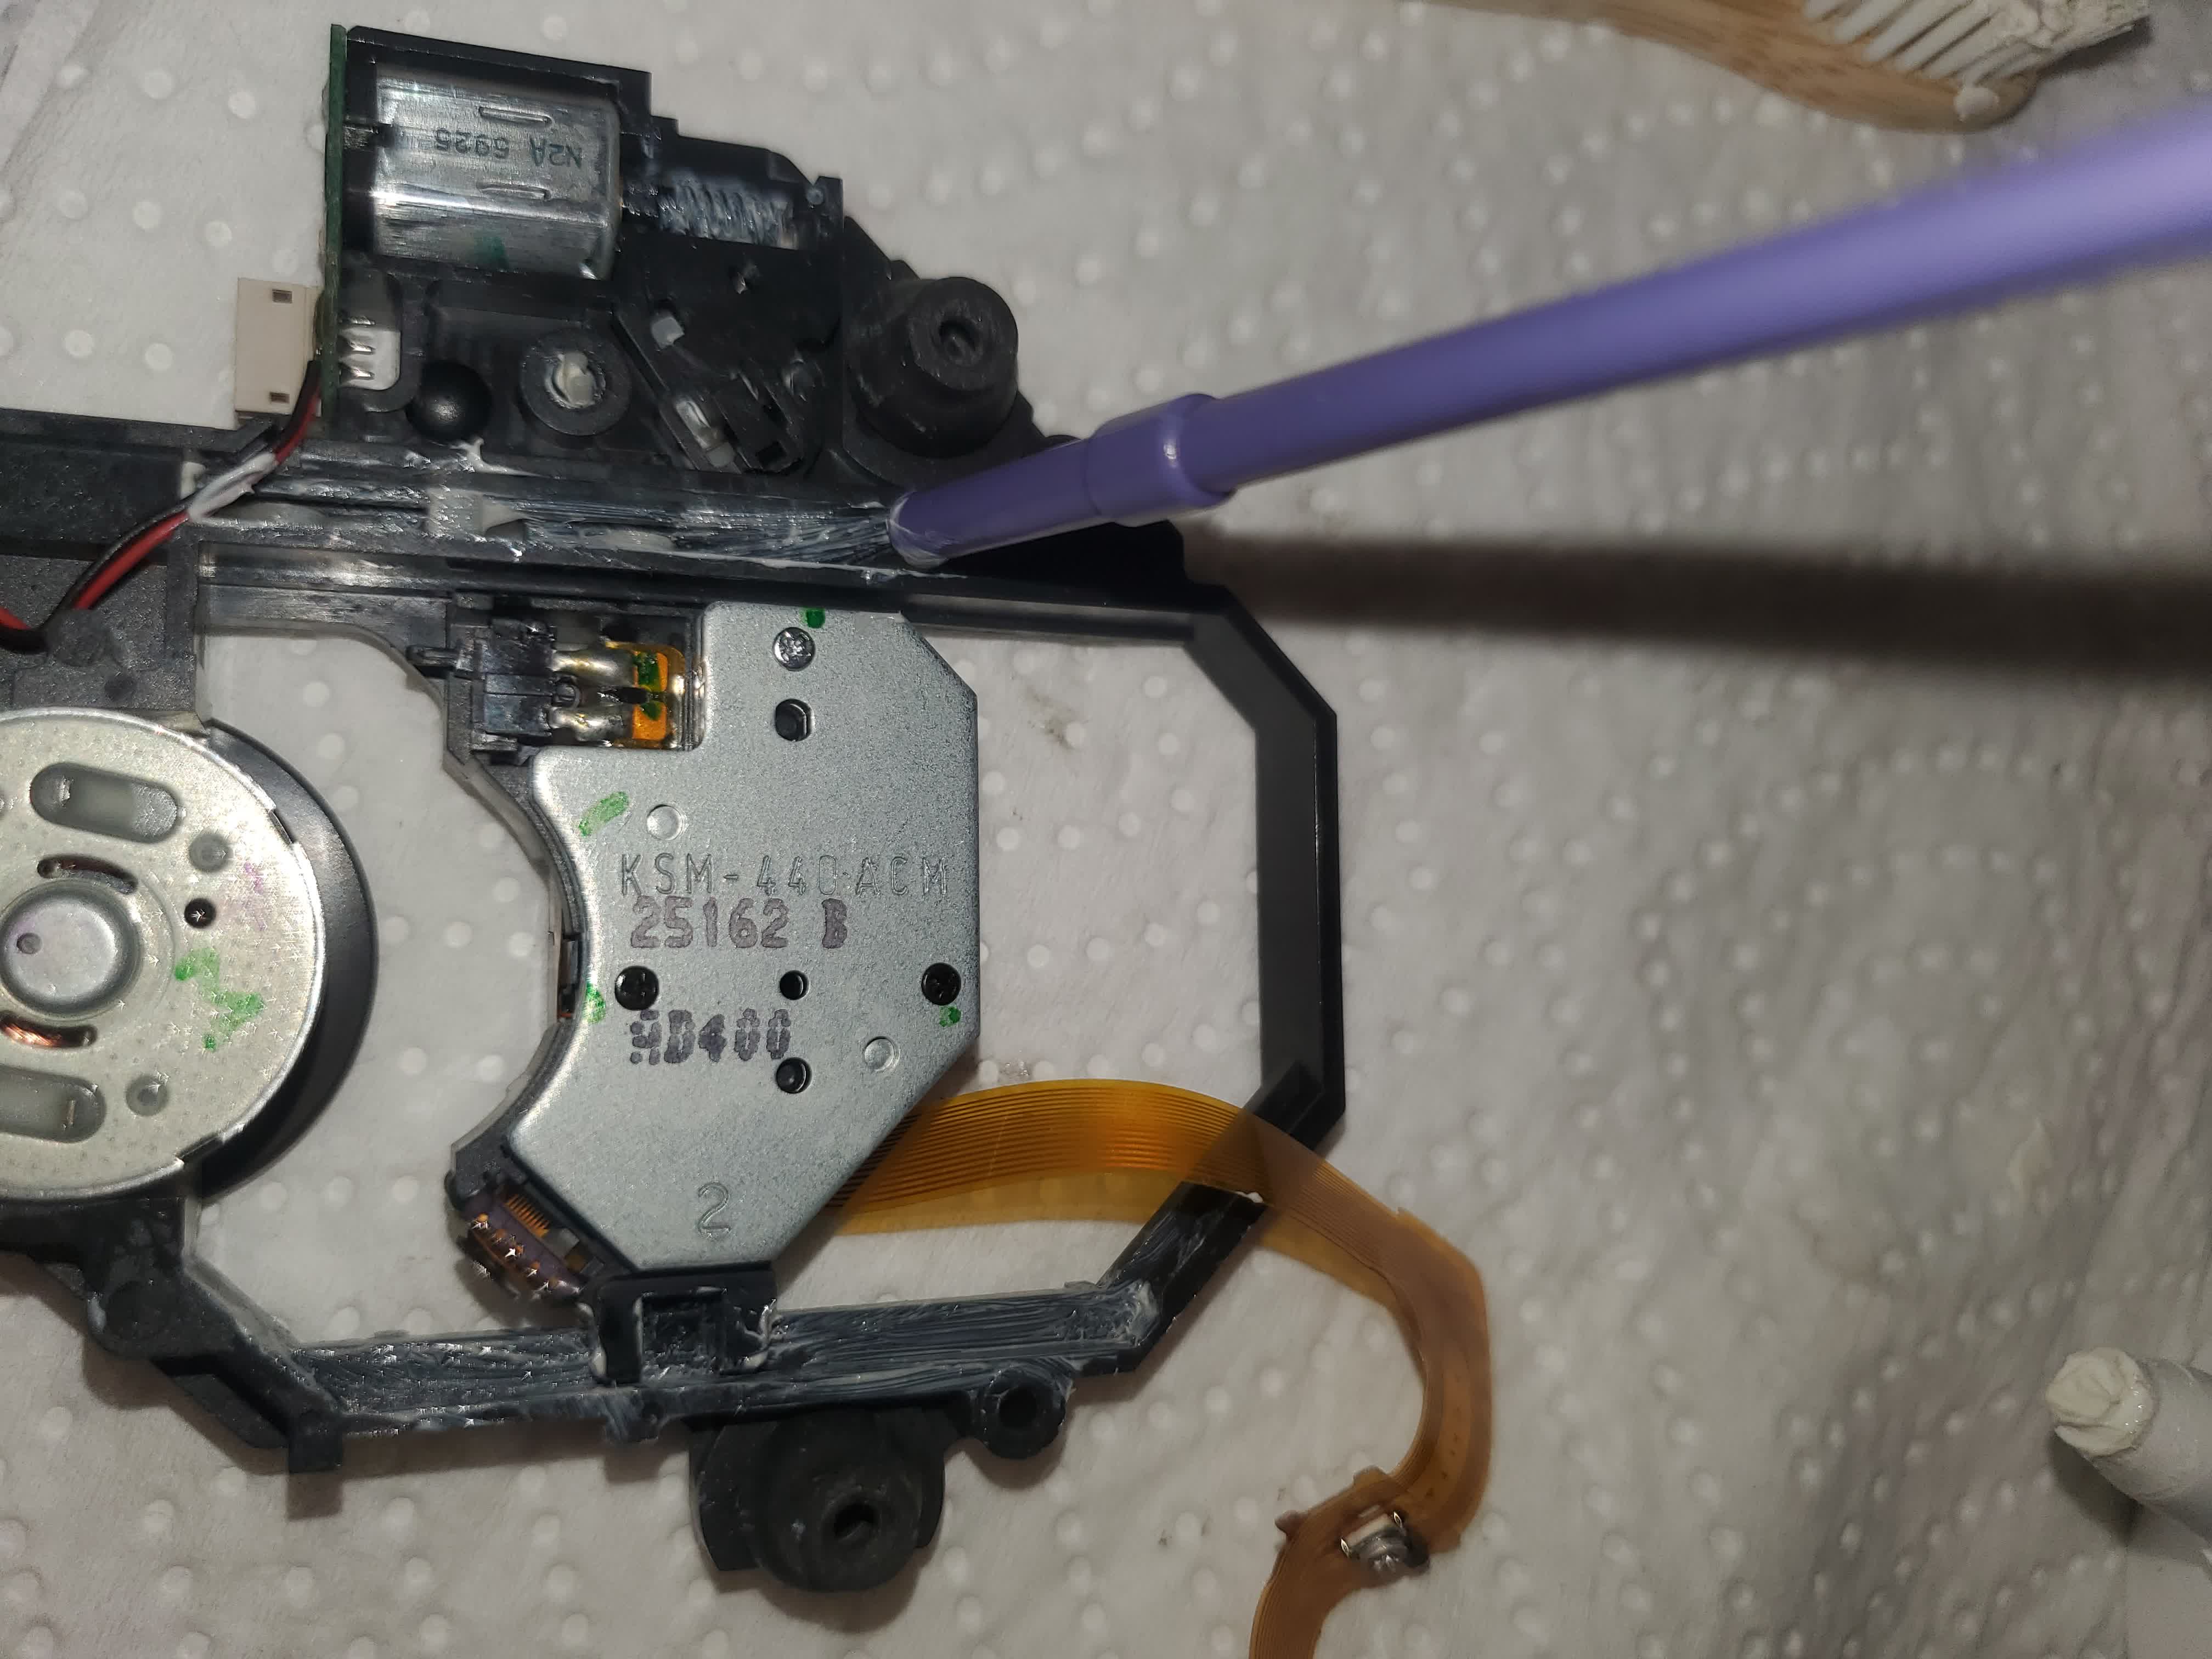
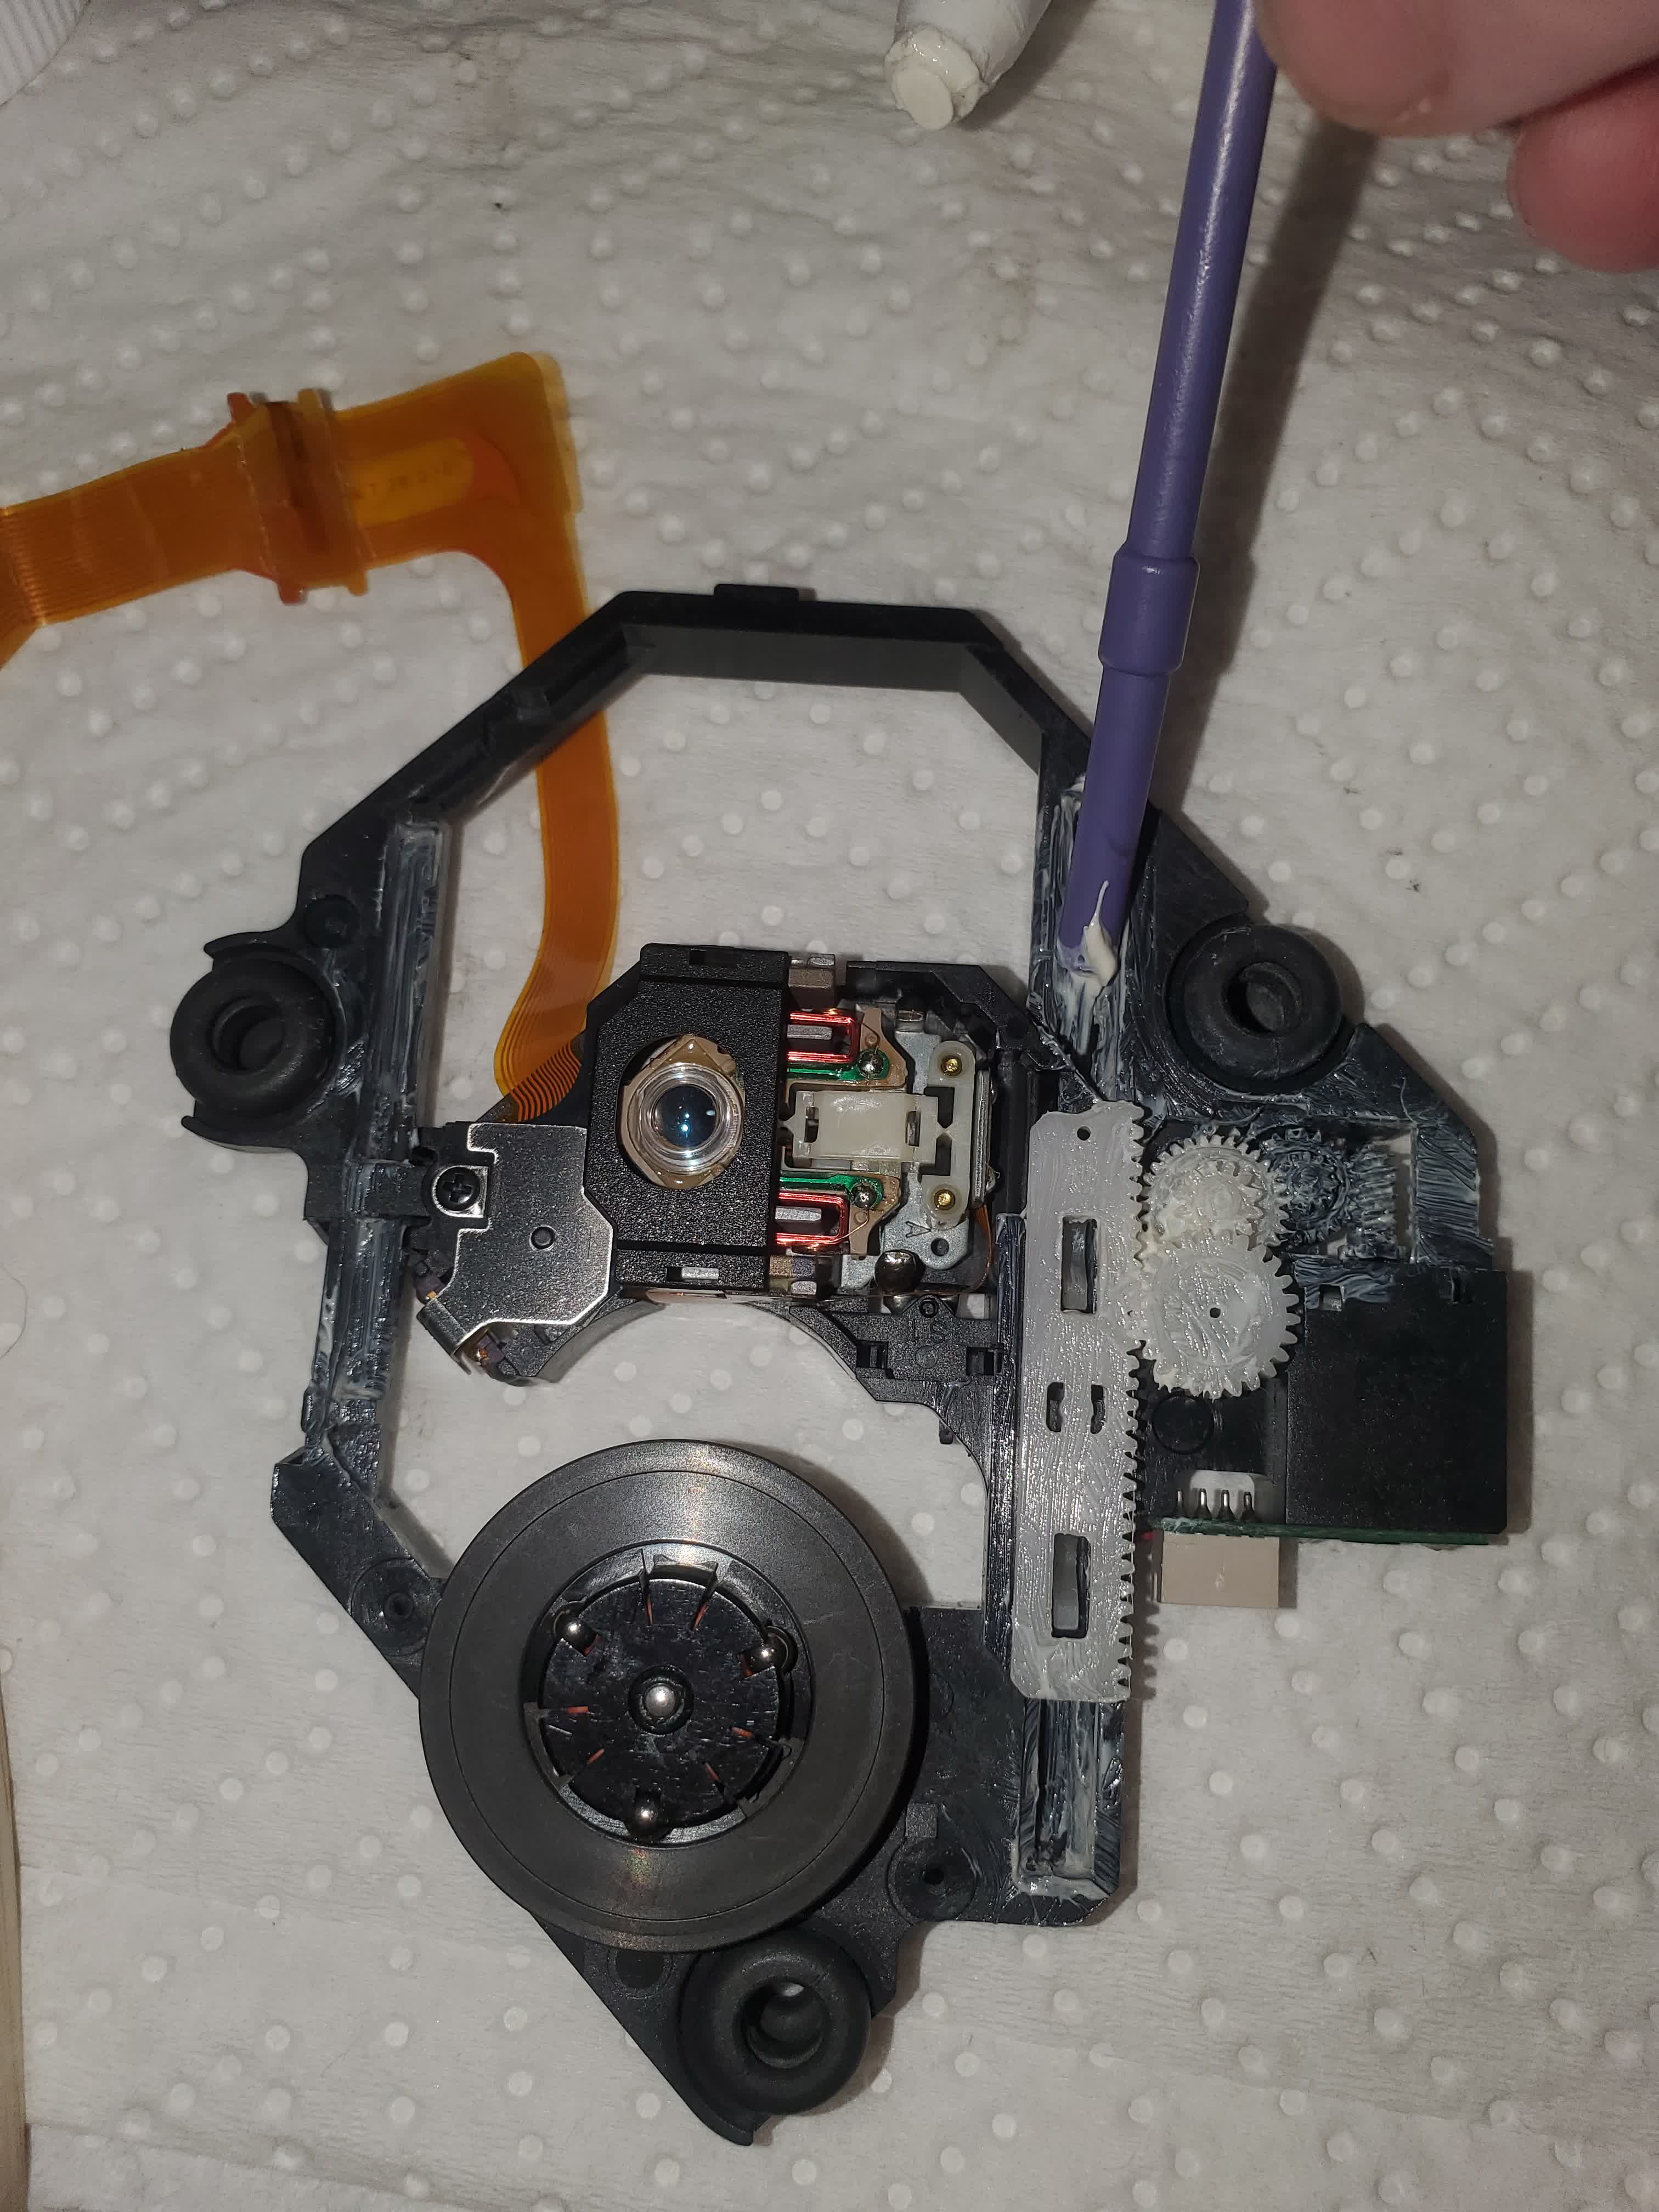
With the laser rails and laser sled motor gears cleaned move on to the next area of interest, the spindle motor. This is the motor that spins the CD. The first thing the spindle motor needs is WD-40. Heavily douse a different clean fine tipped paintbrush in WD-40 and push the liquid from the brushes into the motor via the various access holes found on the bottom of the motor. Because the access holes are on the bottom of the motor, this means you will need to once again flip the entire CD drive upside down. Once WD-40 is in the motor, manually spin the spindle by hand a few times every few minutes for 30 minutes to further distribute the WD-40.
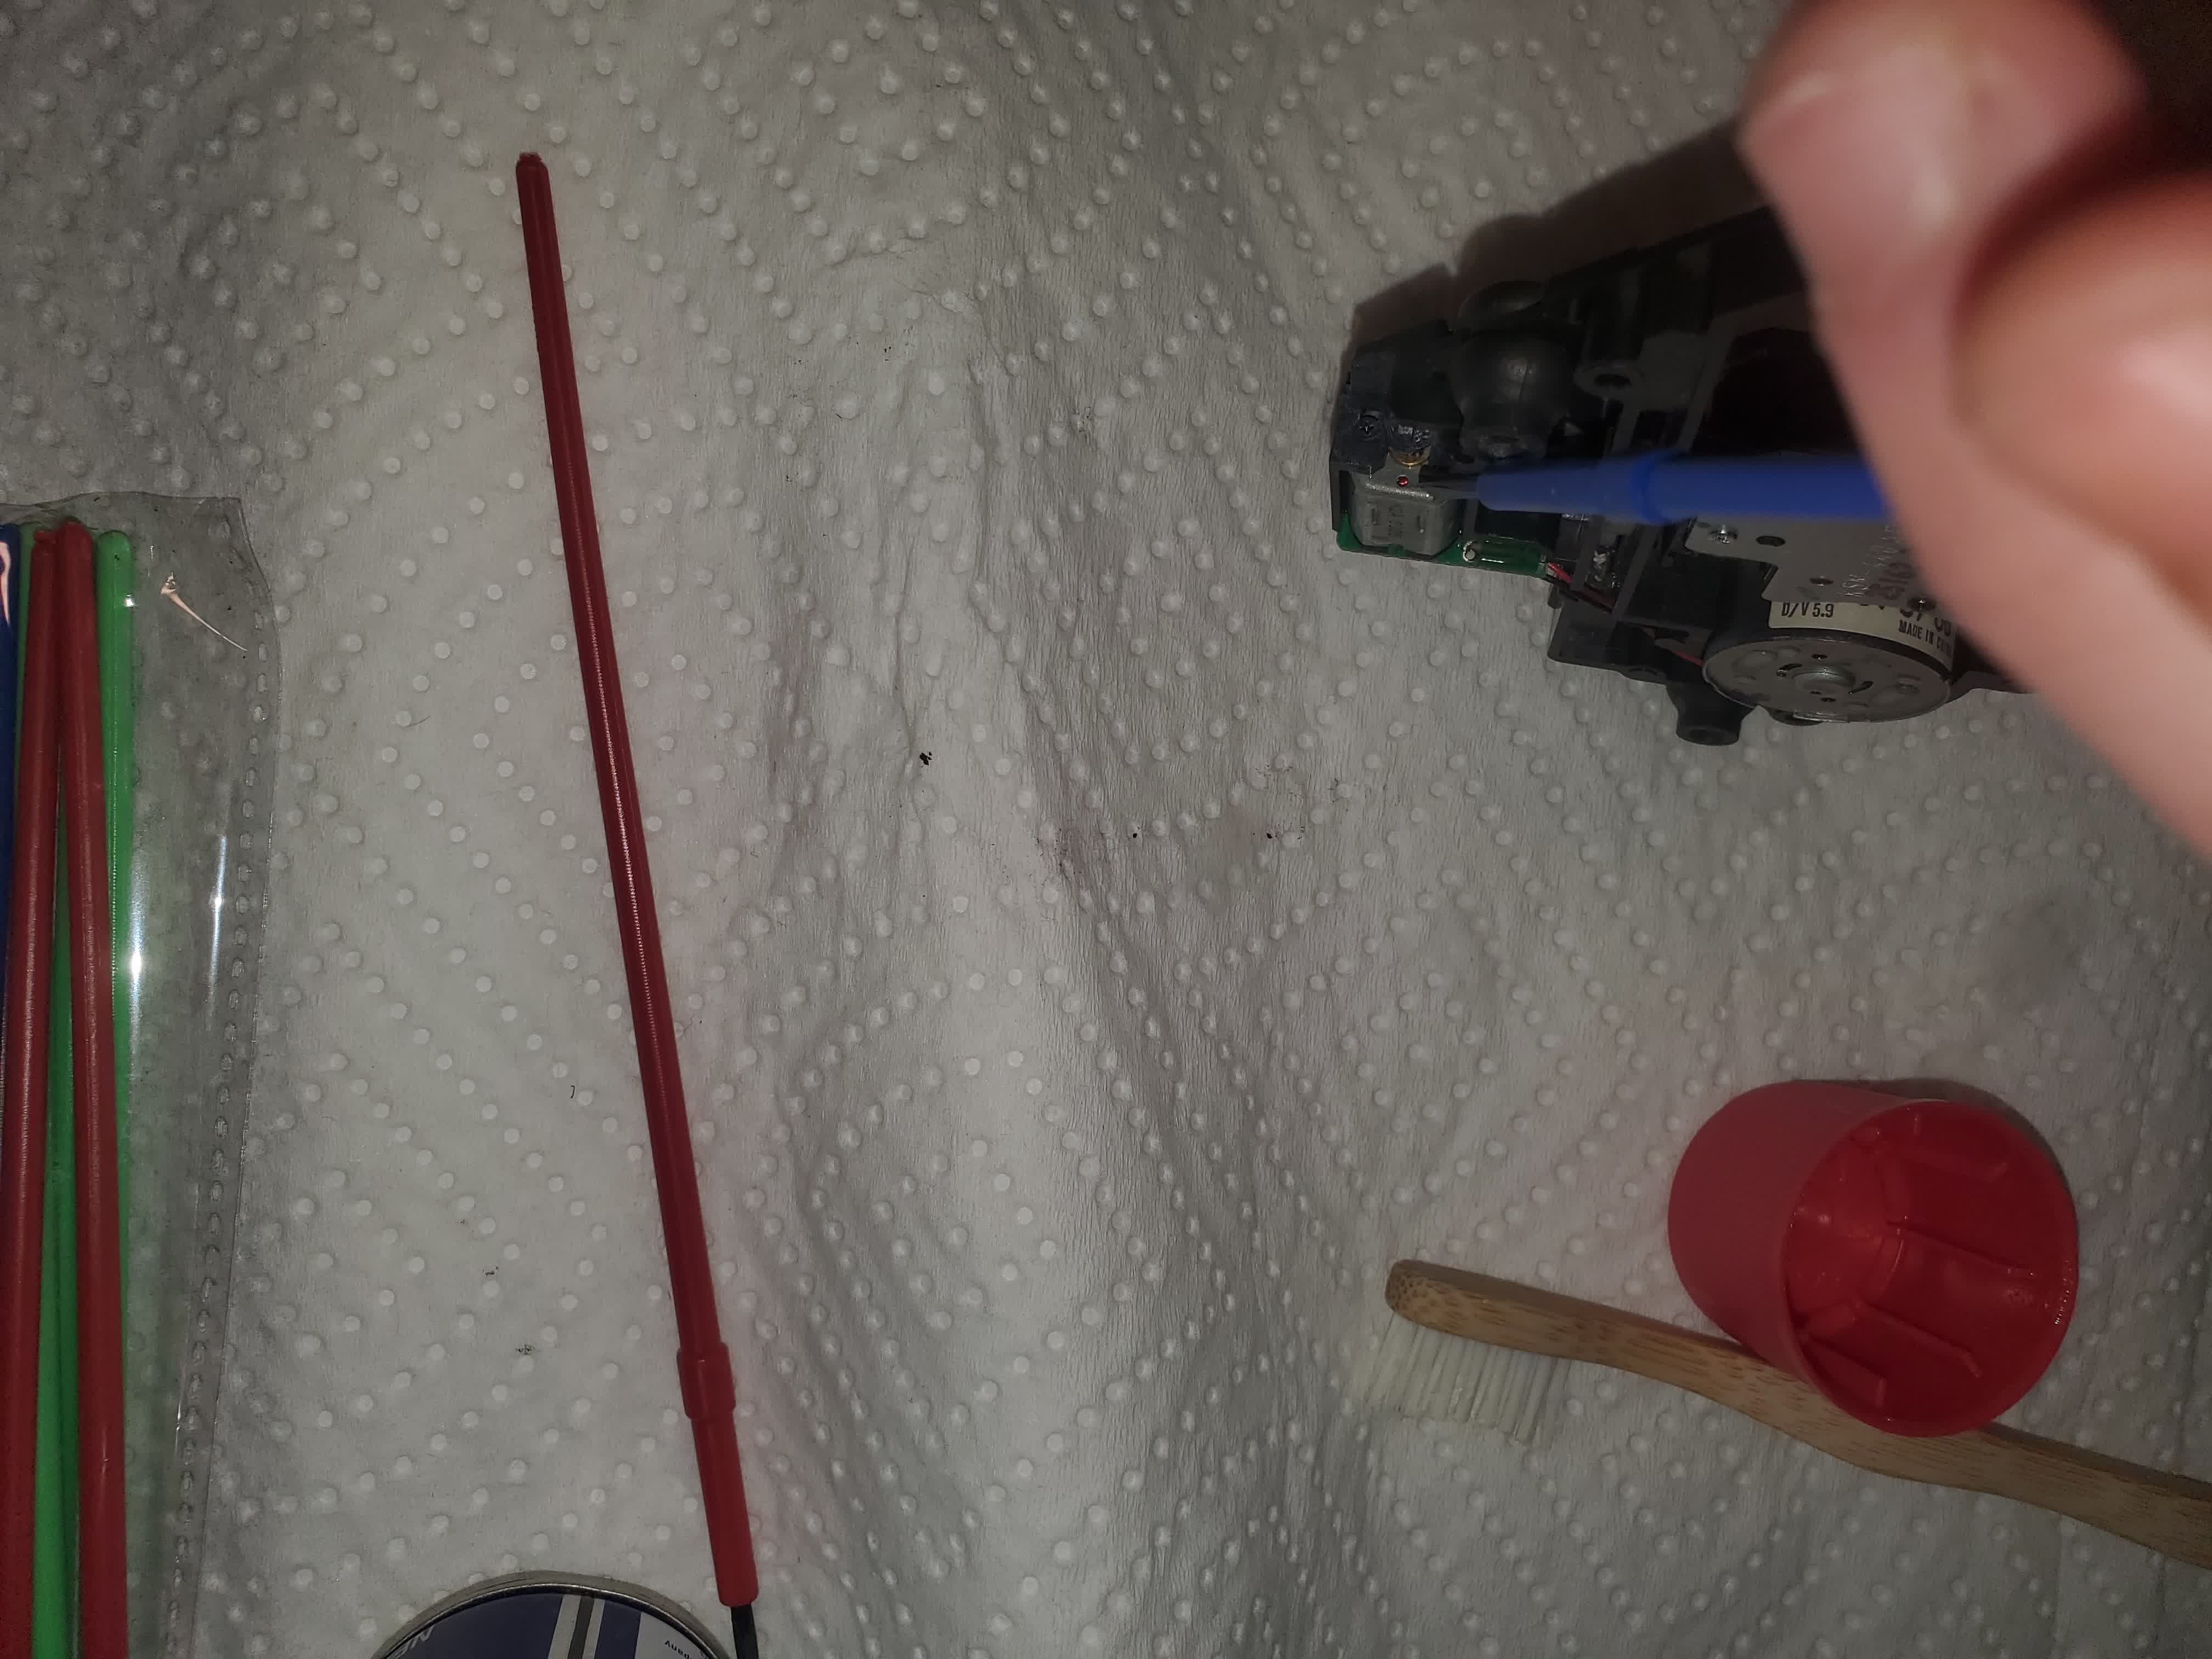
Keep the CD drive upside down, let the WD-40 seep in for 30 minutes or so before continuing. After you’ve waited, give the laser sled motor WD-40 via it’s single access hole. Keep in mind this motor is much smaller.
Lubricating All Moving Parts
Keep the entire CD drive propped up vertically to let the WD-40 seep in for 30 minutes. After waiting, place the CD drive back flat, but still upside down. Take your synthetic light clock oil with no preservatives and put some oil in the access holes of the spindle motor. Once the oil is in the motor, manually spin the spindle by hand a few times every few minutes for 30 minutes to further distribute the oil.
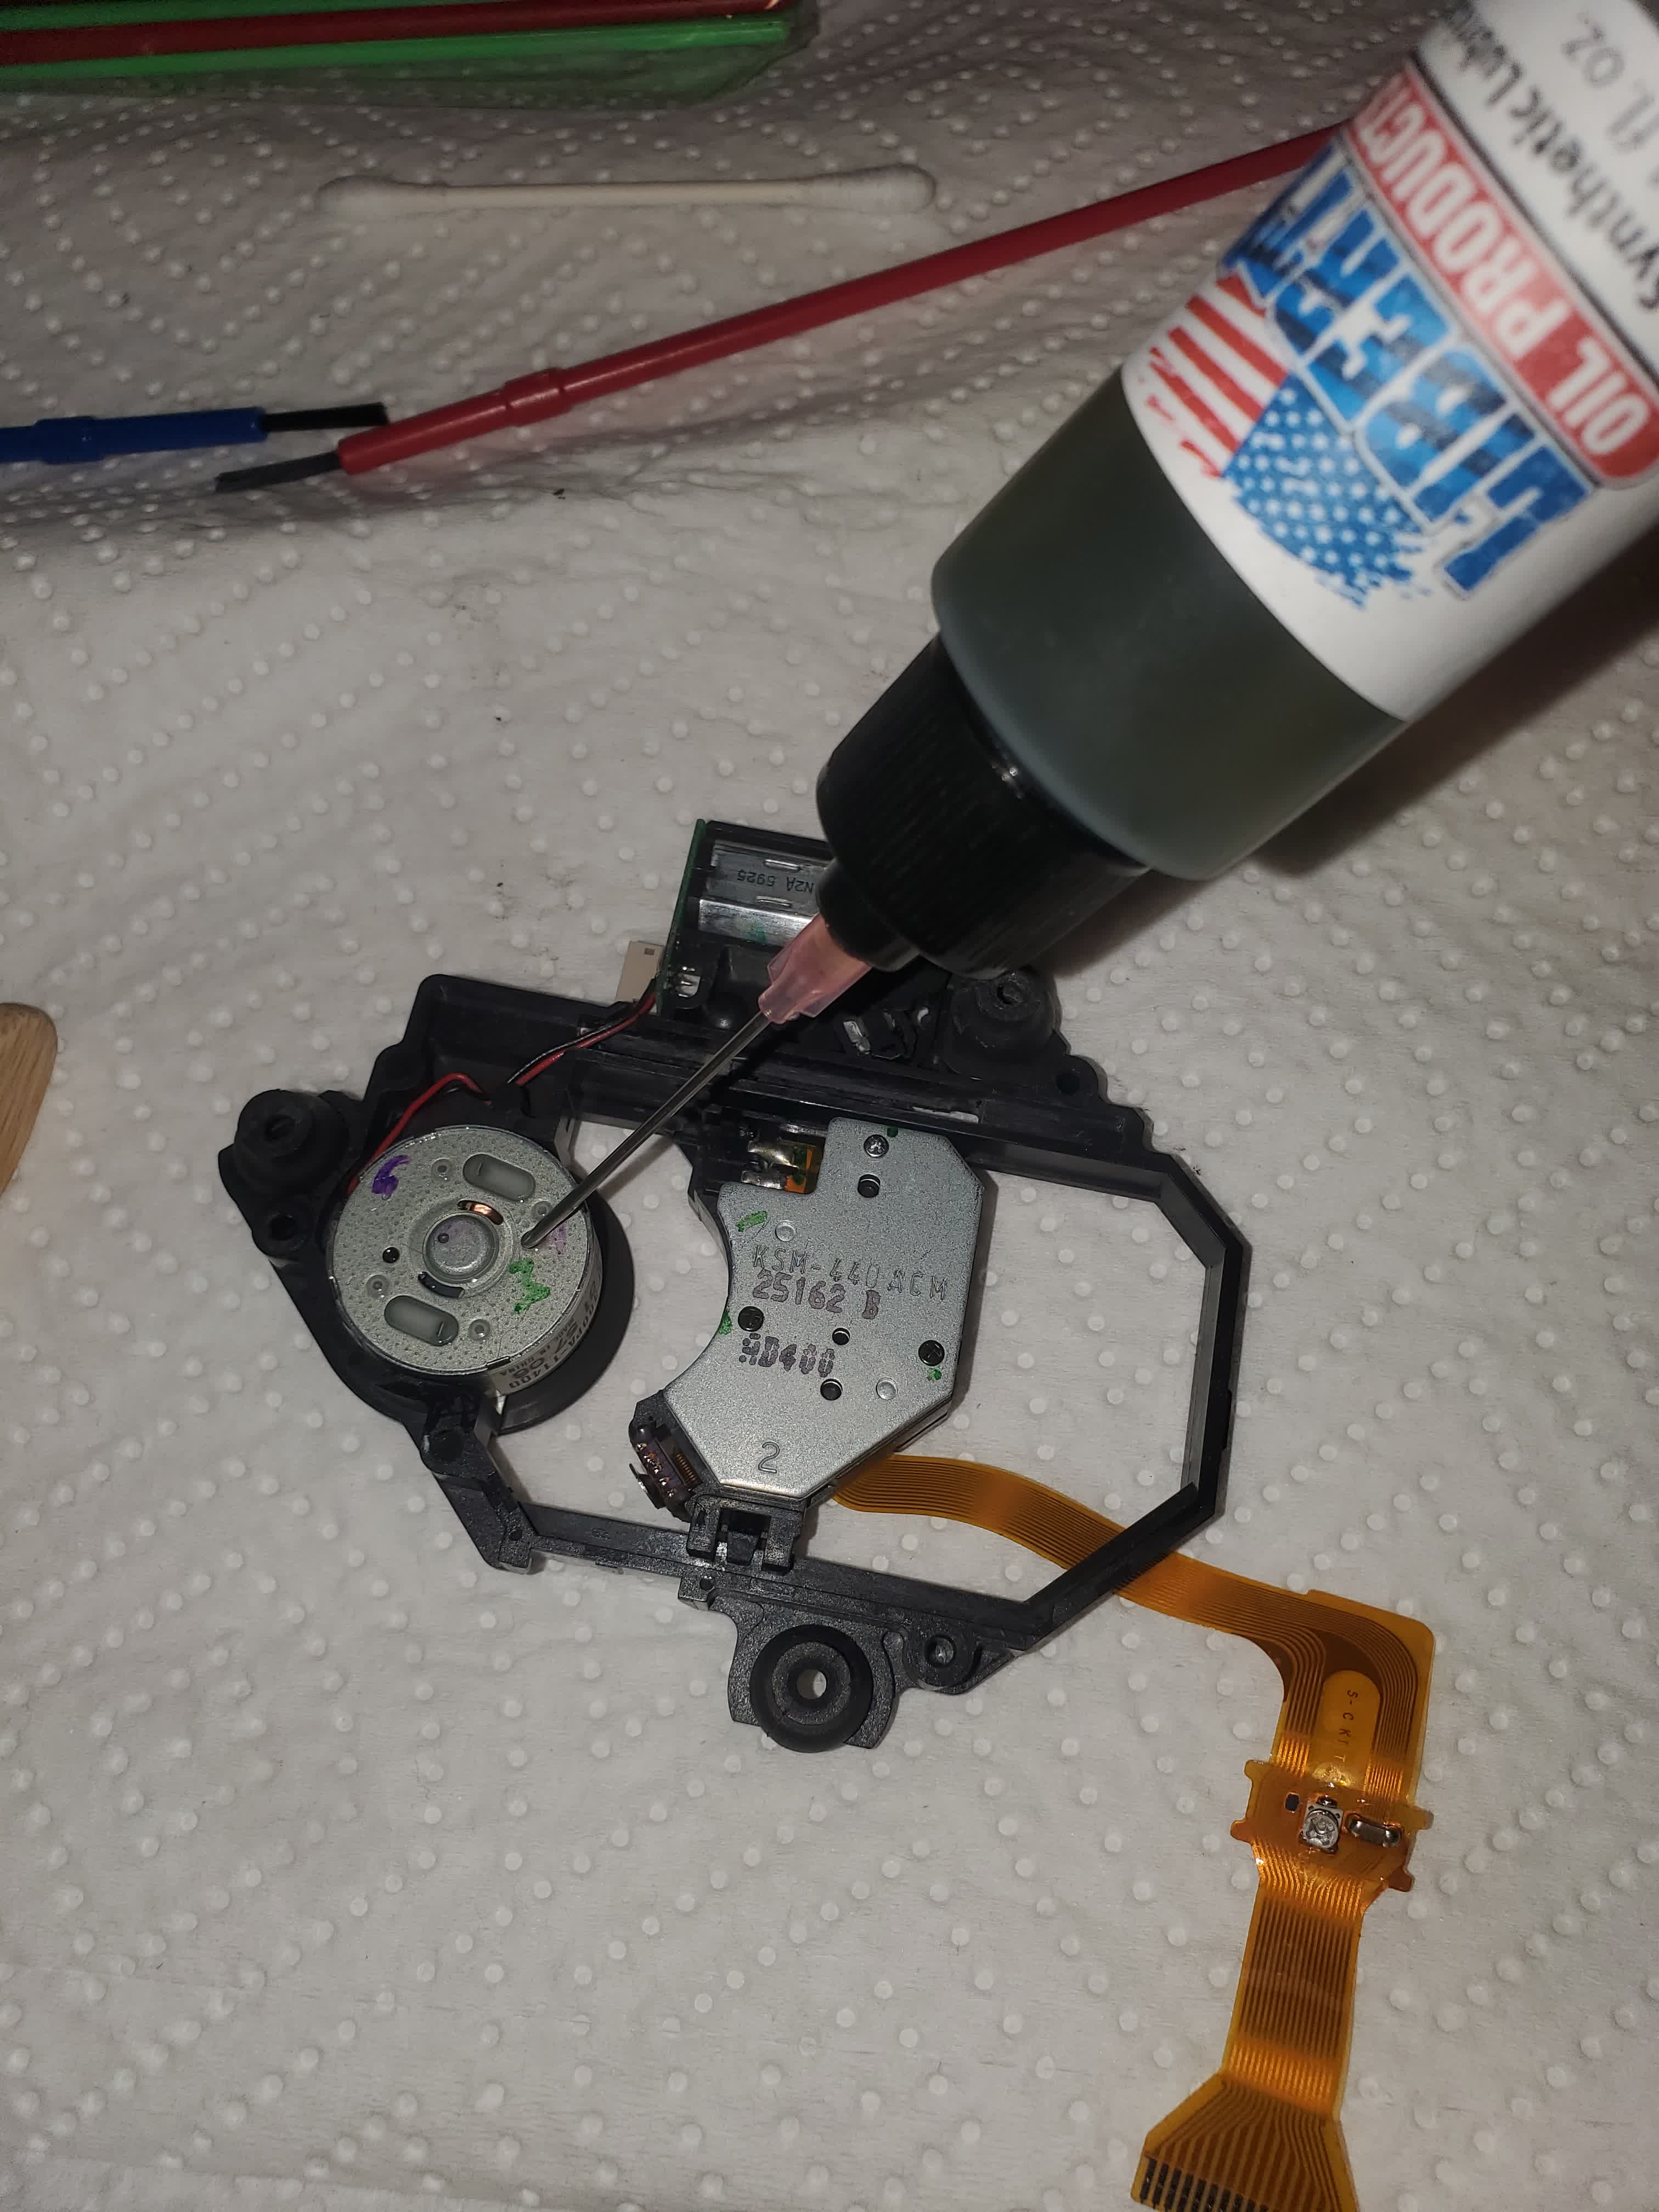
After you’ve waited, give the laser sled motor synthetic light clock oil with no preservatives via it’s single access hole. Keep in mind this motor is much smaller.
Keep the CD drive once again vertical for 30 minutes to let the oil seep into the laser sled motor.
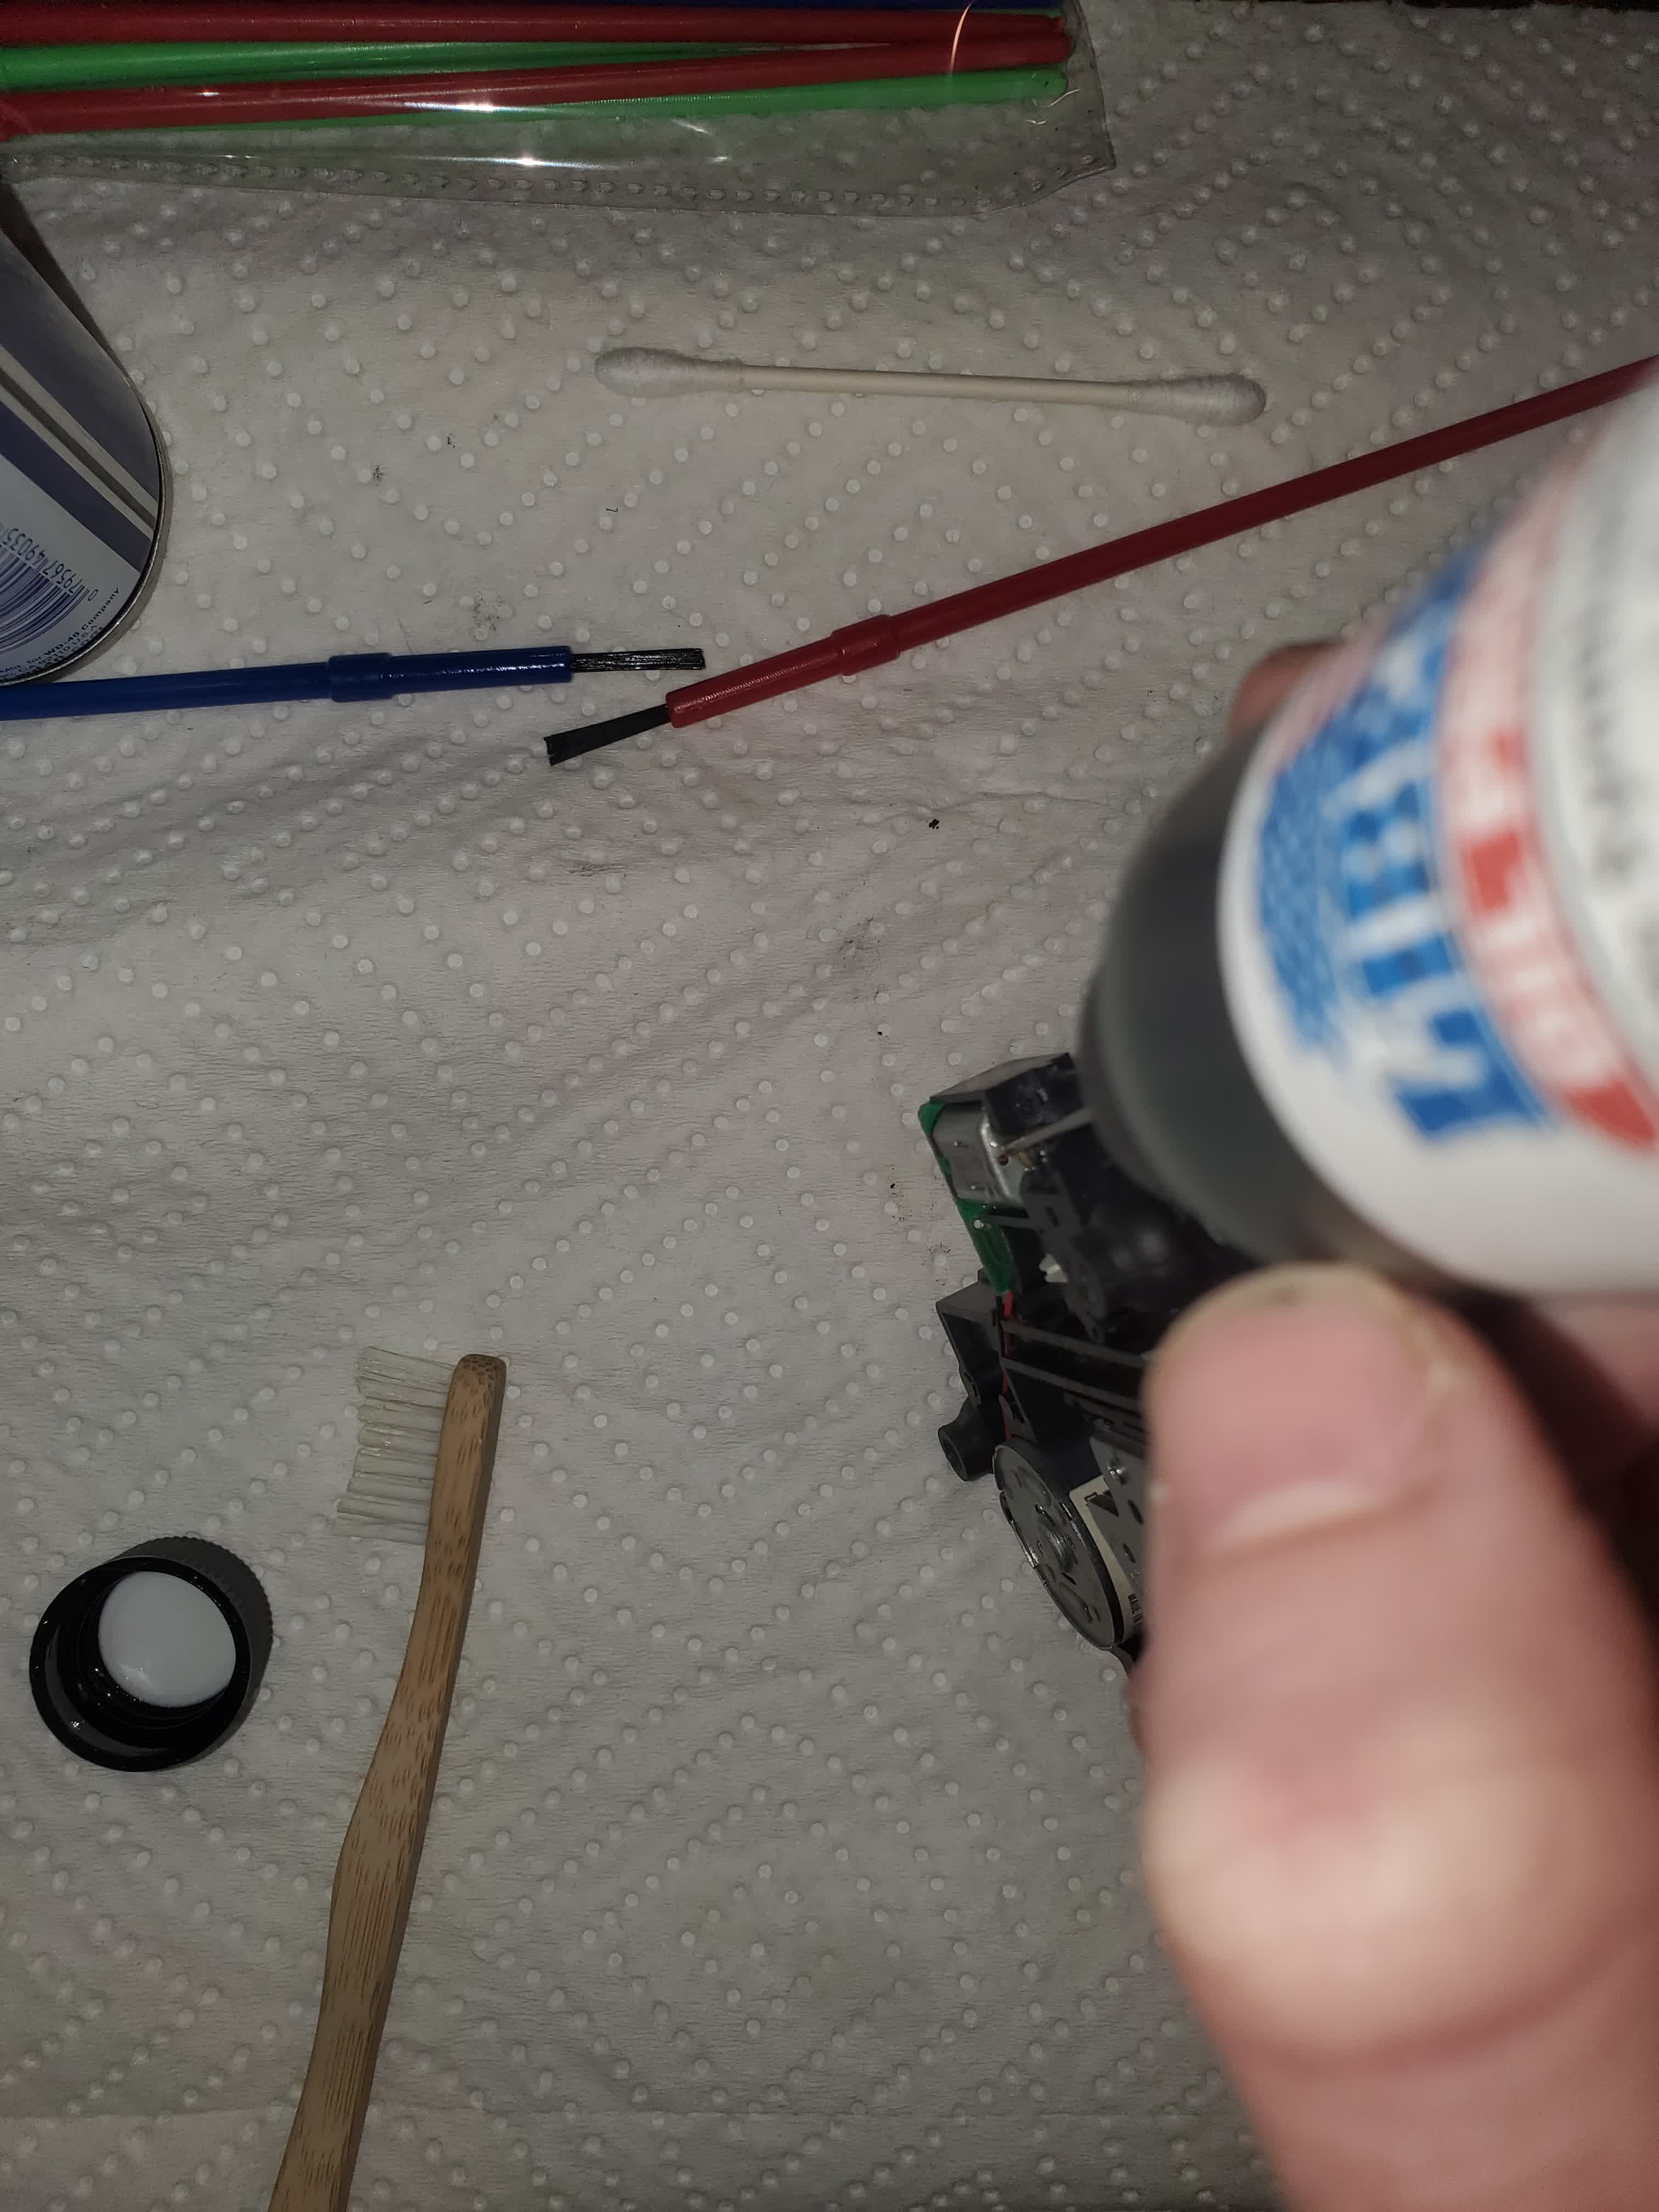
Now that the liquids in each motor are settled, move on to lubricating the laser sled gears. Flip the CD drive back right side up. Put some white lithium gears on a clean toothbrush, and brush the sled motor top gears.
Flip the CD drive upside down again and brush the bottom sled motor gear.
After the laser sled motor gears are all thoroughly lubricated with white lithium grease, do the same to the laser sled rails.
Flip the CD drive back over right side up and do the same to the top of the laser sled rails.
Now that every moving part has been cleaned and lubricated, put the laser ribbon cable back into it’s slot and put the CD drive top case back on. To put the CD drive top case back on you want to come in from the right and press down to slide it carefully under/around the spindle itself.

Screw back in the Phillips #00 screws to secure the CD drive top case to the CD drive.
Plug the ‘power wires’ (multi-colored group of wires) back into the socket on the CD drive.
Slide the laser ribbon cable back into it’s (currently unlocked) socket.
Start locking the laser ribbon connector by first pressing down the left side.
Once the left side of the laser ribbon connector is fully pressed in, do the same to the right side to secure the laser ribbon cable.
Now that everything is into place, check your PlayStation to see if you have 2 screws near the laser ribbon socket connector like below.
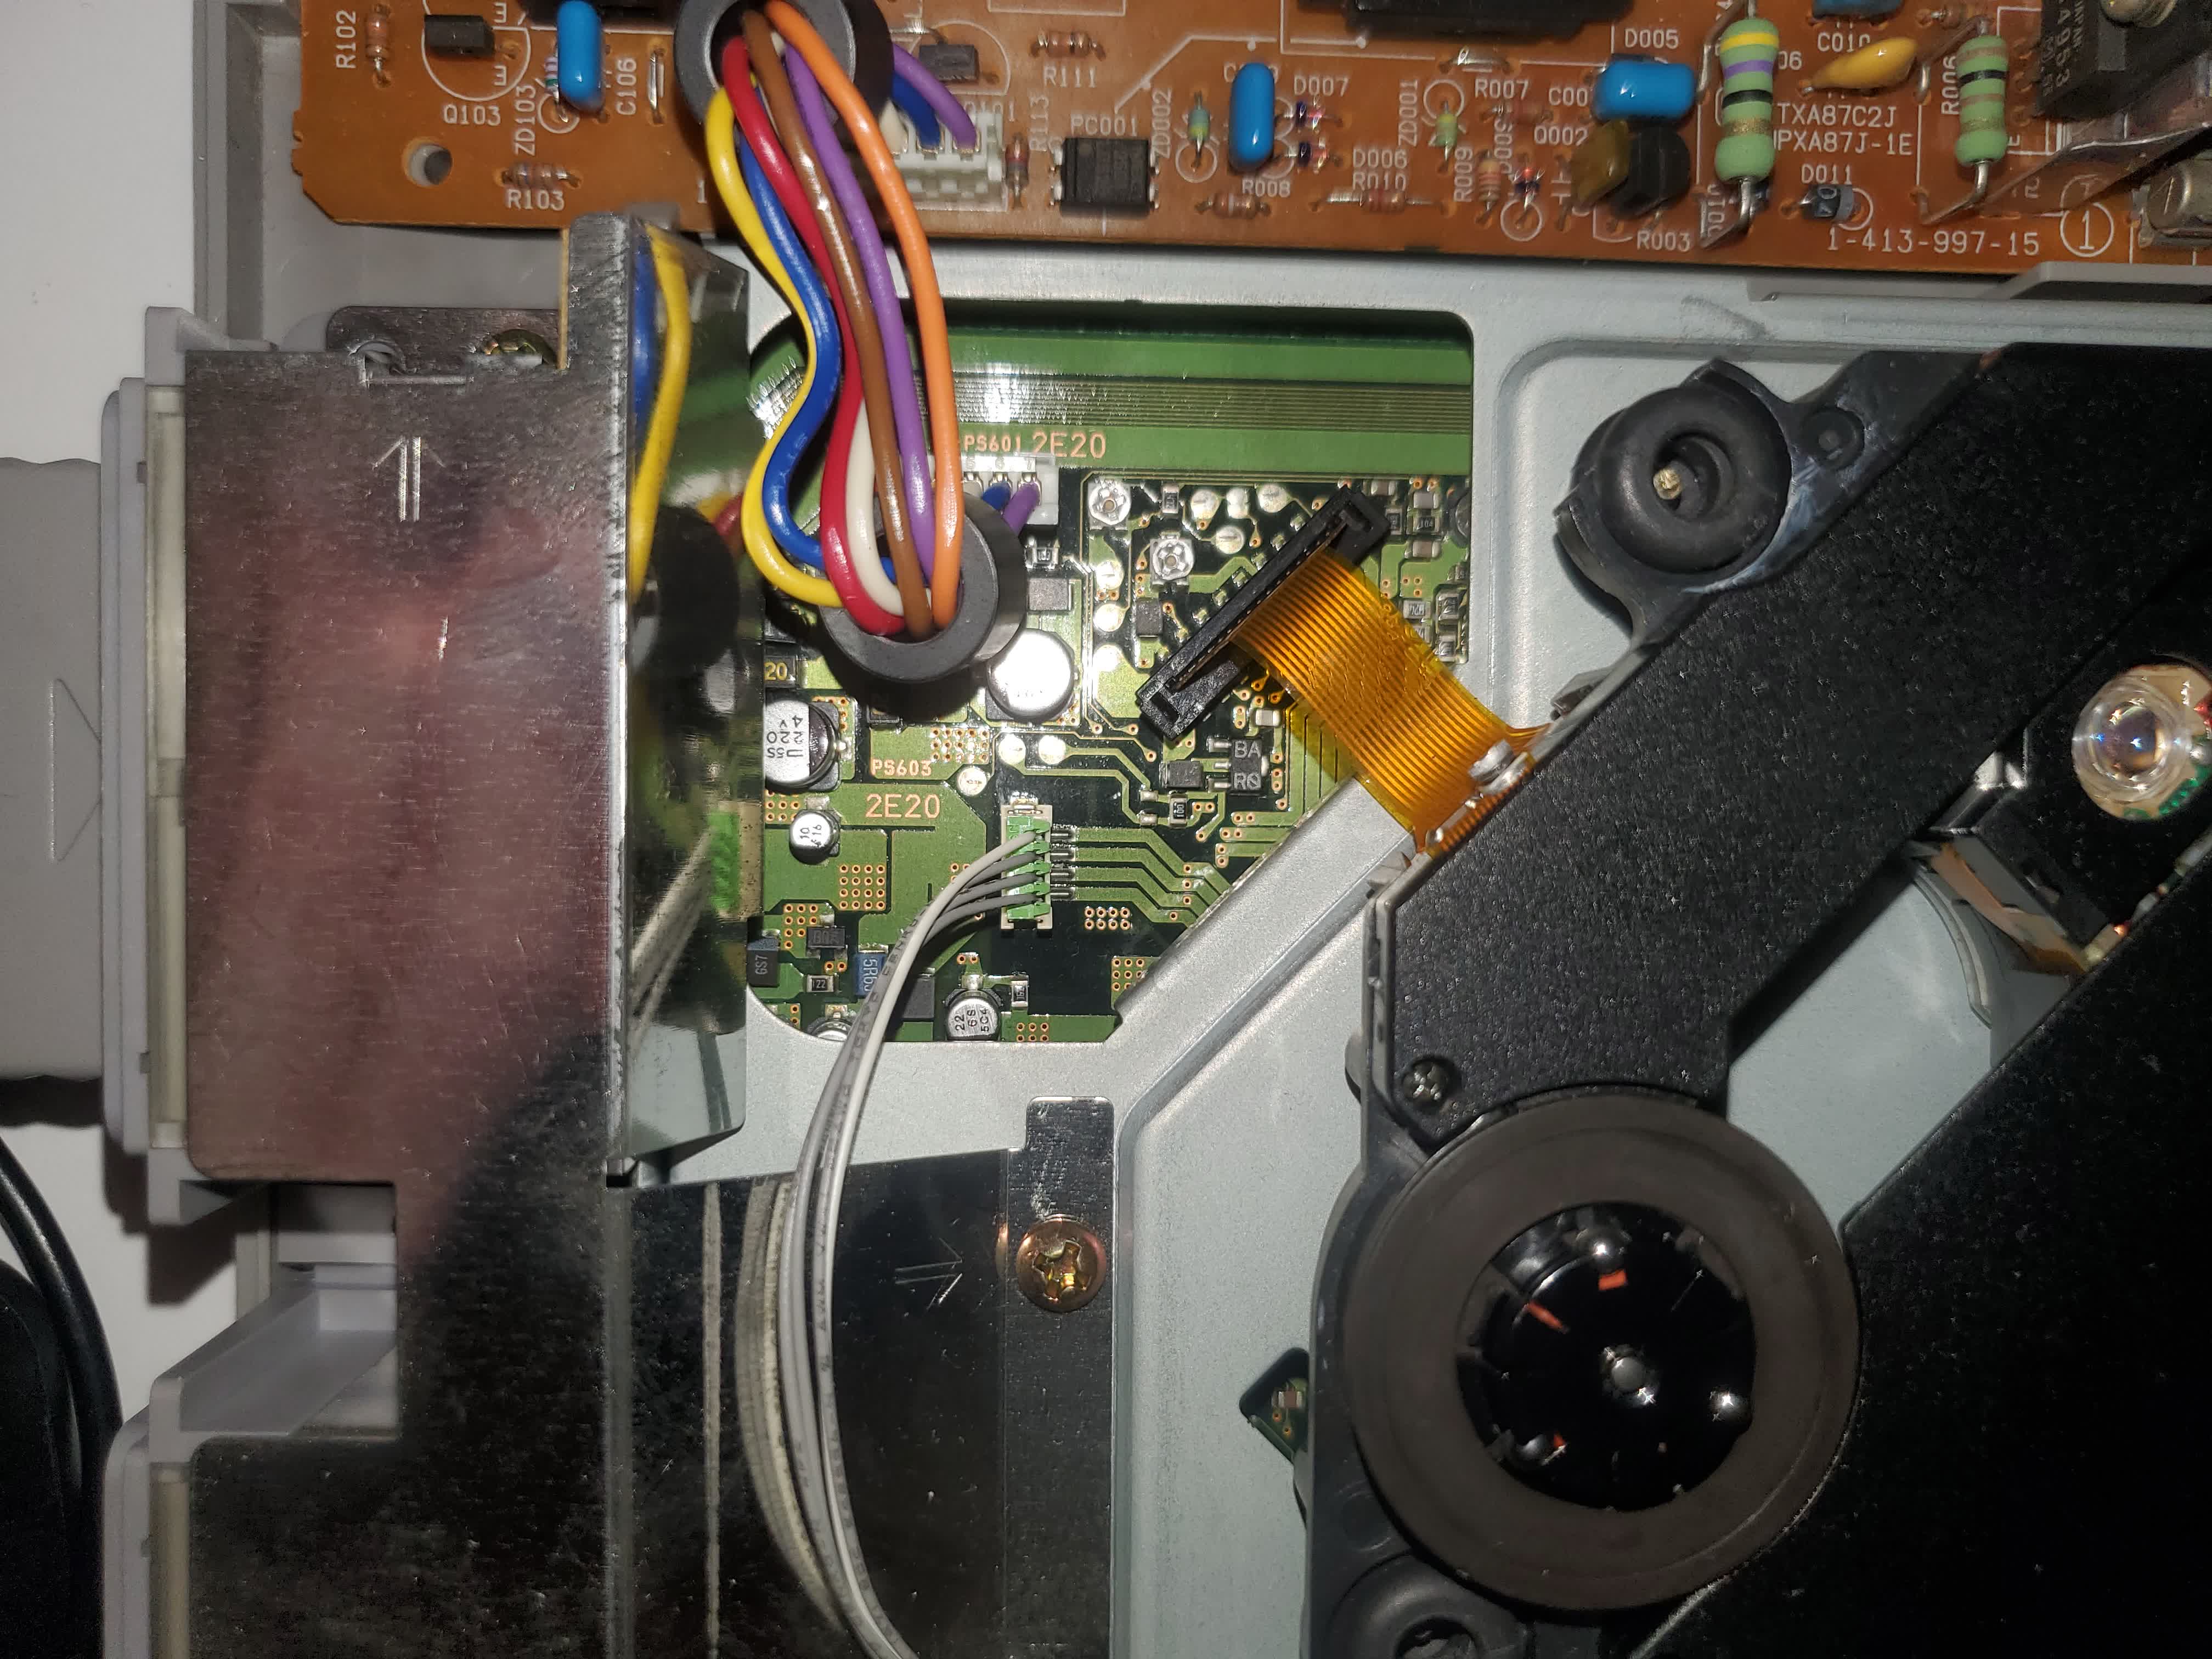
If you do not see these screws, you are done and can now test your self-refurbished CD drive! If you do see these screws, keep continuing in the guide below.
Manual Bias Adjustments
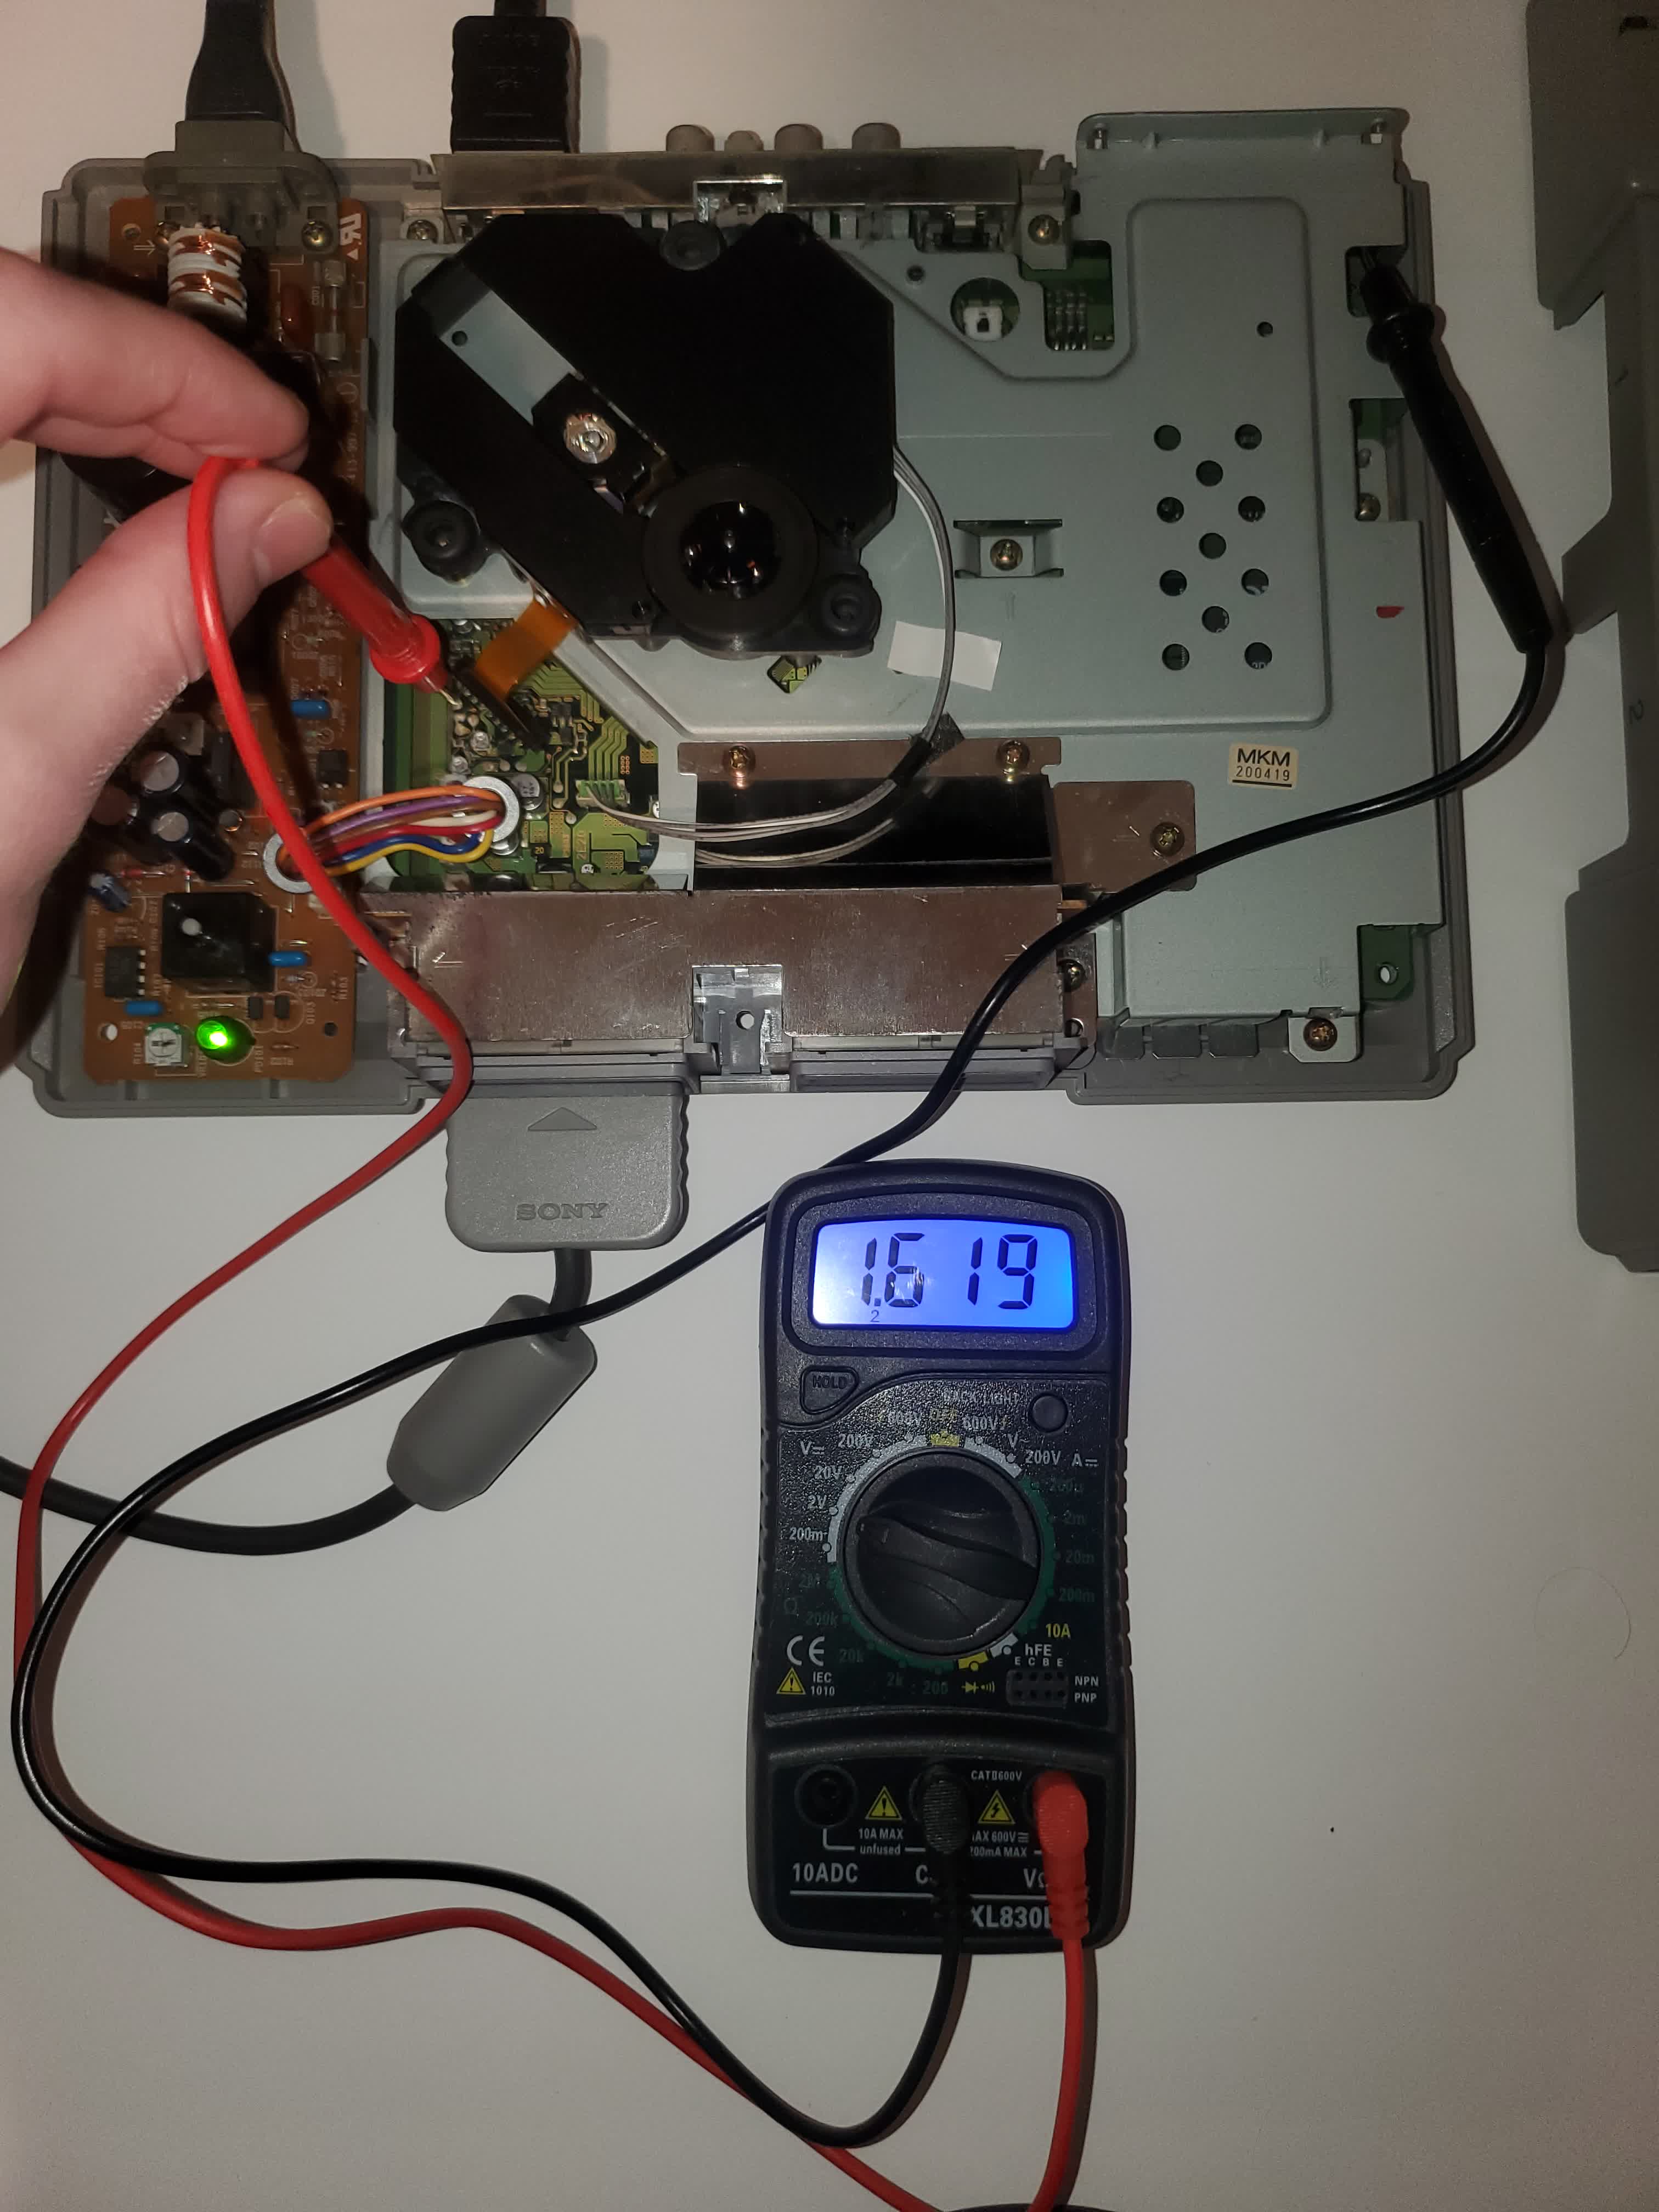
On the early consoles the bias and gain values are not automatically adjusted by the PS1 motherboard like on all newer PS1 console revisions. They are manually set by the bias screw and the gain screw. When you get a new CD drive connected the bias and gain values may change from what they should be, or you may find that the CD drive does not work as well as it can without slight adjustments to these values. If you measure the bias value to not be 1.634v in an ‘idle’ state (no CD in drive/drive open), and if the gain value is not around 1.825v measured while playing CD audio, consider changing them to these values (as described in the process below) as it can further improve disc reading performance, especially in regards to burned CD-R media.
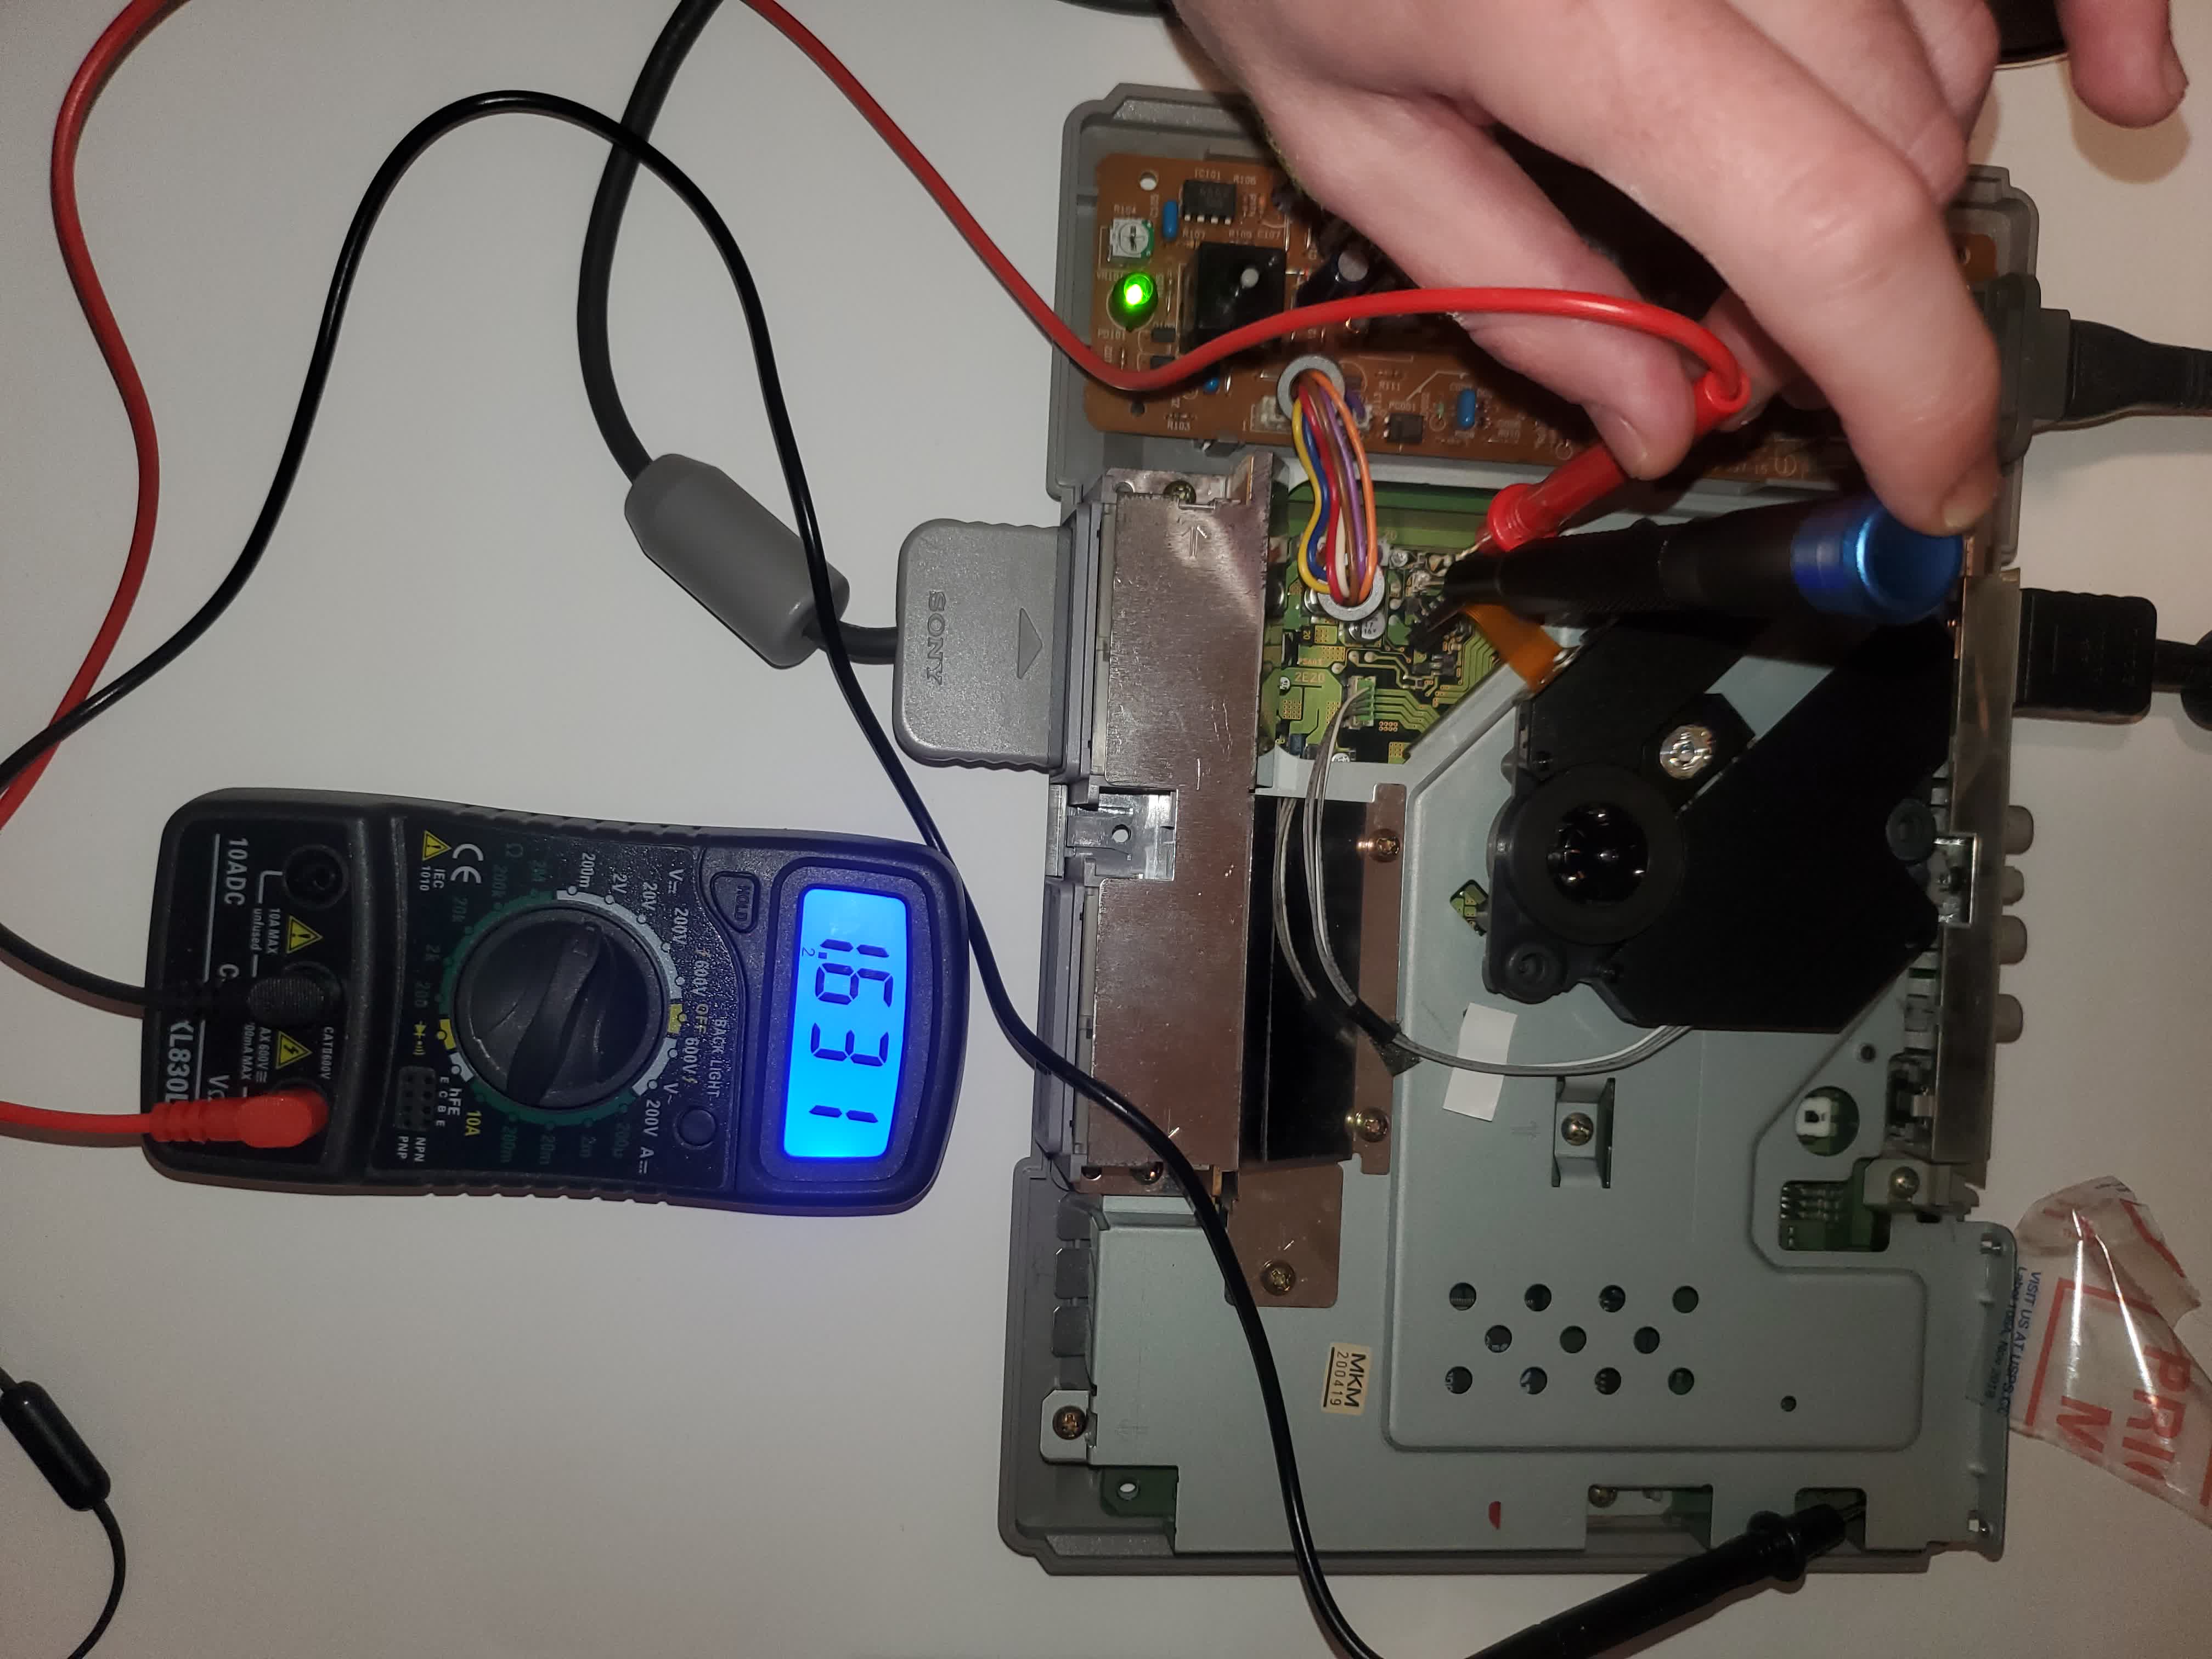
To first measure the current bias value on the motherboard, power on the PlayStation console with the CD drive connected, but with no disc on the CD Drive spindle. Leave the lid sensor unblocked. The console is in an ‘idle’ state like this. Using a multi-meter set to measure voltage, connect the positive lead to the bias point (as displayed in the image below) and the negative lead to anywhere on the top metal shielding of the PS1 console found under the CD drive to ground the Bias point. The voltage value your multi-meter displays while your console is in ‘idle’ is the current bias value that your motherboard is set to.
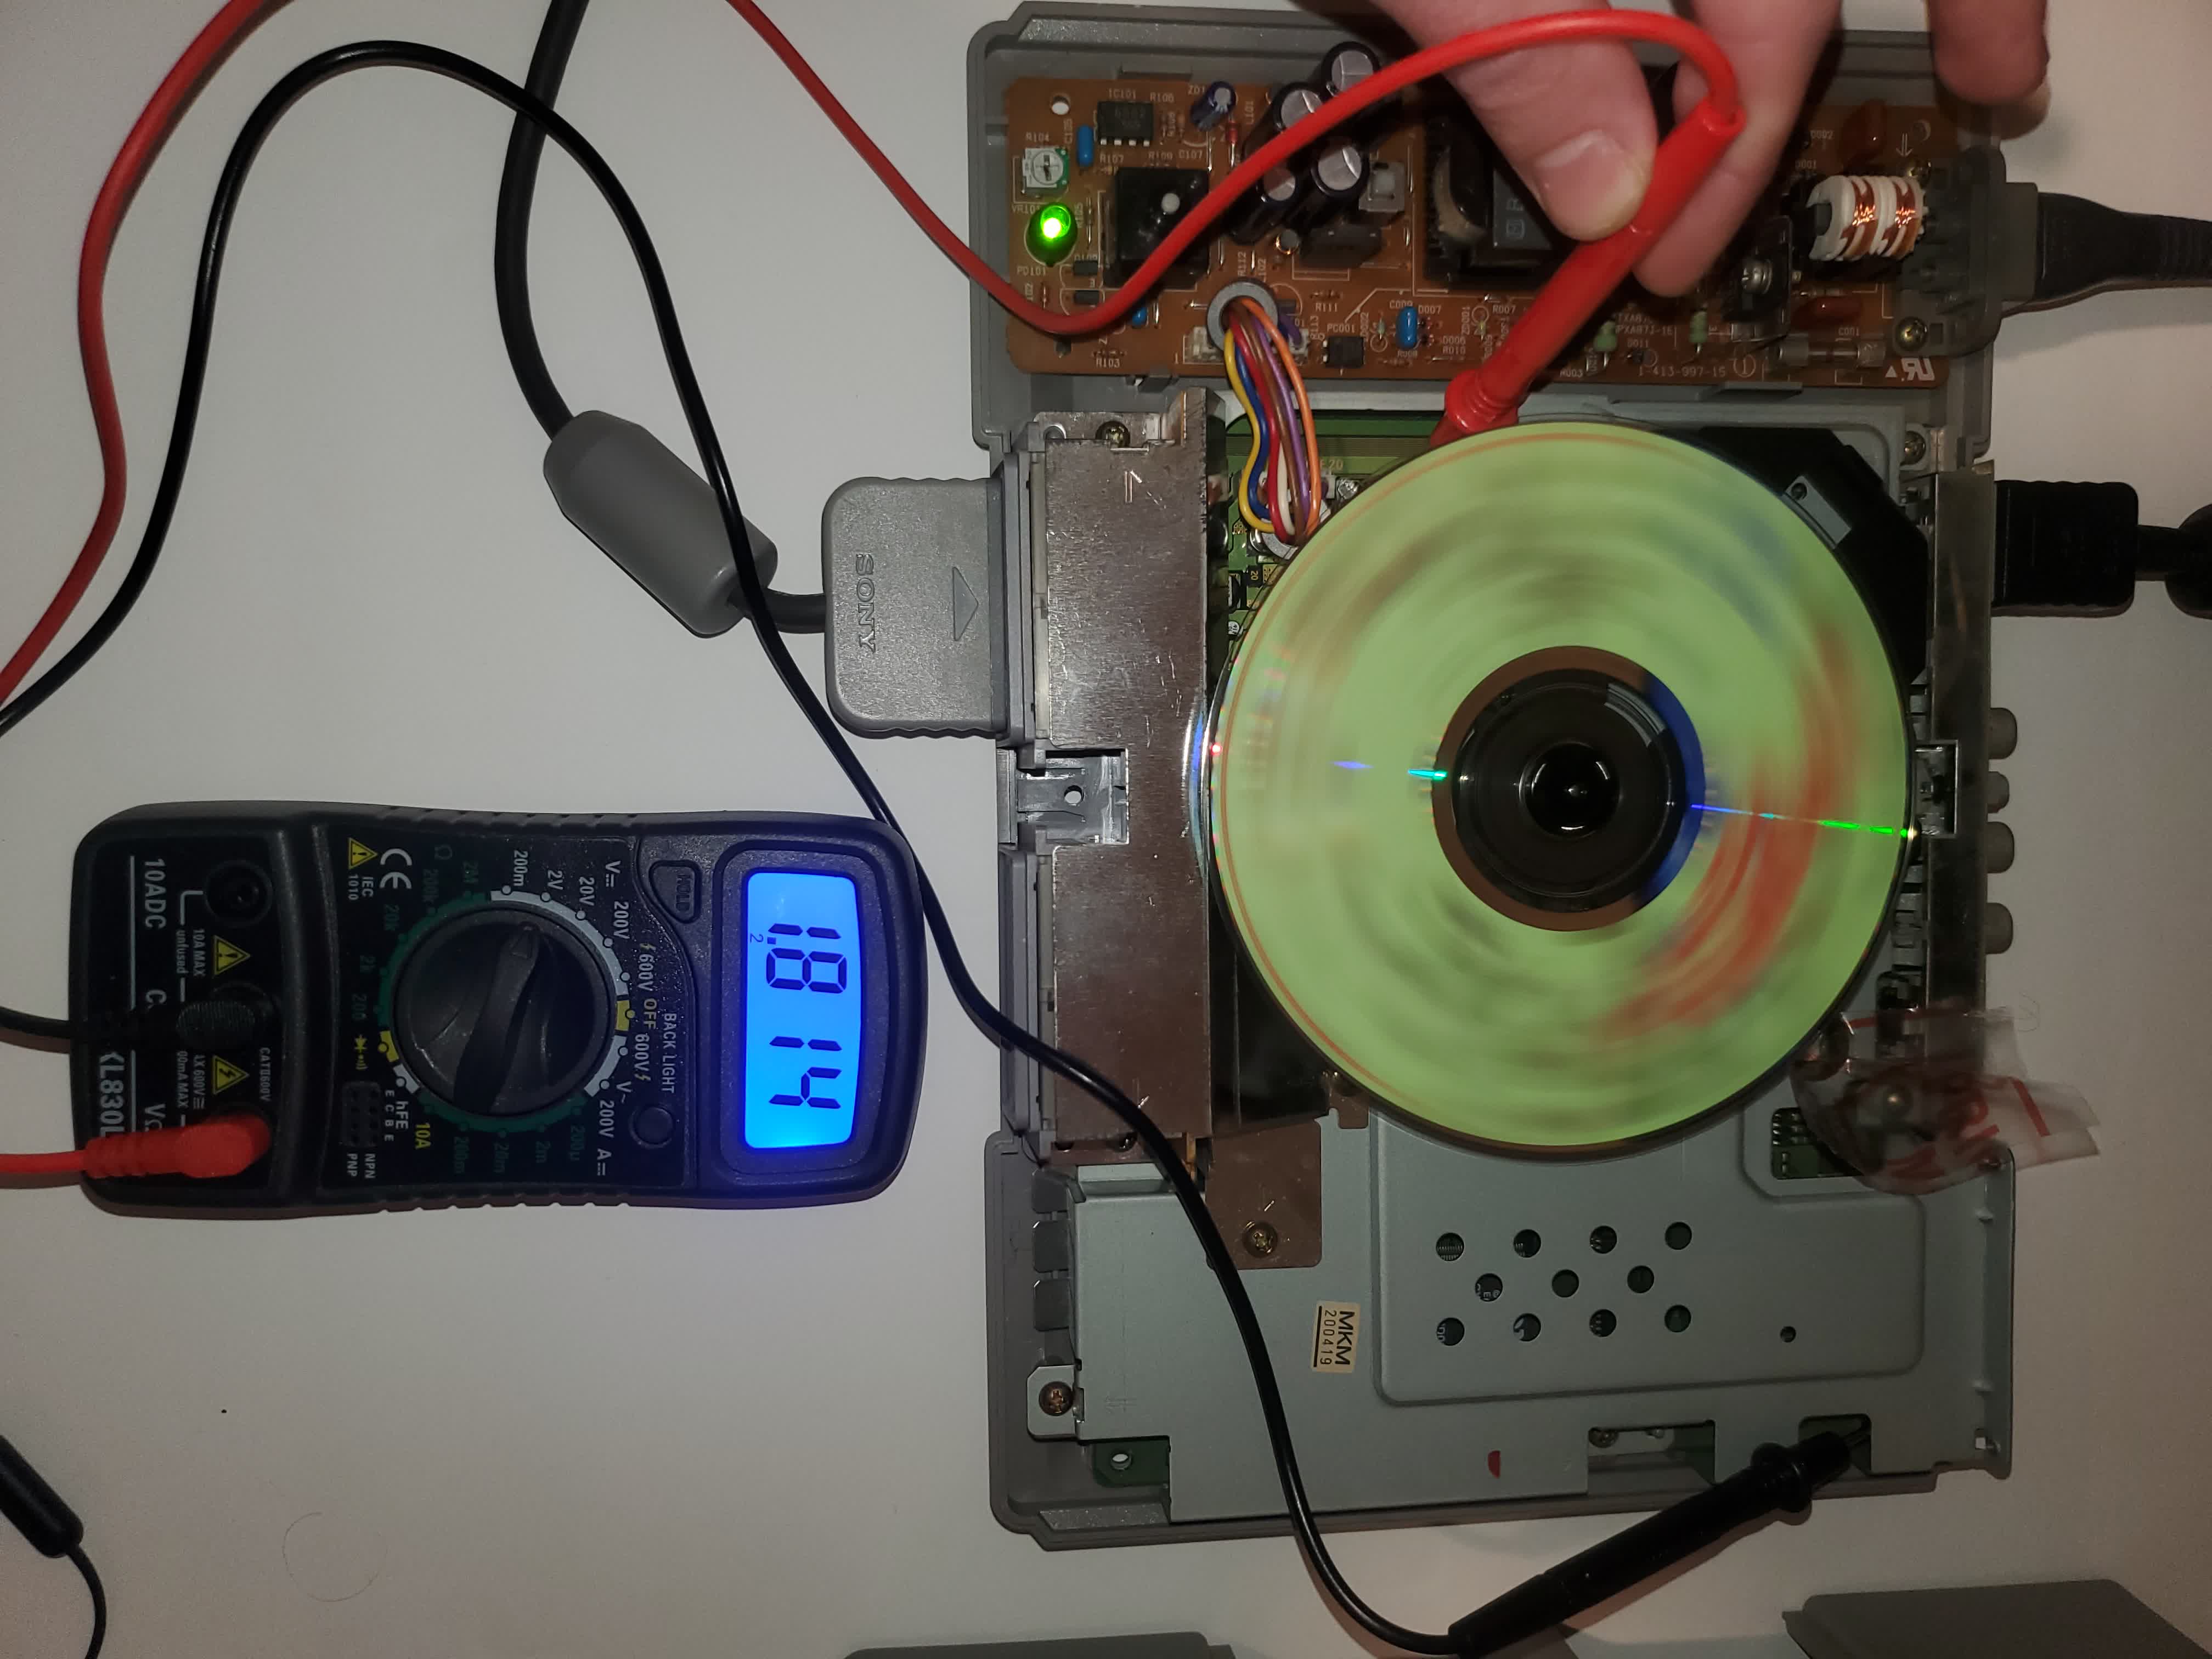
To secondly measure the gain value on the motherboard, Go into the CD Player on the console (which should still be powered on at this point). Place an audio CD on the exposed CD drive’s spindle. Tape down the lid sensor at the top right of the exposed lower case of the PlayStation console (this is a black switch when the top case of the console is removed). Keep the negative lead grounded on the metal shield found around the motherboard and below the installed CD drive. Play any audio track on the CD. While the audio is playing put the positive lead of your multi-meter back on the same bias point you measured before. The voltage reading will have slightly changed, this is the gain value found currently on your motherboard.
To change your bias value to 1.634v, untape the lid sensor (unblocking it and stopping the spindle motor) and remove the CD from the CD drive’s exposed spindle to put the console back into an ‘idle’ state. Keep the negative lead of the multi-meter grounded on the metal shield found around the motherboard and below the installed CD drive. Put the positive lead of your multi-meter back on the Bias point. Use a flathead #2 screwdriver to very slightly change the bias screw’s position on the motherboard, rotating the screw until you get to that value. Rotate CLOCKWISE to increase the Bias voltage value on the multi-meter. Rotate COUNTER-CLOCKWISE to decrease the Bias voltage value on the multi-meter.
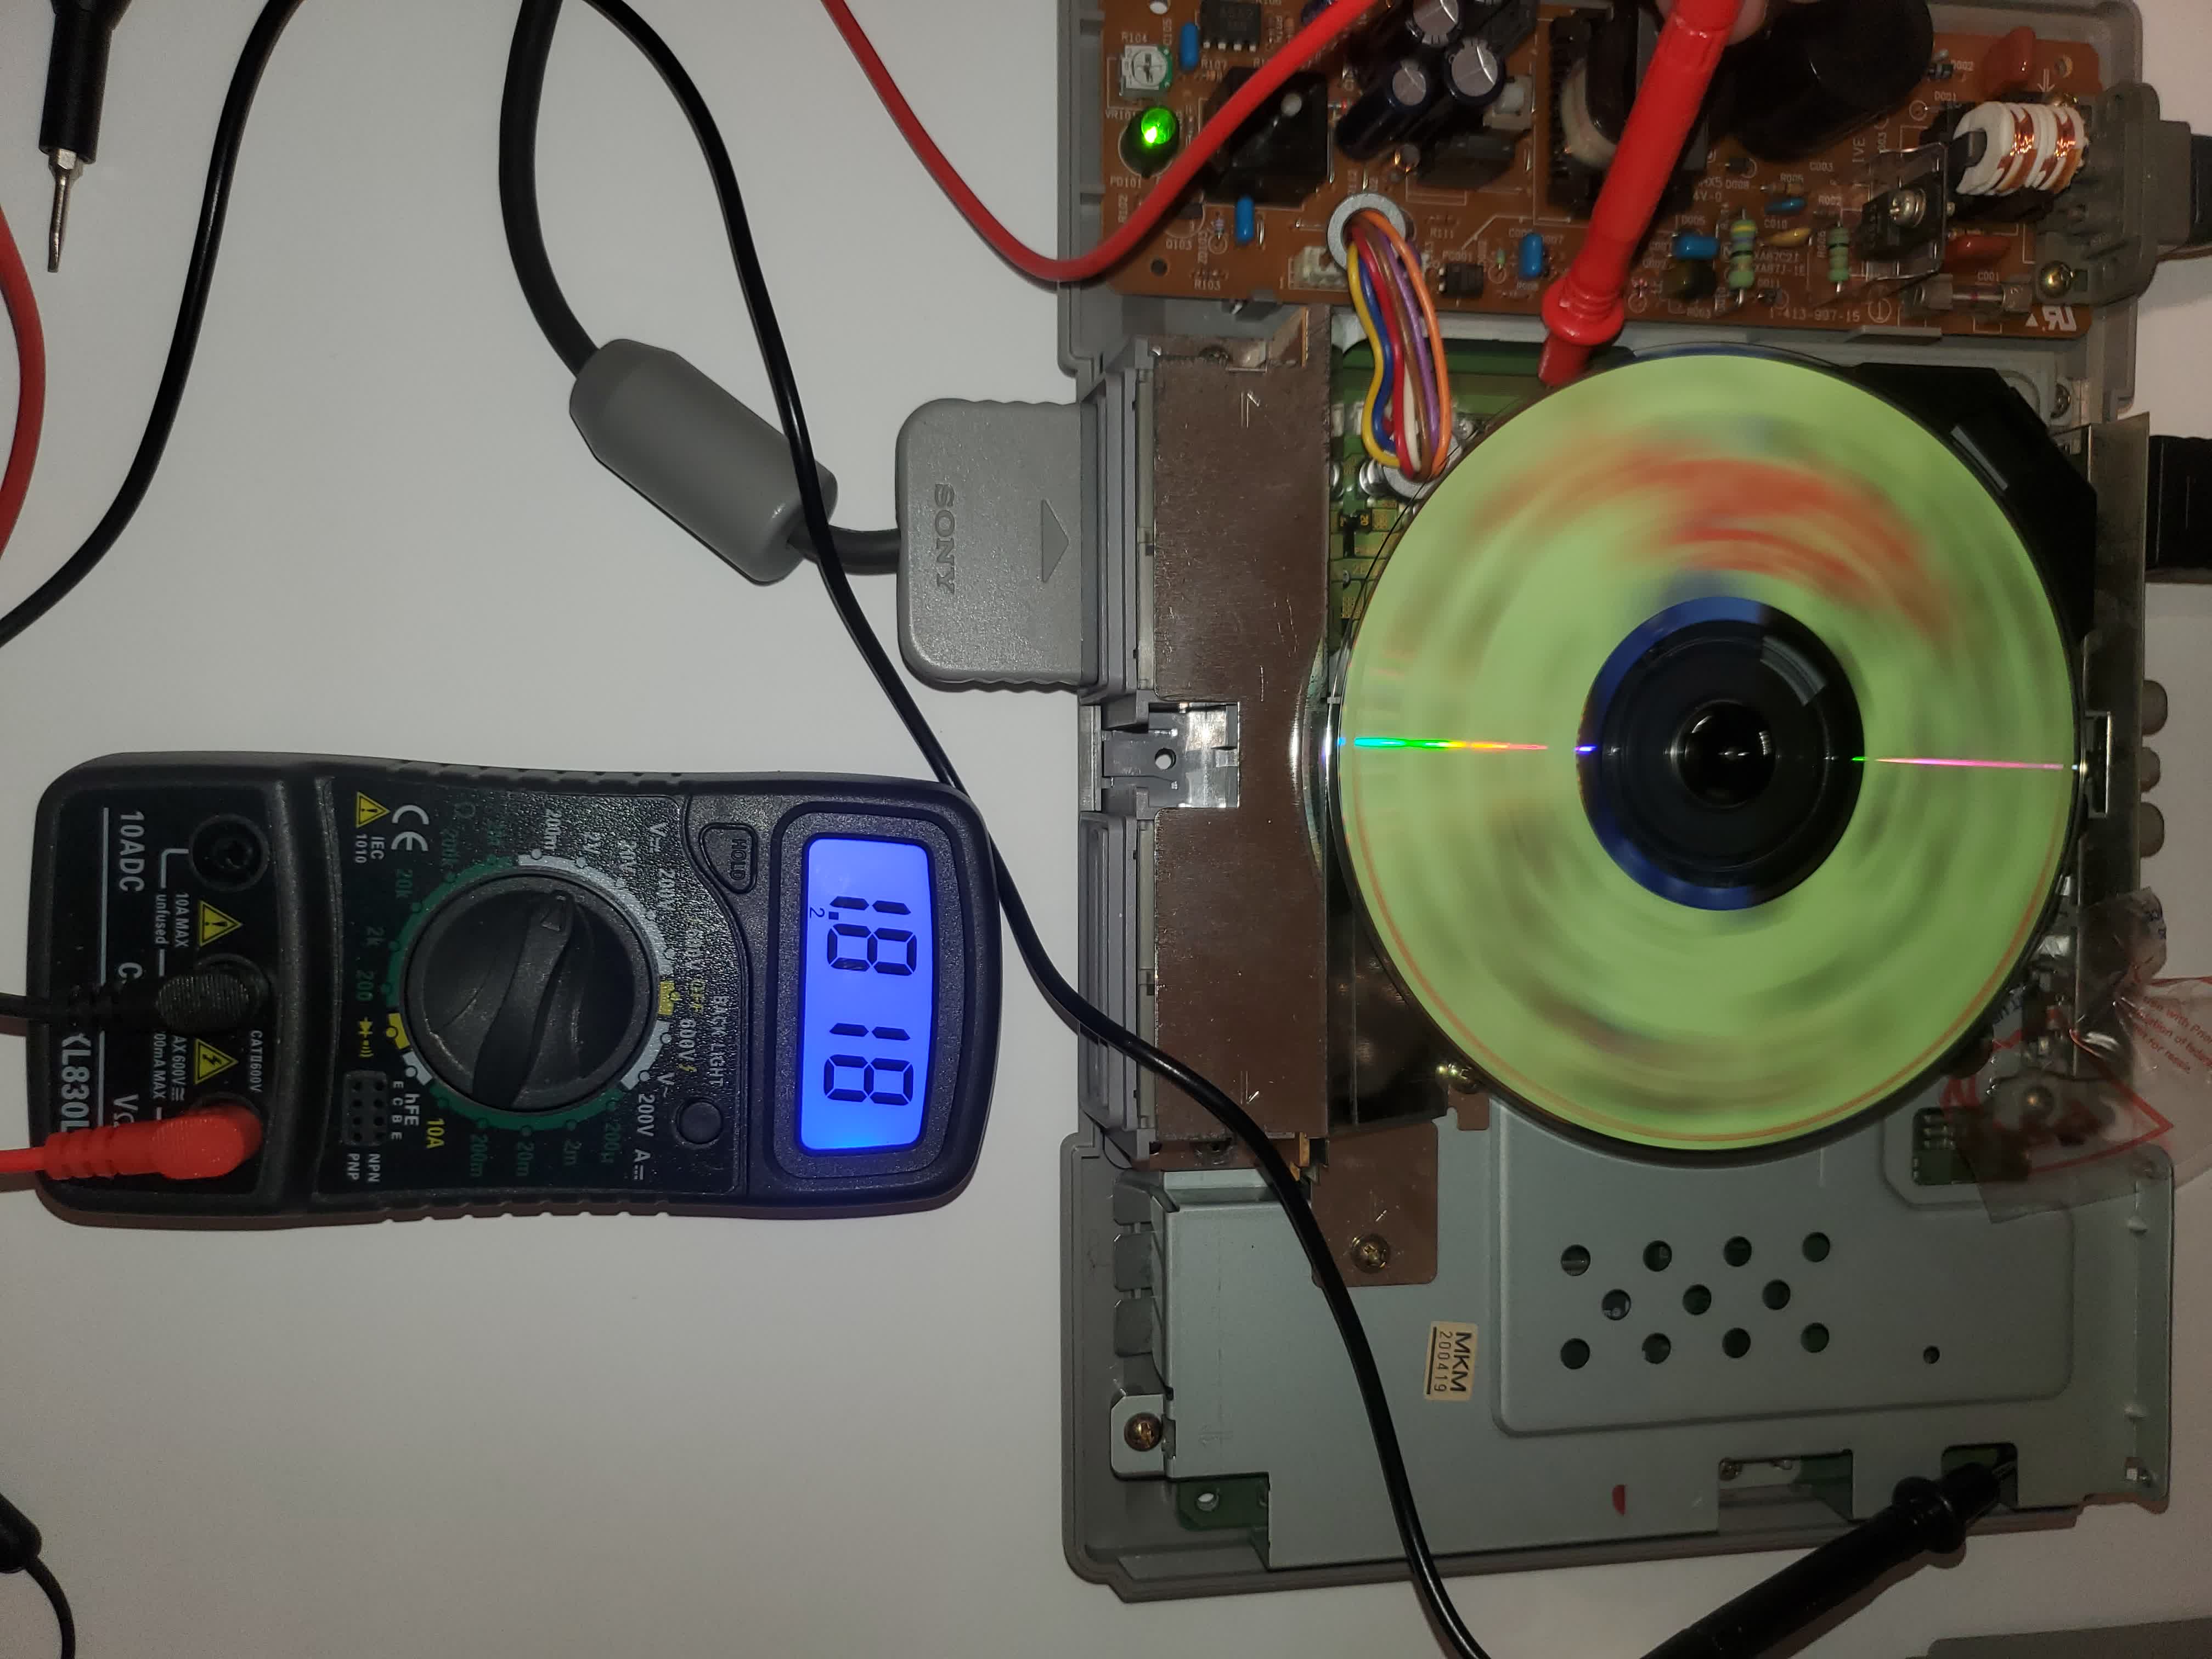
After setting the bias value, you can set the gain value. You should still be in the CD Player on the console at this point of the guide. Place an audio CD or a PS1 game containing CD audio (backup or real PS1 disc both work for this) on the exposed CD drive’s spindle. Tape down the lid sensor at the top right of the exposed lower case of the PlayStation console. This is a black button when the top case of the console is removed). Keep the negative lead of the multi-meter grounded on the metal shield found around the motherboard and below the installed CD drive. Play any audio track on the CD. While the audio is playing put the positive lead of your multi-meter back on the bias point. While taking the current gain voltage reading use a flathead #2 screwdriver to very slightly change the bias screw’s position on the motherboard, rotating the screw until you get to that value. Rotate CLOCKWISE to decrease the gain voltage reading. This is because gain is a value to subtract from the Bias. Rotate COUNTER-CLOCKWISE to increase the gain voltage reading. This is because gain is a value to subtract from the Bias.
NOTE:Many places online constantly state that the Bias should be 1.7v and the Gain should be 1.82v. This info is mostly coming from this website: http://dogbreath.de/PS1/LaserAlignment/Laser.html. In my experience, the Bias value of 1.7v is too high. It seems to make it harder for the laser sled to track spinning discs, and can make drive runoff happen (which is when the laser sled seeks all the way out to the end of a spinning disc and gives up reading the disc altogether). So I do not personally recommend this Bias and Gain value combination.
Testing
Remove any CD from the exposed CD drive’s spindle. With your clean high thread count microfiber cloth clean off the laser lens itself. Put the top case of the console back on by sliding it down upon the lower base. I recommend to not put the screws back into place just yet, just in case you find you still have some more tweaks to do after performing the tests below.
- The first test is to go to the CD player and play a CD. Seek around the beginning of the CD disc (play the first audio track) and the end of the disc (play the last audio track) to move the laser sled (and the grease) and the new lubrication around inside the CD drive. Listen to how the CD drive sounds. After everything you’ve done it should be very quiet for a PS1 CD drive. The laser sled seeking should sound clean and concise (if it does not apply more white lithium grease to the rails, make sure everything has a decent even coat). The spindle motor should not rattle (if it does put more WD-40 and then later synthetic light clock oil without preservatives all over again).
- With audio CDs playing well, move on to the big guns and start a game with FMVs and also preferably containing CD audio (such as Dead Or Alive). Put in a decently long play session immediately after. FMVs should not skip. CD audio should not skip. The ultimate test might be something like playing the game Fear Effect, which has streaming FMV backgrounds during game play and a ton of FMVS.
- I definitely recommend playing some games for an hour or 2 immediately after your refurbishment to make sure your repairs were successful. Game choice is really up to you.
Congratulations, you have completed the guide!
Credits
- The Lubrication thread on PSXDEV discussing the wonders of re-lubrication in the CD drive
- The Laser Alignment in a Sony Playstation SCPH1002 page by Mick Feuerbacher.
- The What I’ve Learned Fixing Optical Drives page by samson7point1.
Properly Obtaining A New PS1 CD Drive Unit
While refurbishing and servicing PS1 CD drives can in many cases get a problematic drive working like new again, this is not always the case if hardware failures such as the laser diode itself burning out occur. In such a case it is best to replace the entire PS1 CD drive with a different one that either works, or can work after refurbishment.
The best way to get a replacement CD drive if you end up needing one is to simply buy a working PS1 console and pull an original Sony manufactured CD drive from it for use in your desired target console. PSone consoles are your best bet for a working CD drive as they are the newest ones made and most likely have the least amount of wear. However, other models of the console can also work just fine.